Cleanfix
®
REVERSIBLE FANS
STEP 20 - Also check to see that the timer is functioning
correctly by waiting for a cycle to occur. Re-connecting
the battery terminal and turning the ignition key to the
accessory power position only can do this check.
DO NOT START THE ENGINE until all fan shields and
guards have been replaced and the fan is securely
installed. All tools should be removed from the fan
shroud and engine compartment. If the timer is not
functioning correctly, check the installation of the push
button again and make the appropriate corrections.
Repeat until you have a correctly working installation.
Standard settings on the automatic timer are purge cycles
approx. 27 minutes and purge cycle duration is approx.
30 seconds.
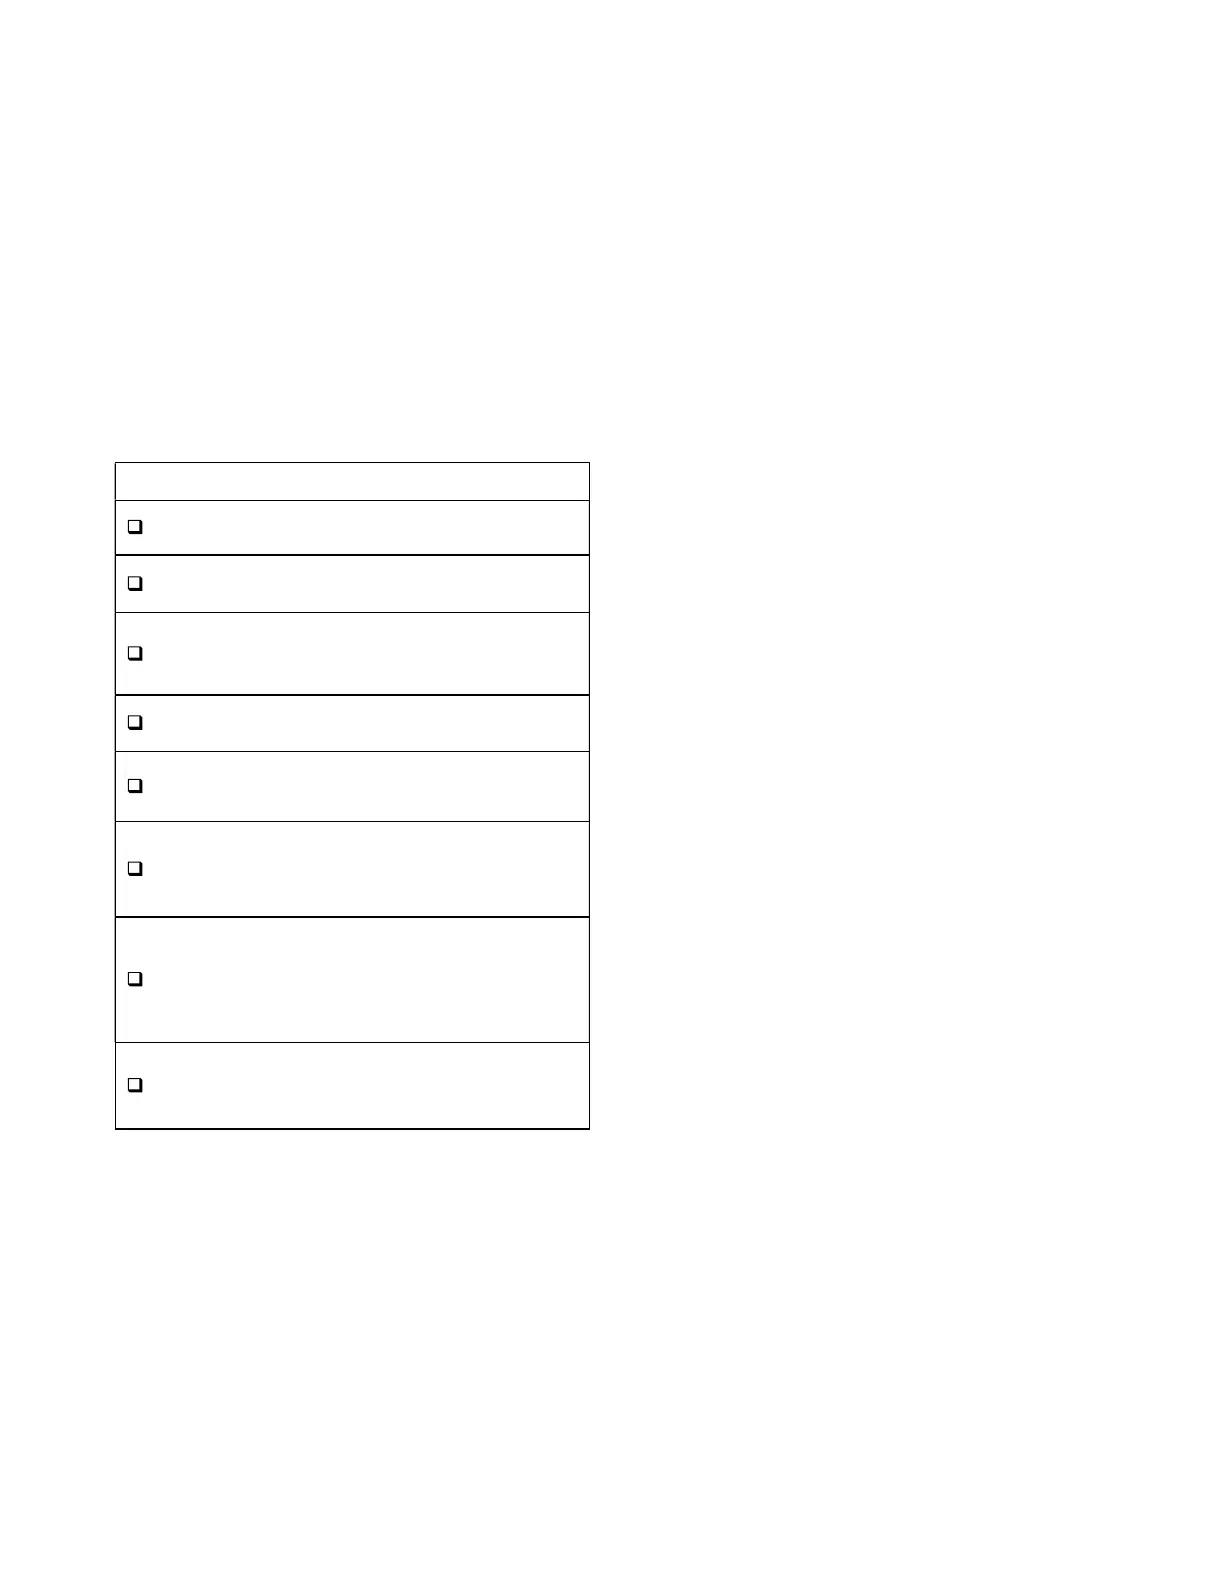
INSTALLATION CHECKLIST
Check flange with dial indicator for radial &
axial deviation. (Step 5)
Check air intake tube for correct curvature &
clearance. (Step 7)
Check to make sure plastic air line comes
through the shroud using the supplied rubber
grommet. (Step 10)
Check that all bolts are installed using blue
loctite. (Step 13)
Check that control box is mounted in a
position that will not cause it to overheat.
(Step 15)
Check that all airlines, hoses, wires and
hydraulic hoses are tied down to prevent them
from being sucked into the rotating fan. (Step
17)
Check to ensure the control box is connected
to a dedicated (separate) power source and
correct amperage & voltage is available (9-
11amps 24-volt sys., 16-18 amps 12-volt sys.
(Step 18)
Check for min. of 5/8" clearance between the
fan blades in mid position & closest obstacles
(Step 19)
125