8. Insert the cables through the PS219 port, and then connect the cables:
Brown, 1142P to TB1-6
Blue, 1160N to TB1-7
Black 2190 to TB1-8
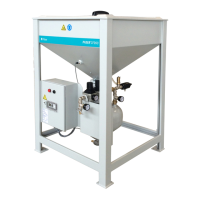
9. Fill the silo with abrasive.
1
0. Turn on power to the ADS.
11. Use the small flat-tip screwdriver to adjust the switch:
a. Turn the adjustment screw counterclockwise until it stops.
b. Turn the adjustment screw clockwise until the light on the switch comes
on.
c. Turn the adjustment screw counterclockwise until the light goes off.
d. Slowly turn the adjustment screw clockwise until the light comes on.
12. Connect the air supply to the ADS.
Replace the PV1 pinch valve seal
Replace the PV1 pinch valve seal after approximately 600
0 switching cycles.
An assistant is required during some steps of this procedure.
PARTS
P
inch valve seal (hose insert)
TOOLS
6 in. adjustable wrench
12 in. adjustable wrench
SUPPLIES
L
int-free rags
Wooden blocking
© 2016–2017 Flow International Corporation