Argus
Installing the Flanged Connection
7
Installing the Flanged Connection
0003-00-002 0003-00-004 0003-00-001
0003-000-003 0005-00-001 0003-00-005
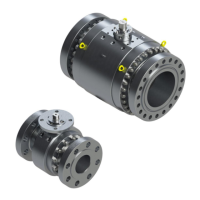
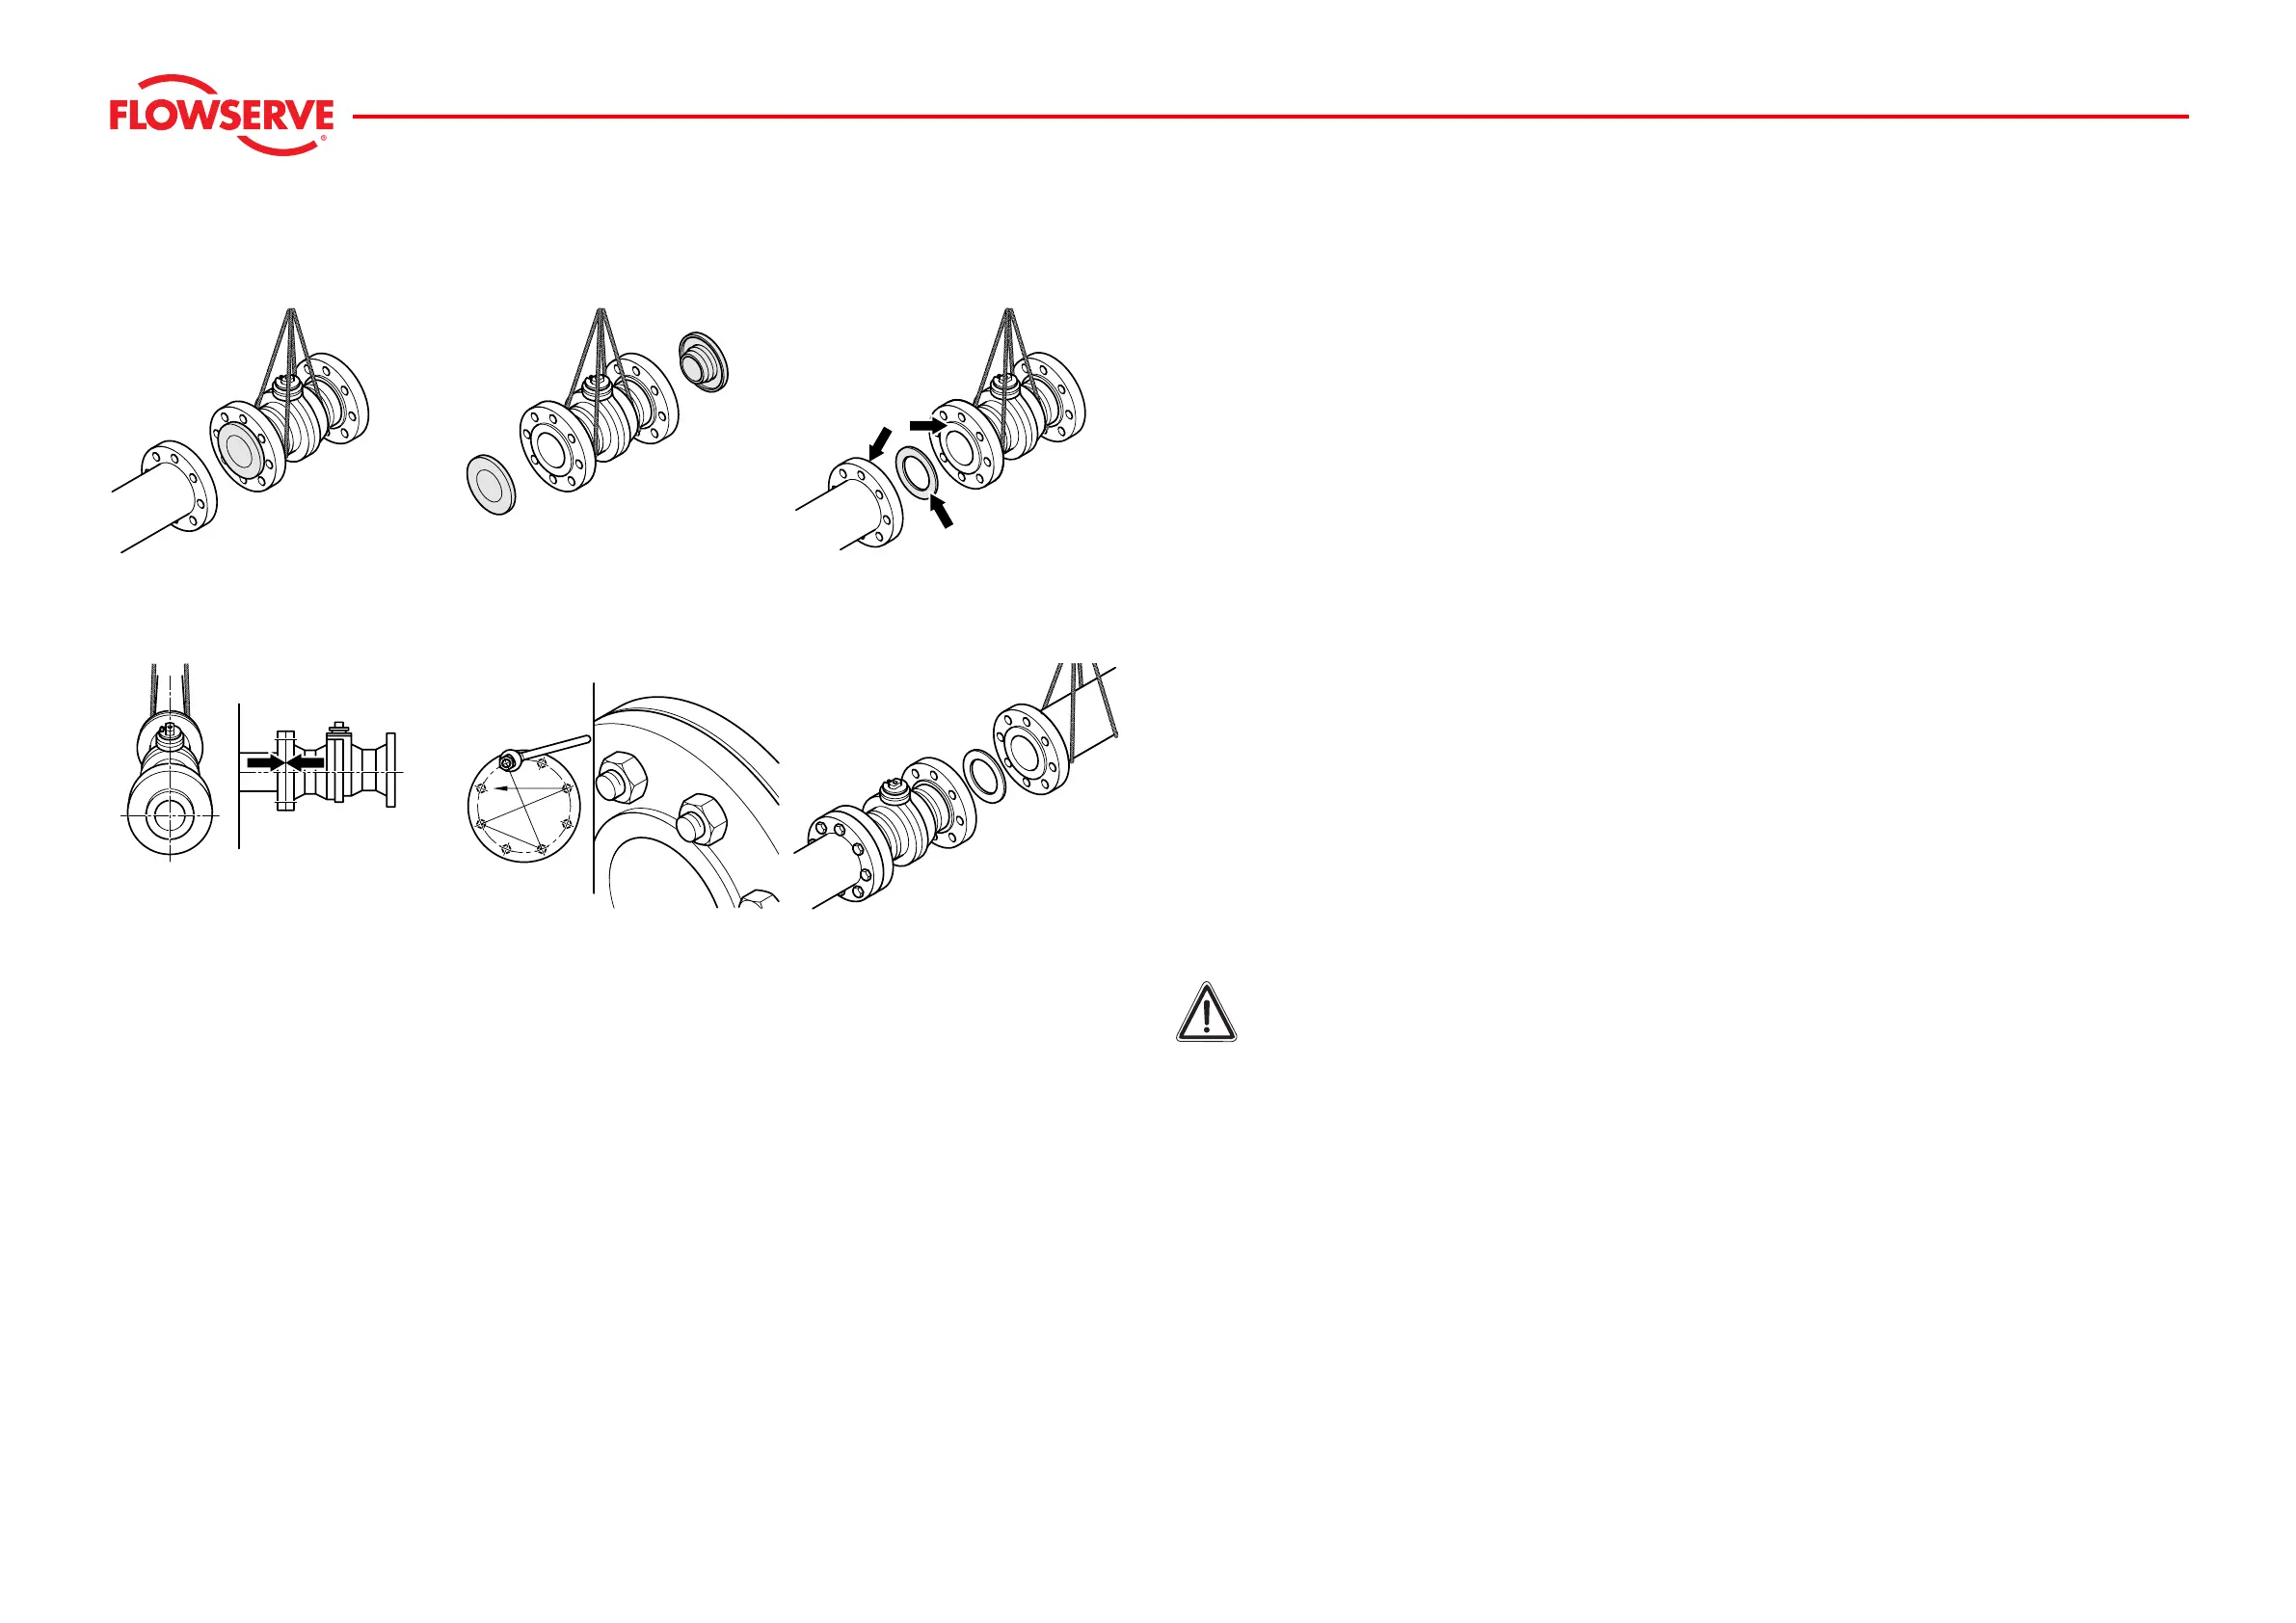
Installing the Ball Valve
f Transport the ball valve safely to the installation site using suitable hoisting gear dimensioned in
accordance with the weight and size of the ball valve (Figure
0003-00-002).
f Remo
ve protective caps (Figure
0003-00-004).
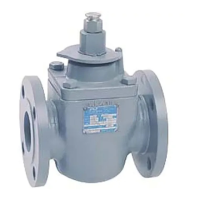
f Clean pipeline, seal and
connecting flange (Figure 0003-00-001).
Connecting the first Flange
f Position the seal carefully.
f Secure the ball valve to the pipeline flange with a few bolts
f Check that the ball valve and gaskets are correctly located in relation to the pipeline flange.
f Check the alignment of the ball valve and pipeline (Figure 0003-000-003).
f Correct any discrepancies.
f
Tighten the bolts crosswise (Figure
0005-00-001).
Connecting the second Flange
f The second flange is installed in the same way as the first flange (Figure 0003-00-005).
f Tighten the bolts crosswise (Figure
0005-00-001).
f After installa
tion, check for any leaks.
f After installation, the pipeline and ball valve must be rinsed through before the ball valve is actuated.
Warning!
After installation, the pipeline and ball valve must be rinsed through before the ball valve is
actuated.