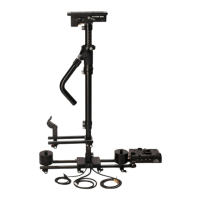
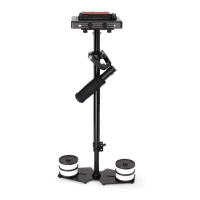
2
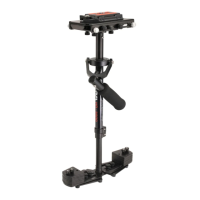
Aach Central Post to the Base Plaorm by
means of threaded stud in center. Rotate the
Base Plaorm to properly secure with
Central post.
Loosen allen bolts at the boom of Dovetail
Camera Plaorm, align its holes with top of
Central Post & re-ghten them with allen key
securing the plaorm to post.
Remove Quick release plate from Dovetail
Camera plaorm and aach to camera base.
Push the release lever to insert the Camera
setup into Quick release adapter. Return the
lever to its original locked posion.
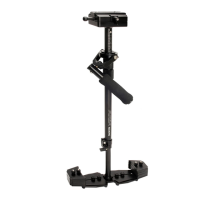
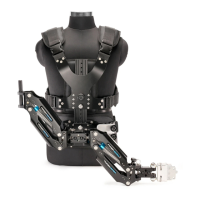
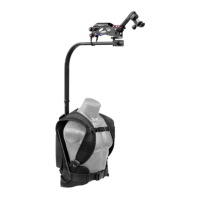
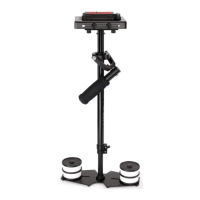
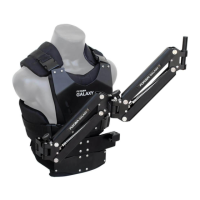
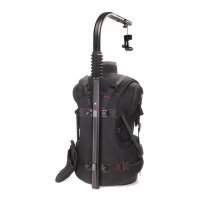
Redking Stabilizer Setup
Secure the counter weight plate by using the
black thumb nuts to prevent unnecessary
movement.
Horizontal adjustment on the base plaorm
is made by loosening the retaining screws
and moving the mounted cups closer to or
farther away from the central post and then
reghtening. You will probably need to
adjust and re-adjust the horizontal posion
to achieve opmum performance.
NOTE: Remember to leave at least 1” of the telescoping post below the telescoping clamp.