Assembly Instructions
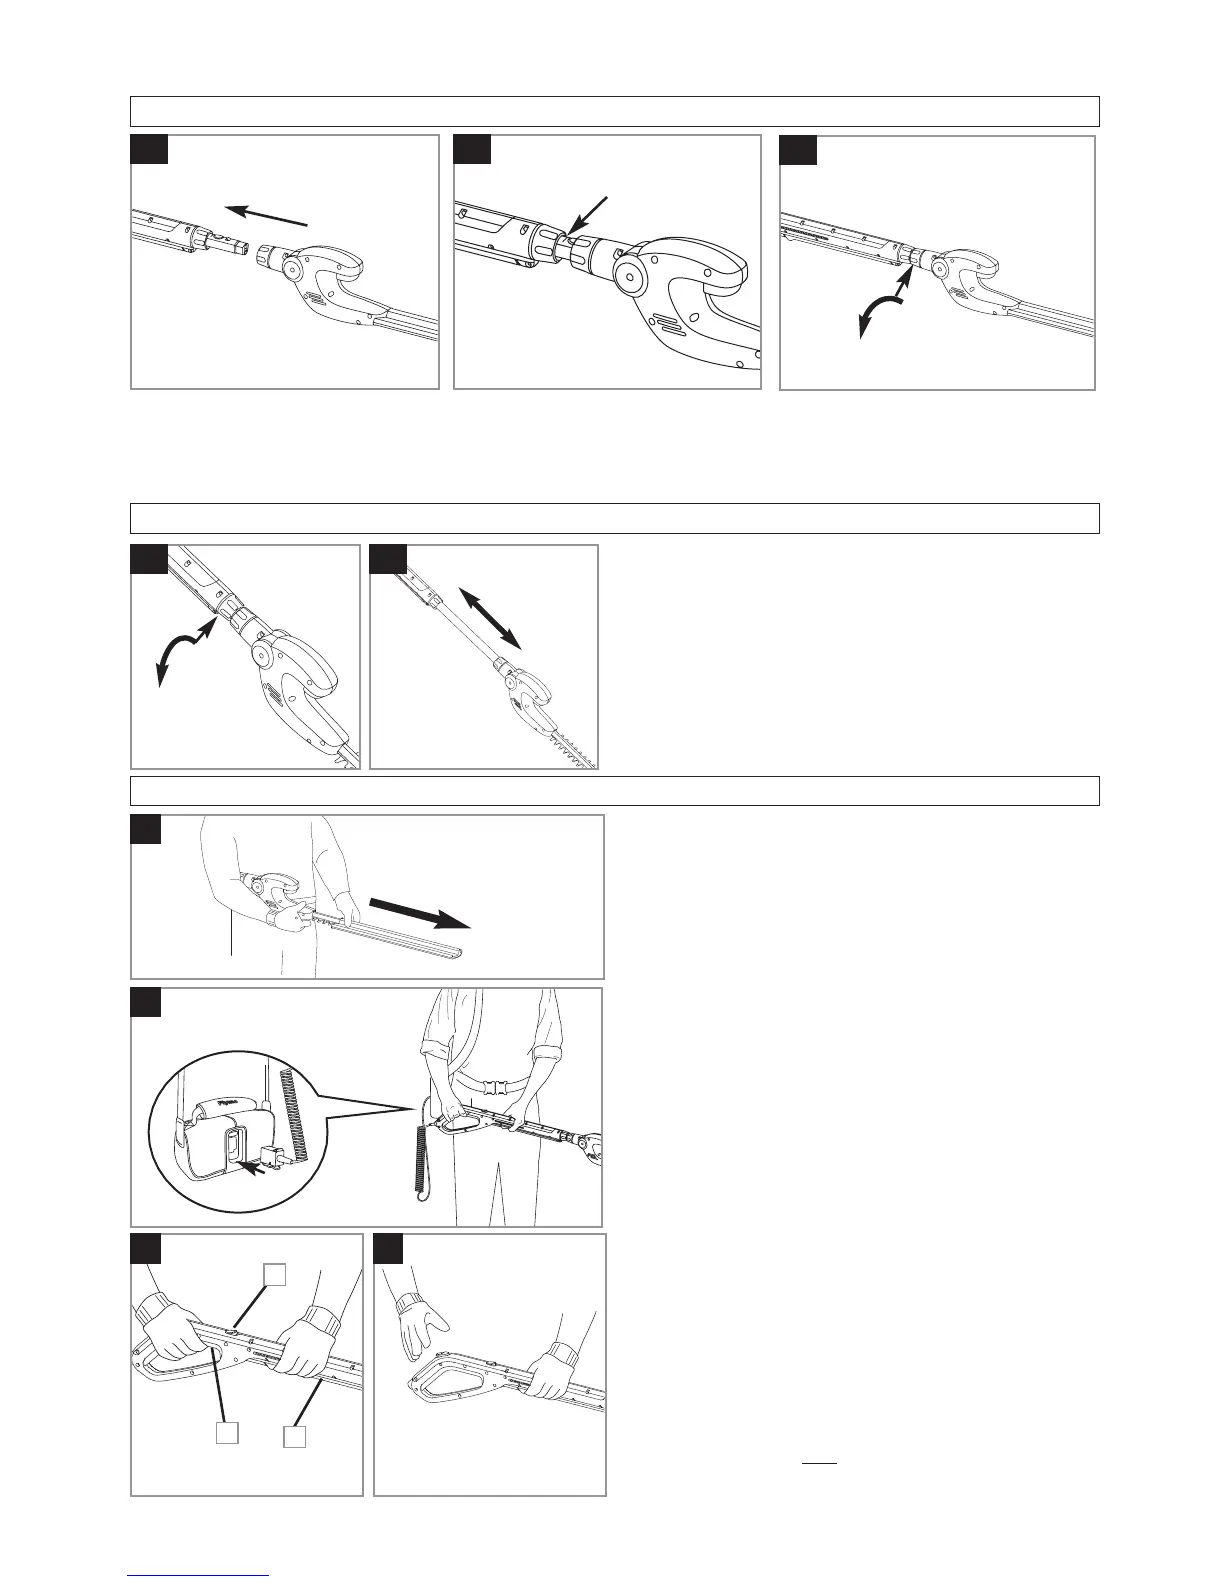
Before starting your Hedgetrimmer.
1. Remove blade cover as illustrated in Fig. C.
To start your Hedgetrimmer
1. Attach your product to the fully charged Power
Pack.(D)
• The assembled product is provided with a lock-
off button (E1) to prevent accidental starting.
•
There are two switch levers fitted to your Hed-
getrimmer. Both switch levers need to be held
in the operating position (See Fig E) for the
product to start.
1. To start, press lock-off button (E1), squeeze the
upper switch lever (E2), release lock-off button
and squeeze the lower switch lever (E3)
To stop your Hedgetrimmer
• Move Hedgetrimmer away from cutting area be-
fore stopping.
1. To stop, release one
of the switch levers.(F)
C
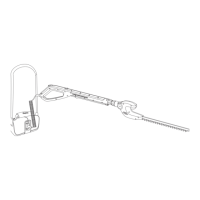
Attatching the Hedgetrimmer to the Sabre Handle
1. Push the Hedgetrimmer head onto the Sabre Handle until you hear a click. (A1)
2. Push the Hedgetrimmer head further onto the Sabre Handle until it reaches the mark shown in Fig A2.
3. Turn the Hedgetrimmer head collar clockwise until it is secure. (A3)
A2
A1
To adjust the handle length
1. Loosen the Sabre Handle collar. (B1)
2. Adjust length of the handle to the most com-
fortable operating position (B2).
3. Re-tighten the Sabre Handle collar.
B2
B1
A3
Sabre Handle Length Adjustment
Starting and Stopping
D
E
F
1
2
3