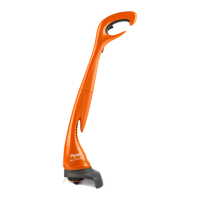
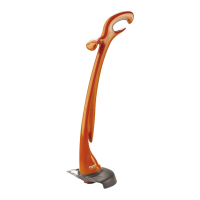
4. MAINTENANCE
Danger! Risk of physical injury!
Cut injury when the product starts
accidentally.
v Before you maintain the product, make sure that
the mains cable is disconnected.
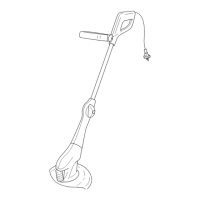
To clean the trimmer [ Fig. M1 / M2 ]:
Danger! Electric shock!
Risk of injury and risk of damage to the
product.
v Do not clean the product with water or with a
water jet (in particular high-pressure water jet).
The airflow slots must always be clean.
1. Clean the airflow slots
z
with a soft brush (do not use
a screwdriver).
2. Clean all movable parts after each operation. Especially
remove any grass and dirt from the protective cover
3
.
To pull the cutting filament manually out of the
filament cassette [ Fig M3 ]:
A cutting filament that is too short or no longer extends
automatically when the trimmer is turned on can be pulled
out manually.
1. Push and release manual feed button
s
, while you
gently pull on one of the filaments
o
until the filament
reaches the filament limiter.
2. When the required amount of filament is fed out, gently
pull on the second filament (There is no need to push
the manual feed button
s
again).
3. If the filament extends past the filament limiter, too
much filament has been fed out. Remove the cassette
cover
d
and click filament cassette anti-clockwise until
the filament is at the desired length.
Always return the product to its normal operating position
before you start again.
To replace the filament cassette or the cutting
filament:
Danger! Risk of physical injury!
Risk of injury from metal cutting parts!
v Do not use metal cutting parts or replacement
parts and accessories not approved by FLYMO.
Only use original FLYMO Filament Cassettes.
You can order Replacement Filament Cassettes from
your FLYMO dealer or directly from the FLYMO Customer
Service. You can buy either a Replacement Filament
Cassette or the Cutting Filament only.
FLYMO Filament Cassette and Cutting Filament:
FLY021 Part.no.: 513937190
To replace the filament cassette [ Fig. M3 / M4 ]:
1. Push and hold the two latches
f
.
2. Remove the cassette cover
d
.
3. Remove the old filament cassette
g
.
4. Remove all dirt in the cassette holder
h
.
5. Release one filament
o
from the cleat
x
of the new
filament cassette
t
.
6. Secure the filament
o
into one slot
j
.
7. Pull approximately 10 cm of the filament
o
out of the
filament cassette
g
through the hole
j
in the cassette
holder
h
.
8. Repeat for the second filament.
9. Put the filament cassette
g
into the cassette holder
h
.
Make sure, the filament is not caught and the latches
f
are locked.
10. Check that the filament cassette
g
is correctly
locked. (Try to remove the filament cassette
g
without to push the latches
f
.
To replace the cutting filament [ Fig. M3 / M5] :
1. Remove the filament cassette
g
.
2. Remove all dirt in the cassette holder
h
.
3. Take approximately 5 meters of one filament
o
and
insert it into one of the filament lock holes
k
in the
filament cassette
g
.
4. Wind the filament
o
onto the filament cassette
g
in
the direction of the arrows on the top of the filament
cassette
g
. (Wind the first filament on the upper section
of the filament cassette
g
.)
Make sure, the filament
o
is neatly winded on the
filament cassette
g
.
5. Repeat for the second filament.
6. Replace the filament cassette
g
.
As the filament can only be lengthened in small incre-
ments, it can be necessary in some cases to repeat the
switch-off / switch-on action several times (up to 6 times).
Important is that the filament cassette comes to a com-
plete standstill each time.
The cutting filament has been sufficiently lengthened when,
after switch-on, it audibly strikes the filament limiter
p
.
The filament cassette has to be replaced when the cutting
filament has been used up:
FLYMO Filament Cassette and Cutting Filament:
FLY021 Part.no.: 513937190
7
41025-85.960.01.indd 741025-85.960.01.indd 7 13.09.21 12:0613.09.21 12:06