12
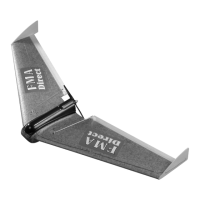
STEP 29: This illustration shows the placement of the structural and
servo tapes prepared in STEP 26 for a 600 class kit. Do not install the
tapes at this time, but test the placement of each as follows. The long
tape should be positioned so that the end closest to the fuselage
begins where the wing joins the fuselage and is centered over the
servo wire slot. The end closest to the wing tip should be centered on
the wing panel. The servo tape should butt up against the structural
tape and center over the servo. The front of this tape should extend
1” beyond the servo case (toward the leading edge). If required, trim
the angle cuts slightly. Put the short servo tapes aside as these will
not be installed until radio installation is complete!
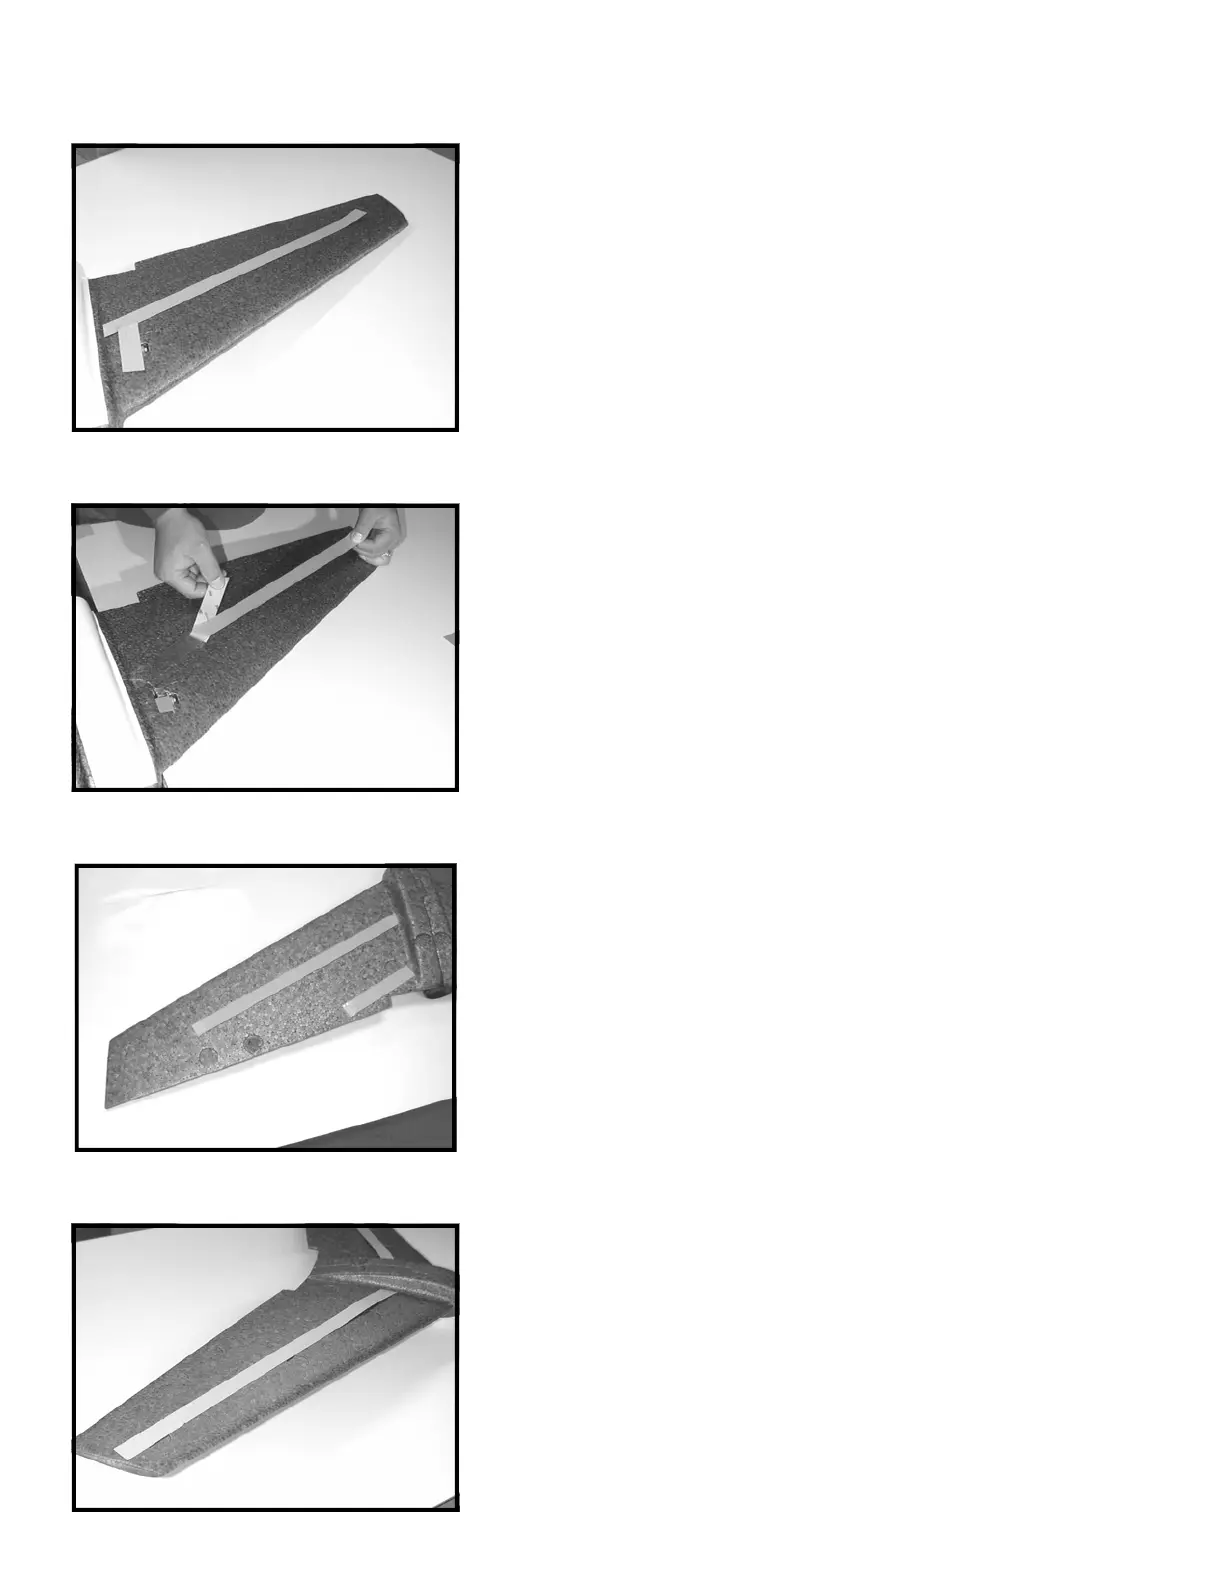
STEP 30: Hang the fuselage and one wing half over the edge of the
table as illustrated. Remove the backing from the structural tape
prepared earlier and place the tape as detailed in the above steps.
Make certain the wing is flat on the table top so no warping of the
wing can occur. Seal the tape tightly to the wing using your thumb or
a blunt object such as a screwdriver handle. Remember, the very-
high-bond adhesive will “cure” to about 50% of its bonding strength
immediately. Full strength will be attained within 24 hours. Repeat
this step for the top of the other wing.
STEP 31: STEP 31 applies to 400 class kits only! If you do not have a
400 class kit, please proceed to STEP 32. This illustration shows the
placement of the structural tapes prepared in STEPS 27 for the bot-
tom of a 400 class kit. Locate the remaining pieces of 0.010” (thick)
LEXAN
(TM)
tape. Note: when preparing the tape for installation, you
will want to trim the inside end to match the angle of the fuselage.
The bottom side structural tapes should be centered along the wing
core over the span of each wing.
STEP 32: This illustration shows the placement of the structural tapes
for the bottom of a 600 class kit. Locate two of the remaining pieces
of 0.010” (thick) LEXAN
(TM)
tape.* Note: when preparing the tape for
installation, you will want to trim the inside end to match the angle of
the fuselage. The bottom side structural tapes should be centered
along the wing core over the span of each wing.
* Note: if you have a 600 Class kit, your kit will contain one
additional piece of structural tape to be installed in STEPS 34 and 35.
600 CLASS ONLY
400 CLASS ONLY
600 CLASS ONLY
 Loading...