14
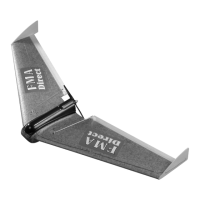
STEP 37: Open the canopy. Connect the two servo leads to the
receiver outputs. Connect the ESC lead to the receiver. Don’t worry if
you are not sure which channels are the correct ones for now, you will
double check this in final installation. Using double-sided foam tape
(not supplied), tape down the ESC, power switch and receiver as
illustrated. Cut the supplied hook & loop fastener material in half and
apply to the sides of the motor mount as shown. Remove the
adhesive backing from the outside of the hook & loop fastener.
STEP 38: Carefully close the canopy. At the back, press one side
down against the tray and then press against the hook & loop
adhesive backing. Pull out on the other side of the canopy as you
press it down against the tray and then against the hook & loop
adhesive backing. See illustration.
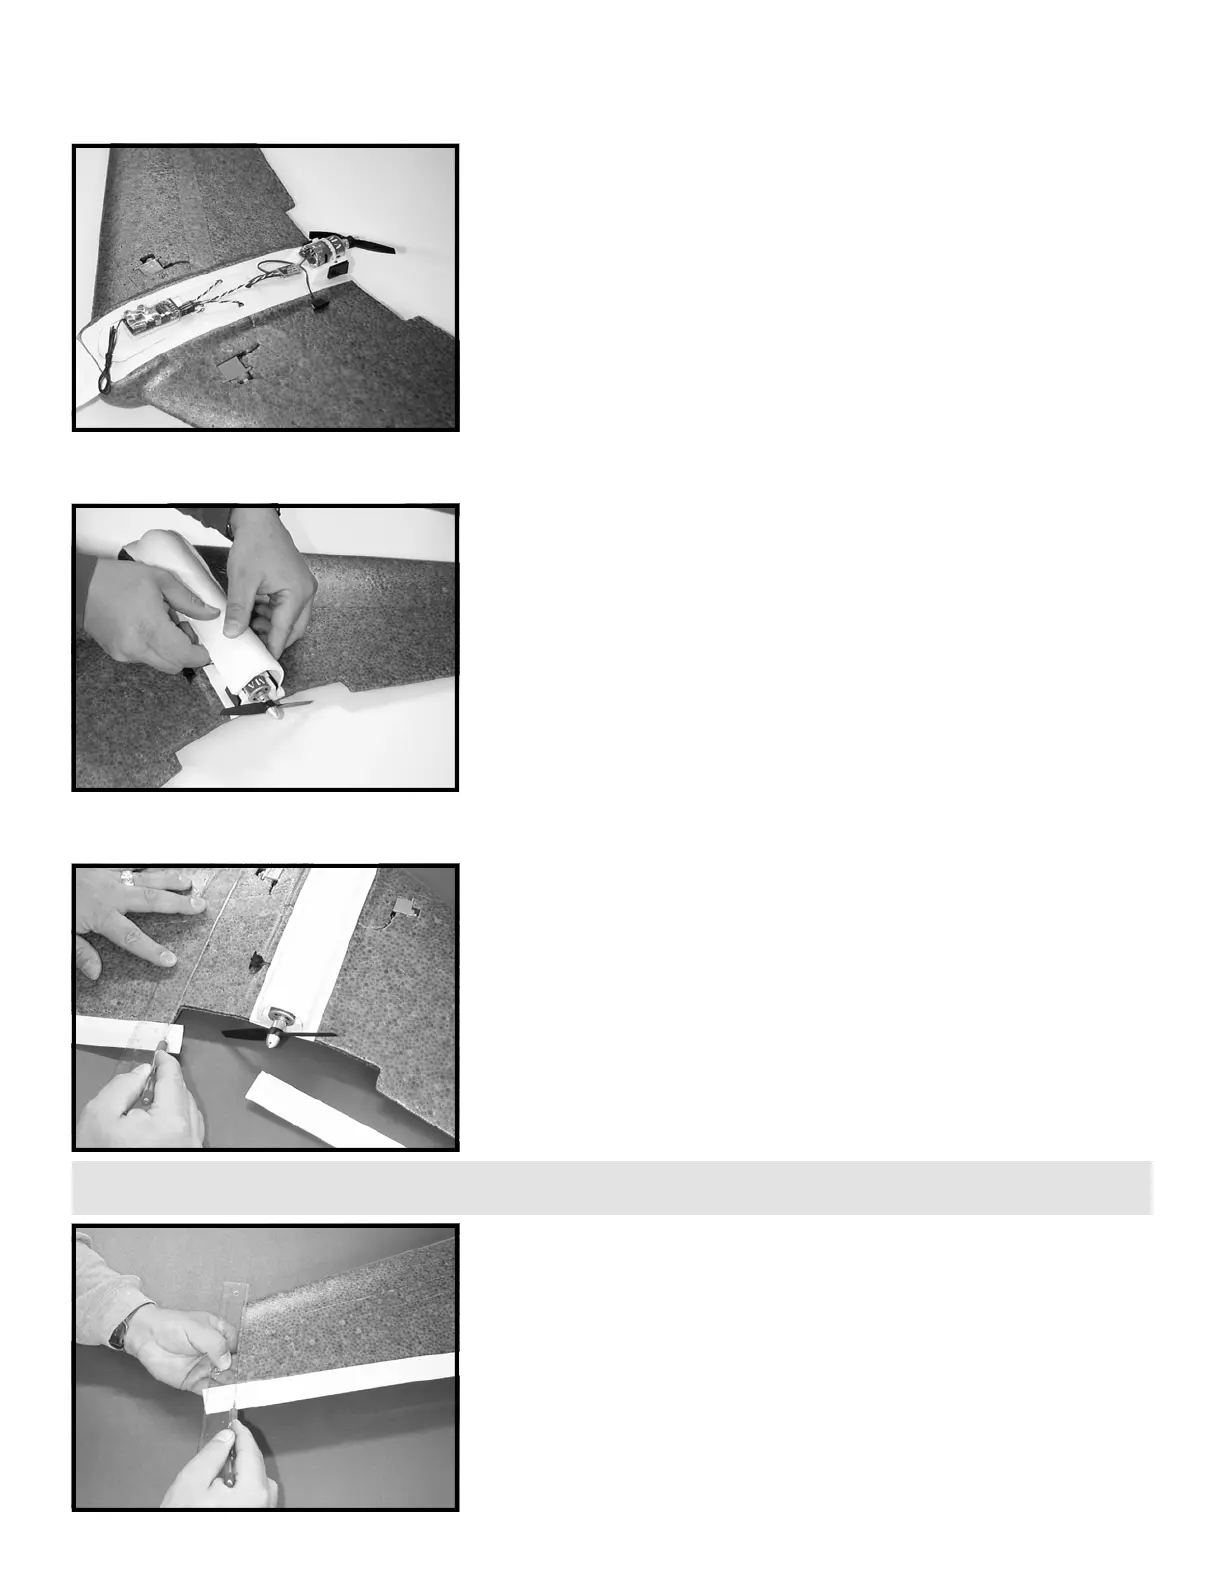
STEP 39: The elevons that come with your kit are pre-cut to a shape
that will facilitate the use of the custom LEXAN
(TM)
tape as a hinge.
The elevons are cut at an angle on the leading edge so that they will
not bind on the trailing edge of the wing when down elevator is
applied. Make sure that you install the elevons with the cut side
down. Hold the elevon up against the trailing edge of the wing.
Then, using a straight edge, mark the in-board side of the elevon at an
angle to match the cut-out for the propeller clearance slot in the back
of the wing. See illustration.
STEP 40: Continue holding the elevon up against the trailing edge of
the wing. Then, using a straight edge, mark the out-board side of the
elevon 1/8” in from the wing tip and at an angle to match the wing
tip. See illustration. Repeat STEPS 39 and 40 for the other elevon.
TIP: To improve the appearance of the joint between the elevons and trailing edge and to reduce drag, use a sanding block to round off the sharp
edge on the bottom of each elevon.
 Loading...