15
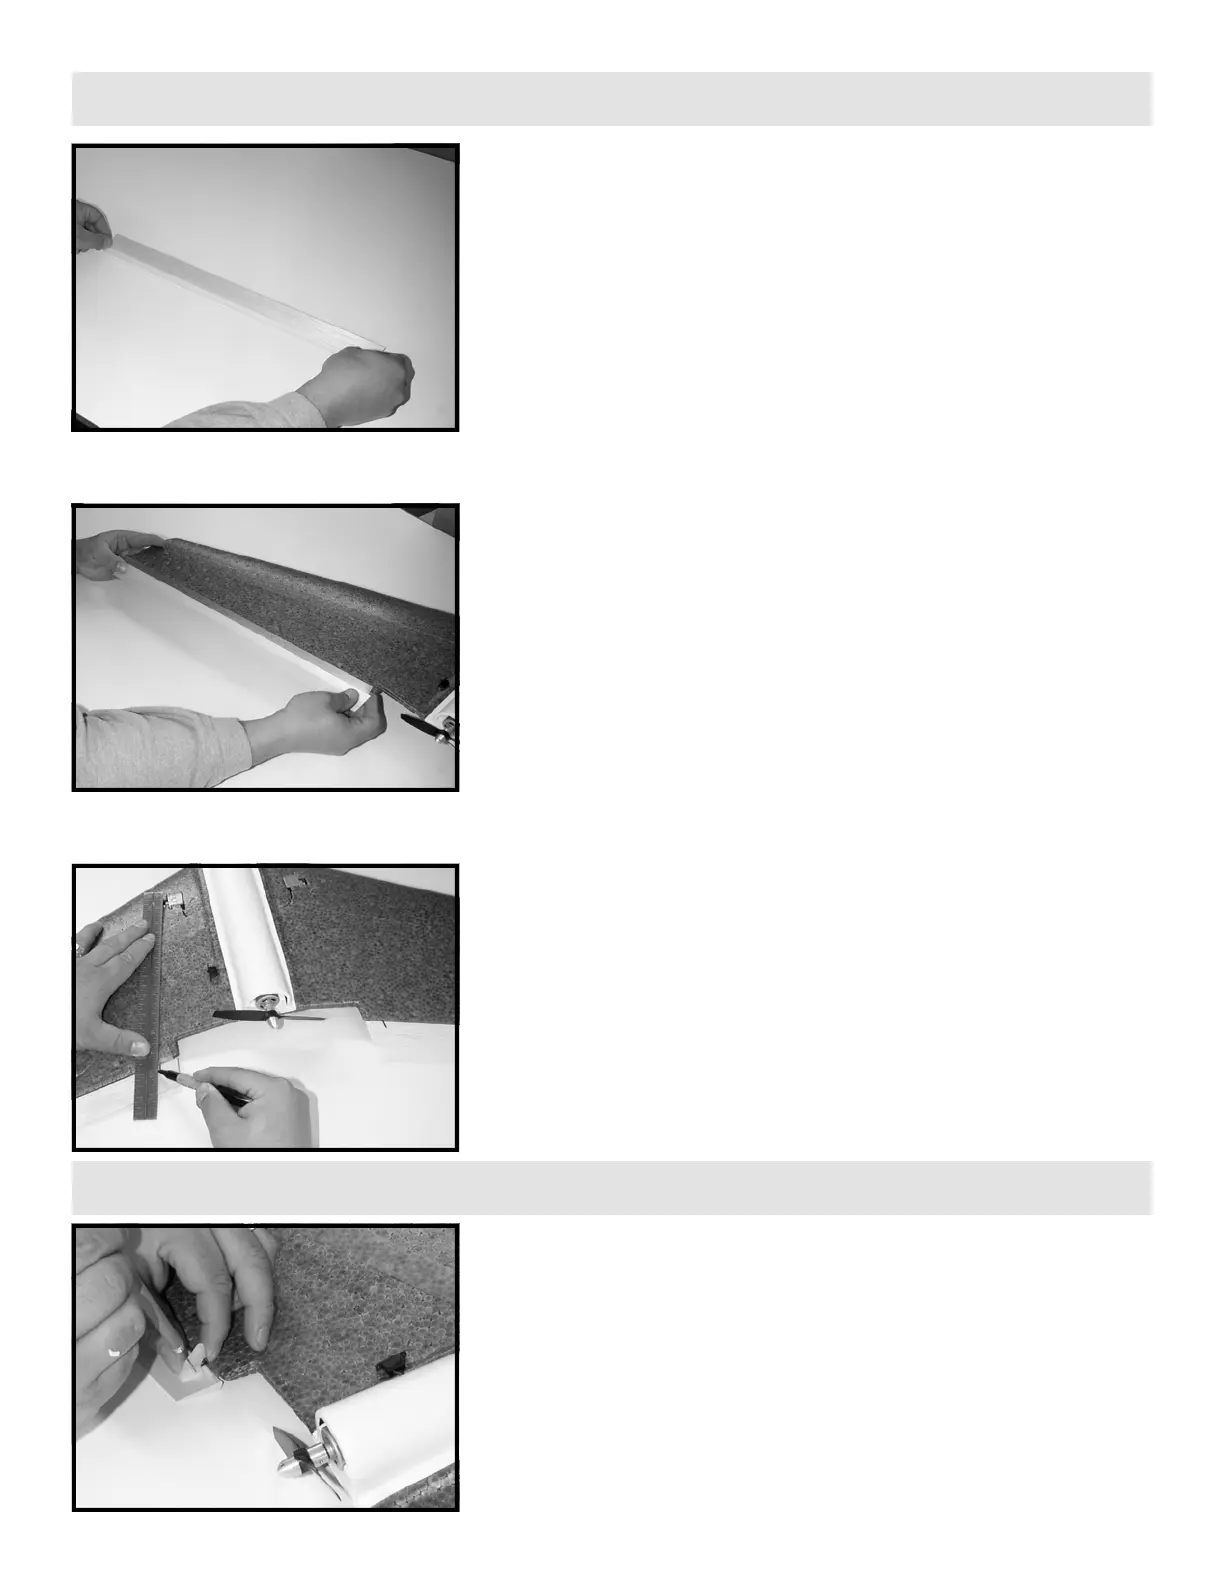
STEP 41: Locate the two strips of 0.005” (thin) LEXAN
(TM)
tape. Cut
one piece of tape to the length of the elevon. Set the elevon right-
side-up (leading edge angle down) and facing you. Remove the
adhesive backing from the tape and apply the tape to the elevon so
that 1/2 the width of the tape hangs off the top leading edge of the
elevon.
STEP 42: Hold the leading edge of the elevon up to the trailing edge
of the wing and position it so that the in-board side of the elevon is
aligned with the propeller cut-out slot. Droop the back of the elevon
downward as if full down elevator were being applied. Fasten the
elevon to the wing and seal the tape tightly to the wing using your
thumb or a blunt object such as a screwdriver handle. When you are
finished, the elevon should be hinged and free to move upwards or
downwards with ease. Repeat STEPS 41 and 42 for the other elevon.
STEP 43: Make a small mark on the leading edge of the elevon at 3/4”
from the in-board side of the elevon. Extend a straight edge from the
end of the servo output shaft to the small mark you just made. Then
extend the small mark along the angle of the straight edge 1/4”
toward the trailing edge of the elevon. Repeat for other elevon.
These lines will be used to align the control horns installed below.
STEP 44: Position the control horn so that the vertical arm of the
horn is aligned with the mark you made in STEP 43. Make sure that
the holes in the control arm are directly above the elevon/wing hinge
joint. Using a small hand drill or screwdriver, mark for and make
holes in the elevon using the holes in the base of the control horn as a
guide. Hold the control horn plate under the elevon and fasten the
control horn using the screws provided. Repeat for the other control
horn.
TIP: To prevent injury, use a pair of heavy diagonal cutters or a Dremel tool with a grinding wheel to cut off the excess from the control horn screws
protruding underneath the wing.
TIP: It is always a good idea to cover your elevon and winglet surfaces with covering material before installation to prevent moisture from getting into
the wood and causing warping or adding weight.
 Loading...