Do you have a question about the Focusrite ISA One and is the answer not in the manual?
Disconnect AC power and allow unit to cool before installation. Handle card by edges, avoid touching components.
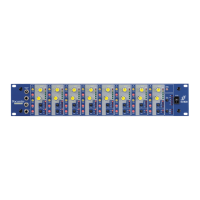
Lists the analogue to digital converter card and crosshead screws included in the kit.
Specifies a No. 1 crosshead screwdriver, Pozihead preferred, for installation.
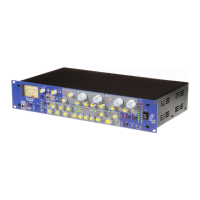
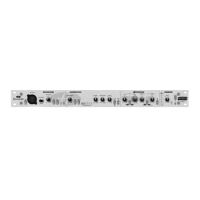
Remove the 11 crosshead screws fixing the top cover to the top and sides of the ISA 430 MKII unit.
Remove the rear cover plate above 'DIGITAL OUTPUT' labelling using two crosshead screws.
Mount the digital card using four supplied crosshead screws and support brackets within the unit.
Connect the digital card ribbon cable to socket J42, ensuring correct orientation and firm contact.
Replace the top cover and secure firmly using the 11 crosshead screws.
Press and hold a front panel switch while powering up to activate the digital card.
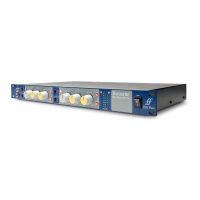
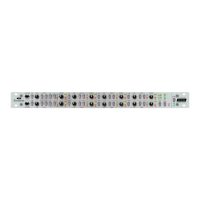
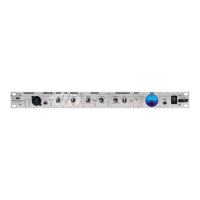
Remove the 10 crosshead screws fixing the top cover to the top and sides of the ISA One unit.
Remove the rear cover plate above 'DIGITAL OUTPUT' labelling using three crosshead screws.
Mount the digital card using three crosshead screws and the three support ledges within the unit.
Connect the digital card ribbon cable to socket J14A, ensuring correct orientation and firm contact.
Place the card into the unit, aligning holes, and screw into place using supplied screws.
Replace the top cover and secure firmly using the 10 crosshead screws.
Press and hold a front panel switch while powering up to activate the digital card.
When syncing to an external clock, sampling frequency must be the same on all devices.
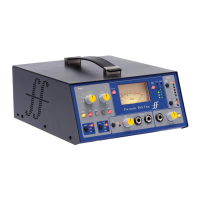
| Type | Microphone Preamp |
|---|---|
| Phantom Power | +48V |
| Number of Channels | 1 |
| EQ | No |
| Maximum Output Level | +22 dBu |
| Inputs | 1 x XLR, 1 x 1/4" |
| Output | 1 x XLR (Balanced), 1 x 1/4" (Unbalanced) |
| Impedance | Line Input: 10kΩ |
| Analog Inputs | 1 x XLR, 1 x 1/4" |
| Analog Outputs | 1 x XLR, 1 x 1/4" |
| Other I/O | 1 x 1/4" (Insert) |
| THD+N | < 0.001% |
| Optional Digital Card | Yes |
| Power Supply | Internal |