6 7
Installation
1
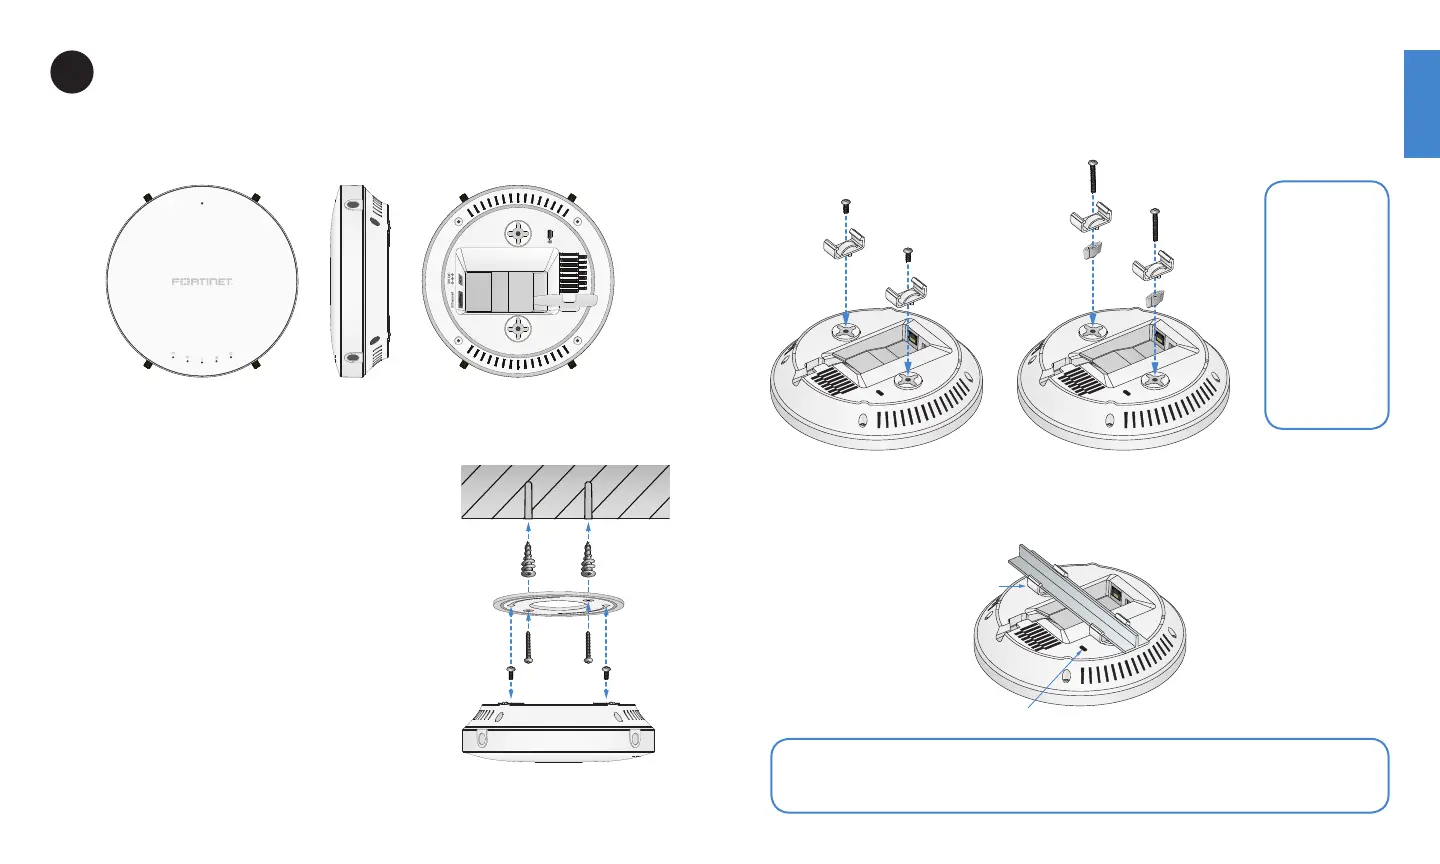
The unit can be mounted on a wall or ceiling using the provided wall/ceiling mounting
hardware kit, and to an appropriate ceiling using the T-rail mounting hardware kit.
To attach the unit to a wall or ceiling
1. Select an appropriate location, then mark the
locations on the wall or ceiling where the anchors will
be inserted.
2. Drill the mounting holes, then insert the anchors into
the holes.
3. Attach the mounting bracket to the anchors using
two P3.5x32 screws.
4. Insert two P2.6X12 screws into the bottom of the
unit, leaving enough of the screws exposed so that
the unit can be mounted to the mounting bracket.
If extra space is required between the unit and the
mounting bracket, use the spacers and P2.6x25
screws from the T-rail mounting hardware kit.
5. Mount the device on the mounted mounting bracket
then rotate it clockwise to secure it in place.
To attach the unit to a T-rail
1. Attach the T-rail clips to the bottom of the unit using two P2.6X10 screws.
If extra space is required to accommodate drop ceiling tiles, use the provided spacers
and P2.6x25 screws.
2. Line up the connected T-rail clips with an appropriately sized rail, then press the unit
into the rail until it snaps into place.
5.0G
5.0G
2.4G
2.4G
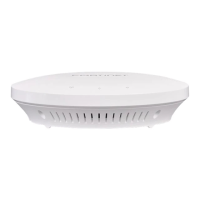
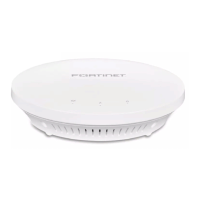
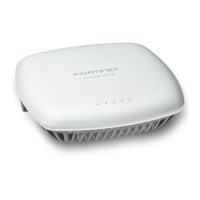
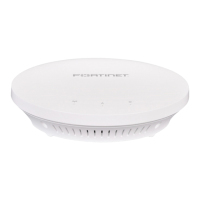
FortiAP 223C
2
1
Note: To protect your device from unauthorized removal, use the Kensington
Security Slot to attach a cable lock (not included).
Note: Two
sizes of
T-rail clips
are included
in the
mounting
kit: 2.38cm
(15/16in)
and 1.43cm
(9/16in).
Mounting
Anchors
Bracket
P2.6x12
Screws
P3.5x32
Screws
P2.6x10
Screws
Clips
P2.6x25
Screws
Clips
Spacers
Rail
Clip
 Loading...