605-01-378 9
Fig. 16: Align marks on the coil bucket and top hat.
FOX COIL-OVER INSTALL
22. Install the new coil-over assembly with the shock
decal seam facing inboard and the reference marks
on the top hat and spring pointed outboard (Fig. 16).
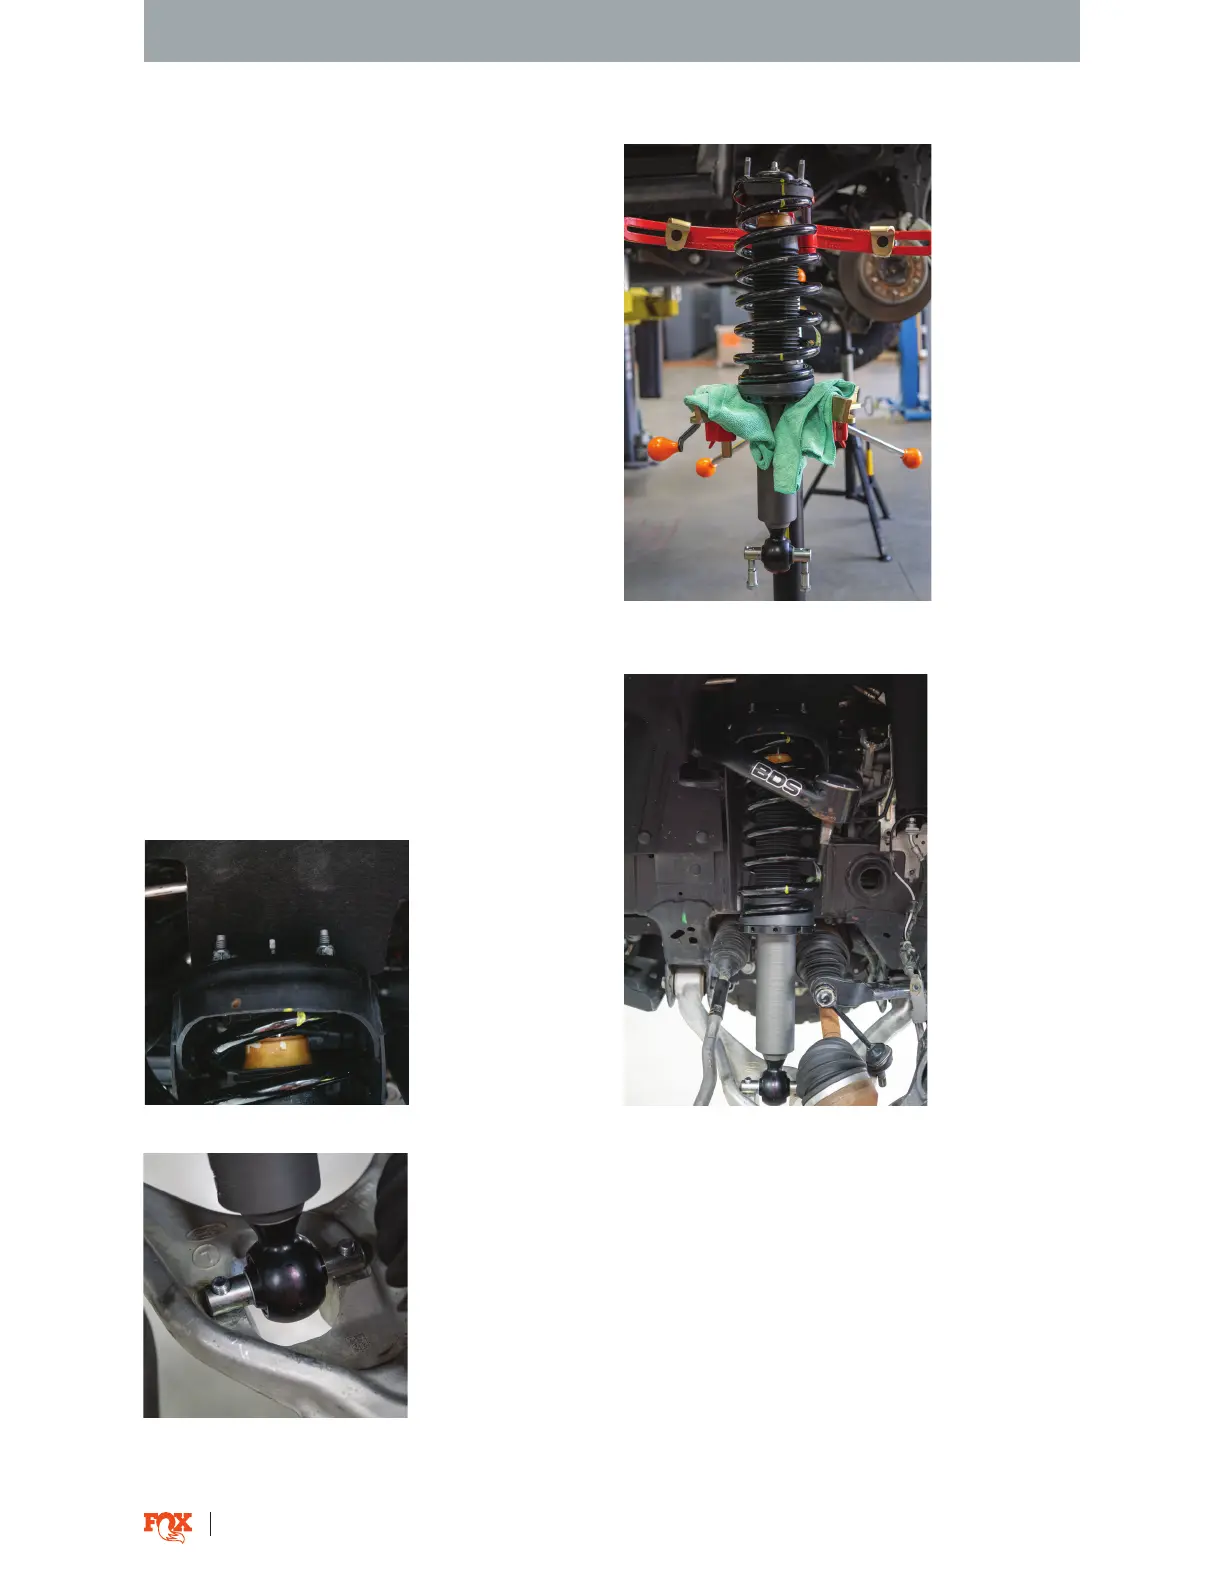
20. Use a professional spring tool to install FOX
assembly with the OEM spring, top hat, top hat
spacer, and jounce bumper. The FOX decal seam
points towards center of vehicle. The FOX spring
seat rotates freely so OEM spring orientation can be
used. Review your notes taken from Step 9.
NOTICE: Install the top hat spacer before the top
hat and center nut (Fig. 12).
21. Align the marks on the top hat and spring. Align
the shock’s bar pin perpendicular to the marks.
Torque the supplied center nut to 20ft-lbs (Fig. 15).
Fig. 15: Align the marks on the top hat and spring
23. Mount the three OEM top hat nuts and torque to
OEM specification. (Fig. 17).
24. Fasten the two supplied bar-pin bolts to the
lower shock mount and torque to 50 ft-lbs. (Fig. 18).
Fig. 17: Mount the top hat nuts.
Fig. 18: Fasten the bar-pin bolts.