605-01-378 7
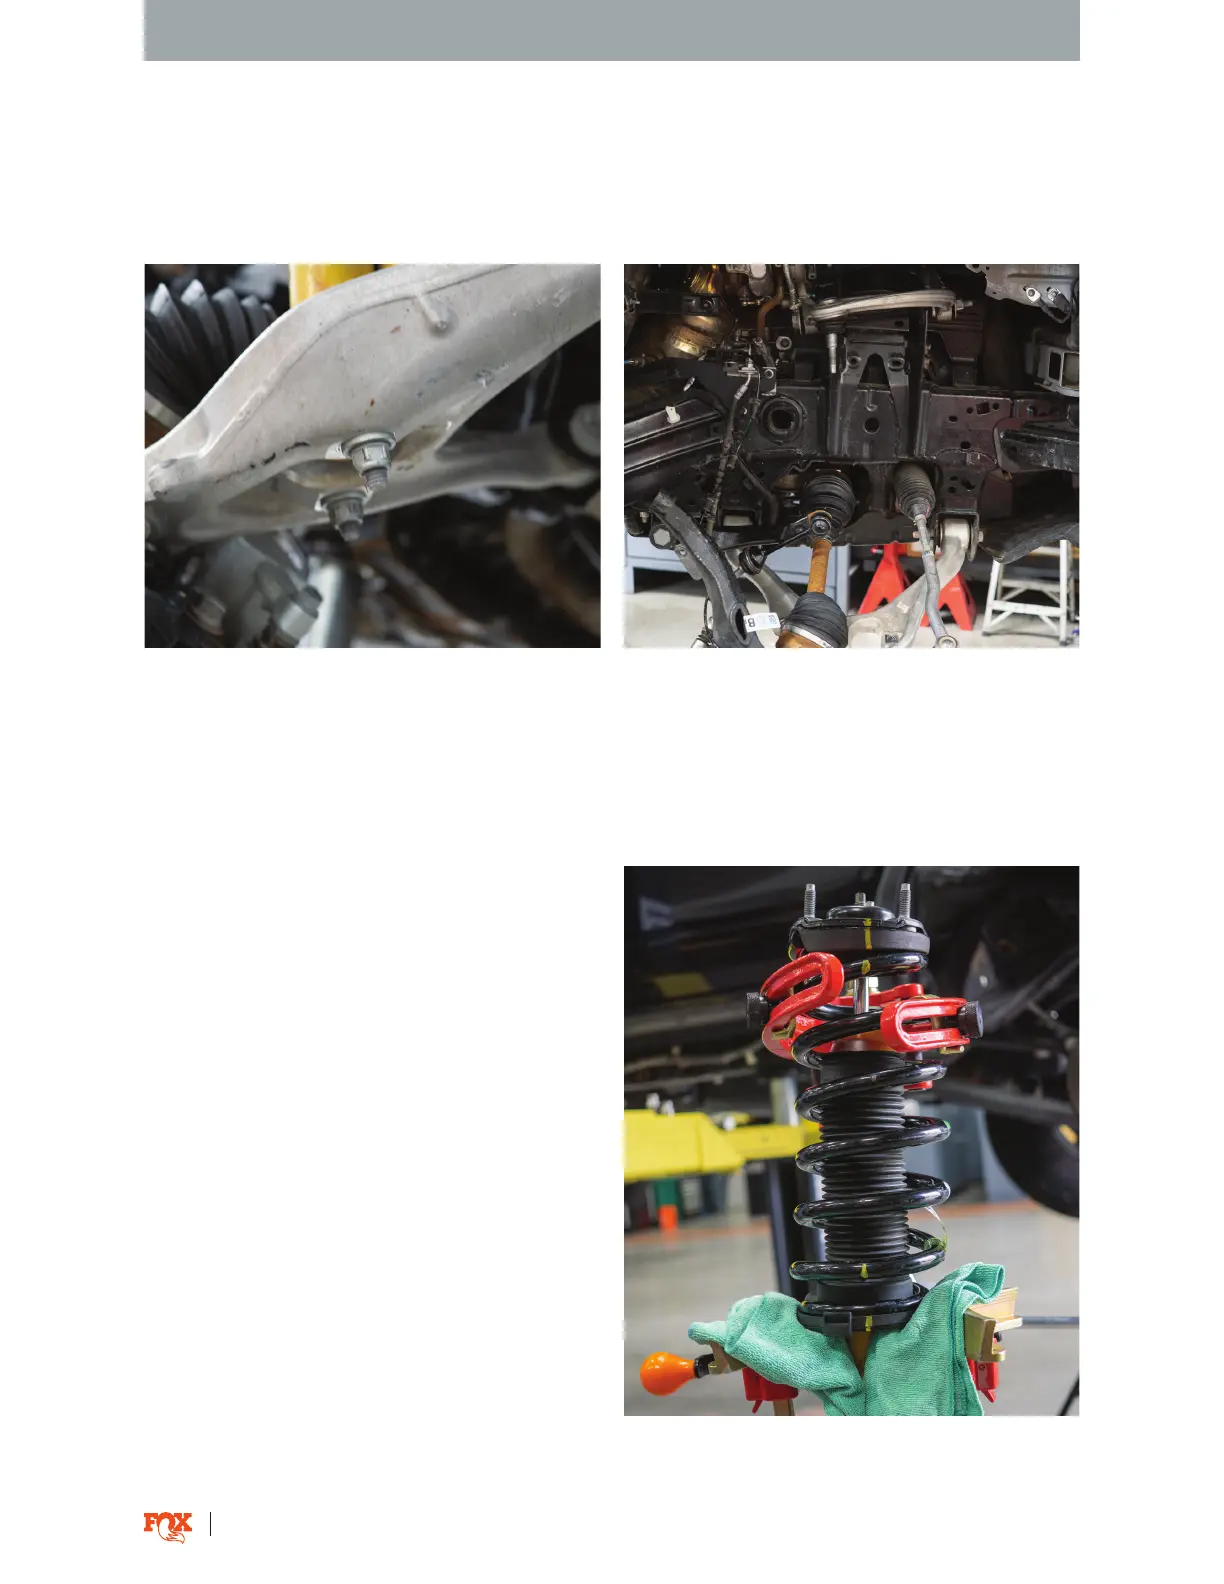
Fig. 9: Take o the bar-pin bolts. Fig. 10: Free the coil-over from the coil bucket.
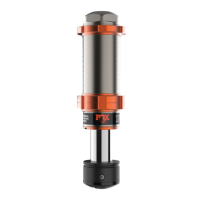
Fig. 11: Use a professional spring compressor.
12. Take o the bar-pin bolts connecting the coil-over to the lower control arm (Fig. 9). Remove the stock
coil-over assembly (Fig. 10).
NOTICE: Do not discard the OEM hardware. They will be used with your new FOX coil-over assembly.
13. If you’re installing an aftermarket UCA, install now and follow the company’s required specifications.
After installation, continue to step 14.
FOX COIL-OVER ASSEMBLY
WARNING: Follow all safety guidelines provided
by the spring compressor manufacturer. Using a
spring compressor in an unsafe manner can lead to
SERIOUS INJURY or DEATH.
14. Use a professional spring compressor to
compress shock assembly according to its
included instructions (Figure 11).
15. Center nut in the top mount is removed allowing
shock to be removed from spring and associated
hardware. Refer to OEM service manual if not
familiar.
WARNING: When the center nut is removed, the
shock may drop from the spring compressor. OEM
center nut is not retained for reuse.