ENGLISH
• DIGITAL CIRCUITRY
• LOW BATTERY DRAIN
• MULTICOLOUR (X4) LED
• EASY MICRON REGISTRATION
• WEATHERPROOF SEALED CASE
• I
-
COM
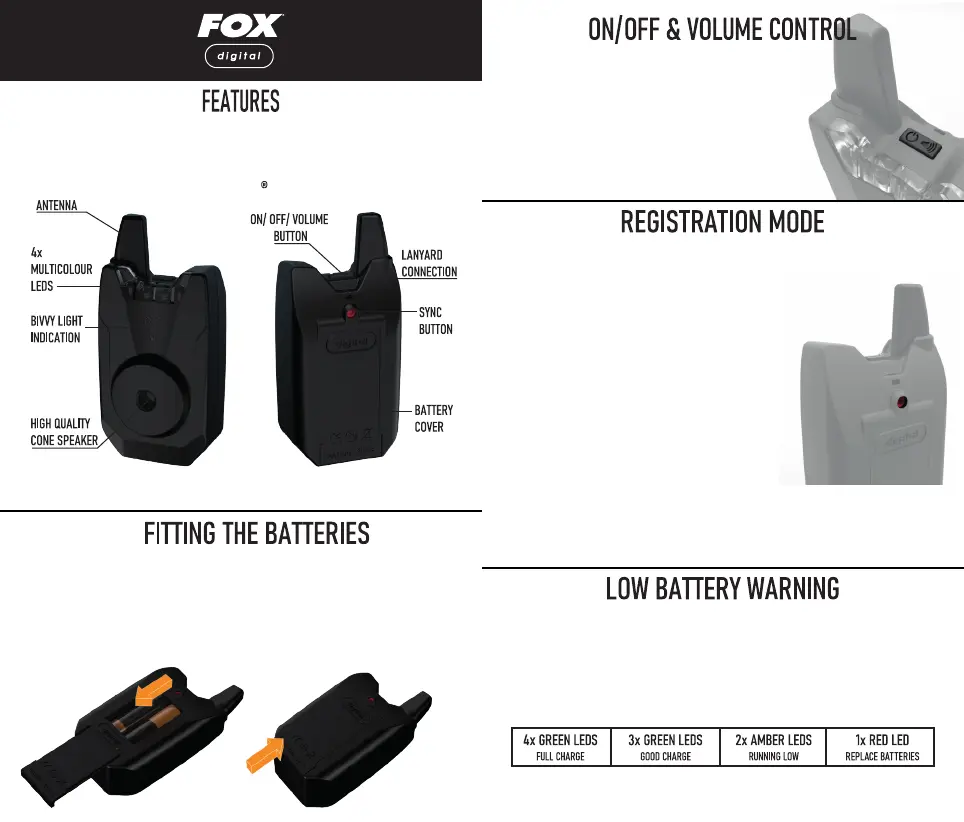
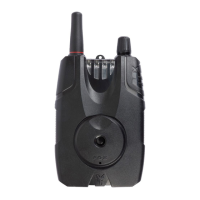
To turn the receiver on press and hold the on/ o/
volume button for 2 seconds and then release
To turn the receiver o press and hold the on/ o/
volume button for 2 seconds and then release.
To cycle incrementally through the volume
settings of the receiver press the on/ o/ volume
button and release.
Repeat this process until the volume setting is at
the desired level.
When the receiver is used for the rst time, it is necessary to “register” the
bite alarms that it will be used with, so that the receiver can “learn” their
unique identication codes. Before starting this procedure, ensure all
your bite alarms are switched OFF, then proceed as follows:
When the Mini Micron X receiver batteries are too low the LEDs will
automatically begin to ash red every 2 seconds. They will remain
ashing red until new batteries are inserted into the alarm. Once new
batteries have been placed into the Mini Micron X receiver the LED col-
our will automatically revert back to your last chosen colour. No audible
low battery warning is given by the Mini Micron X receiver. When the
receiver is turned on it will display the current battery life of the receiver
with the following incication:
If the volume or LED performance noticeably decreases change the batteries.
Please ensure the batteries are removed from the Micron during long periods without use.
If you would like to change the order of the Microns, or add more to your
setup please repeat the above sequence.
Note: The registration process can be disrupted if attempted in close
proximity to other radio signals such as wireless routers.
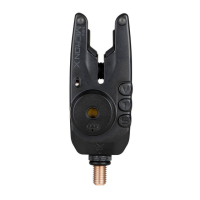
1. Switch Mini Micron X Receiver “ON.”
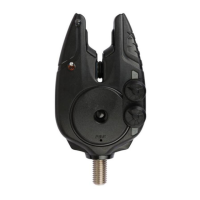
2. Using a small pointed object press the
registration button on the back of the
receiver until the leftmost LED starts to
ash. Release the button.
3. Now simply switch on each Micron in the
order you would like them to appear on the
receiver.
4. When complete press the registration
button again on the back of the receiver, or
switch unit o.
3. Take care removing the batteries.
Insert new batteries and ensure
correct polarity.
2. Slide the battery cover downwards
away from the receiver until the full
cover can be removed.
1. Turn o unit prior to tting or
replacing batteries.
4. Align the battery cover within the
channels on the receiver case and
slide the battery cover towards the
top of the receiever until you feel a
positive engagement to re-t the
battery cover.