FoxGate S6200 Series Installation Guide Chapter 2 Hardware Installation
Caution!
The brackets are used to fix the switch on the rack. They can’t serve as a bearing.
Please place a rack shelf under the switch. Do not place anything on top of the switch.
Do not block the blowholes on the switch to ensure the proper operation of the switch.
2.3.2 Connecting Console
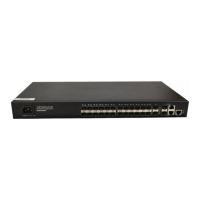
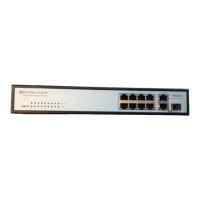
FoxGate S6224-S2/S4 series provide a DB9 serial console port and FoxGate S6208-
S1 RJ-45 console port
Fig 2-3 Connecting Console to FoxGate S6200 series
The connection procedure is listed below:
1. Find the console cable provided in the accessory kit. Attach the RJ45 or DB9 end to
console port of the switch.
2. Connect the other side of the console cable to a character terminal (PC).
3. Power on the switch and the character terminal. Configure the switch through the
character terminal.
2.3.3 SFP Transceiver Installation
FoxGate S6200 series provide multiple 1000Mb SFP transceiver slots.
The procedure for installing the SFP transceiver is shown below:
Step 1: Put on a ESD wrist strap (or antistatic gloves)
Step 2: Insert the SFP transceiver to the guide rail inside the fiber interface line card. Do
not put the SFP transceiver up-side-down.
Step 3: Push the SFP transceiver along the guide rail gently until you feel the transceiver
snap into place at the bottom of the line card.
Note: The SFP transceiver is hot swappable.
7
 Loading...