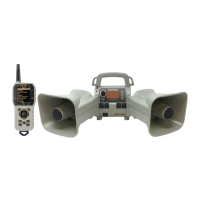
50
position you wish to load the sounds into and click "Insert". Or if you are replacing
existing sounds, use "Overwrite".
5. When complete, click on the "Update Caller" button to save your changes. Any sounds
being removed will automatically be backed-up.
6. Exit the utility and update your remote control as per the instructions in the next
section.
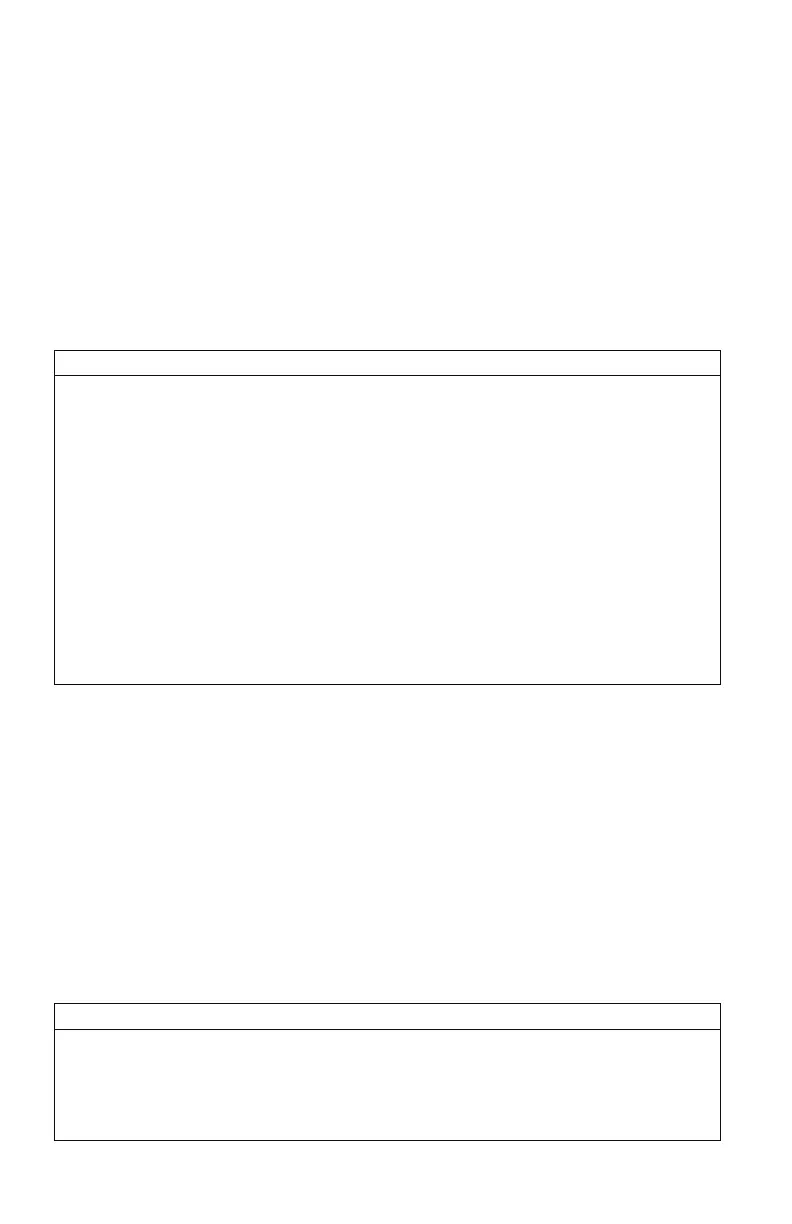
11-6 Editing the Categories Manually
XWave sound categories are maintained and defined through a text file that is located in the
XWave. To begin working with the categories, open the file titled ‘categories.txt’ (located inside
of the “Sounds” folder). The file should look something similar to the following:
Example ‘categories.txt’ File
Coyote Vocals
000
001
002
003
004
Fox Vocals
023
024
025
026
Whitetail Sounds
078
079
The above example shows the category layout for three categories: Coyote Vocals, Fox Vocals,
and Whitetail Sounds. The sounds listed beneath each category name are the sounds that
comprise that category.
Through simple editing of this file, you can easily build your own category names and associated
sound lists. The best way to go about doing this is to have your XWave remote control next to
you. Turn it on and access the sound list. Next to each one of the sounds is a three-digit
number. This number is prefixed to the sound name by the XWave remote. Let’s say you want
to create a raccoon category. Look through your sound list and find your raccoon sounds. For
this example, let’s say that you encounter 5 raccoon sounds in your sound list on sounds 090 –
094. Open the ‘categories.txt’ file and add the following:
Example ‘categories.txt’ File
Raccoon Sounds
090
091
092
093