Customer Service: 1800-914-9835 | support@frameitall.com
ASSEMBLY INSTRUCTIONS
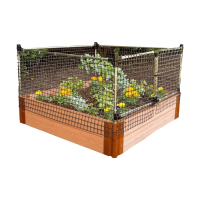
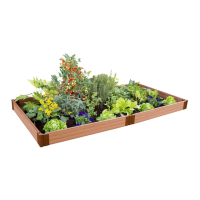
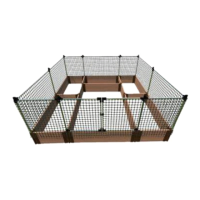
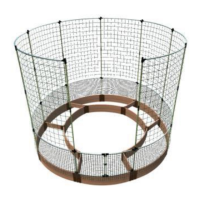
Your animal barrier kit goes together by sliding the ends of the metal tubes
into the plastic connectors to create a frame, then zip-tying netting to the
frame.
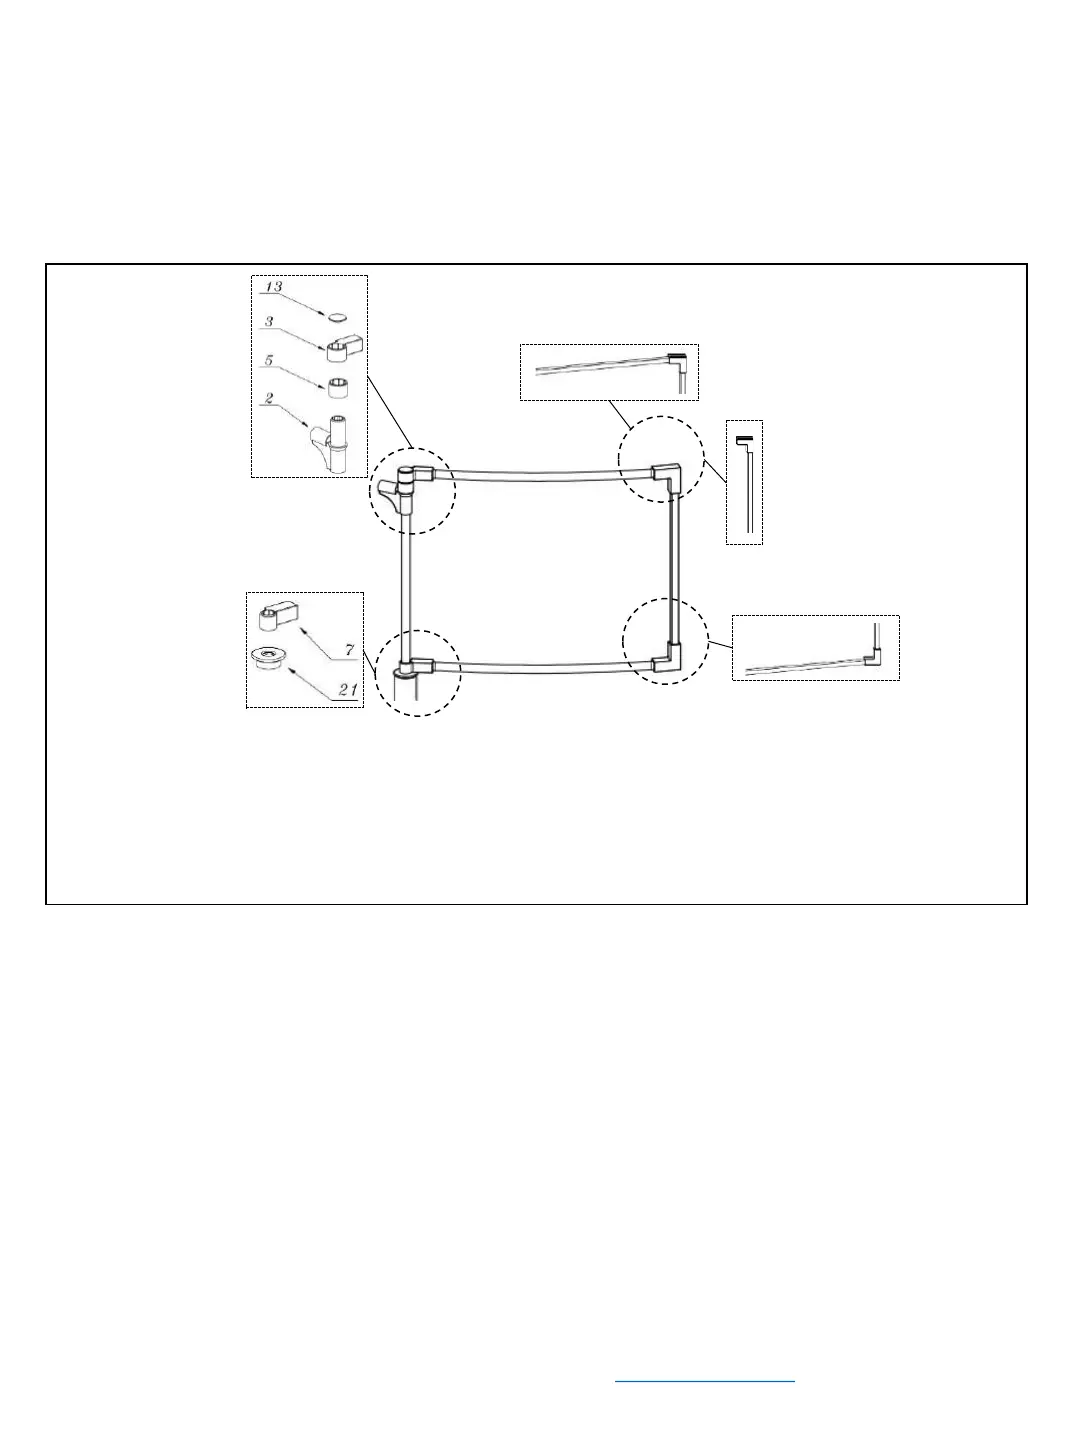
STEP 1: BUILD THE LEFT GATE
FOURTH: Complete the left
gate frame by connecting an
"L" connector (9) to each
end of another square tube
(17) and connecting this
tube to the rest of the frame
to create a rectangle.
THIRD: Add two square tubes (18) to create the top and the bottom
edges of the left gate--Insert one square tube into the square connector
of the top hinge and another into the square connector of the bottom
hinge.
SECOND: Use connectors 7 & 21 to
create the lower hinge for the left gate,
as shown in the box to the right. Slide
the lower hinge about 6" past the
bottom end of metal tube (20).
FIRST: Use
connectors 2, 5, 3, &
13 to form the upper
left gate hinge (as
shown in the box to
the right). Next, insert
round metal tube (20)
into the bottom of of
the hinge assembly.
(see main diagram)
FIFTH: Using zip ties (14), attach one of smaller
pieces of netting (16) to all of the tubes of the
gate frame. (See diagram in Step 5 of the
instructions).