INSTALLATION INSTRUCTIONS - FRE90M10B
FRANKE
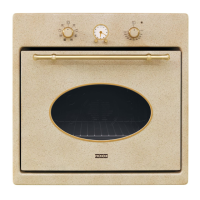
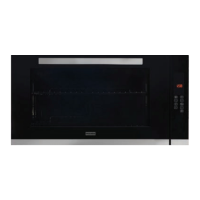
DESIGNER 10 FUNCTION OVEN 90CM
Only a qualied person in compliance with the instructions provided must install the appliance.
Appliance is fully assembled as in normal operation without any parts removed .The manufacturer declines all responsibility for
improper installation, which may harm persons and animals and damage property.
Important: - The power supply to the appliance must be cut off before any adjustments or maintenance work is done on it;
- Air duct is supposed to be used in ventilation.
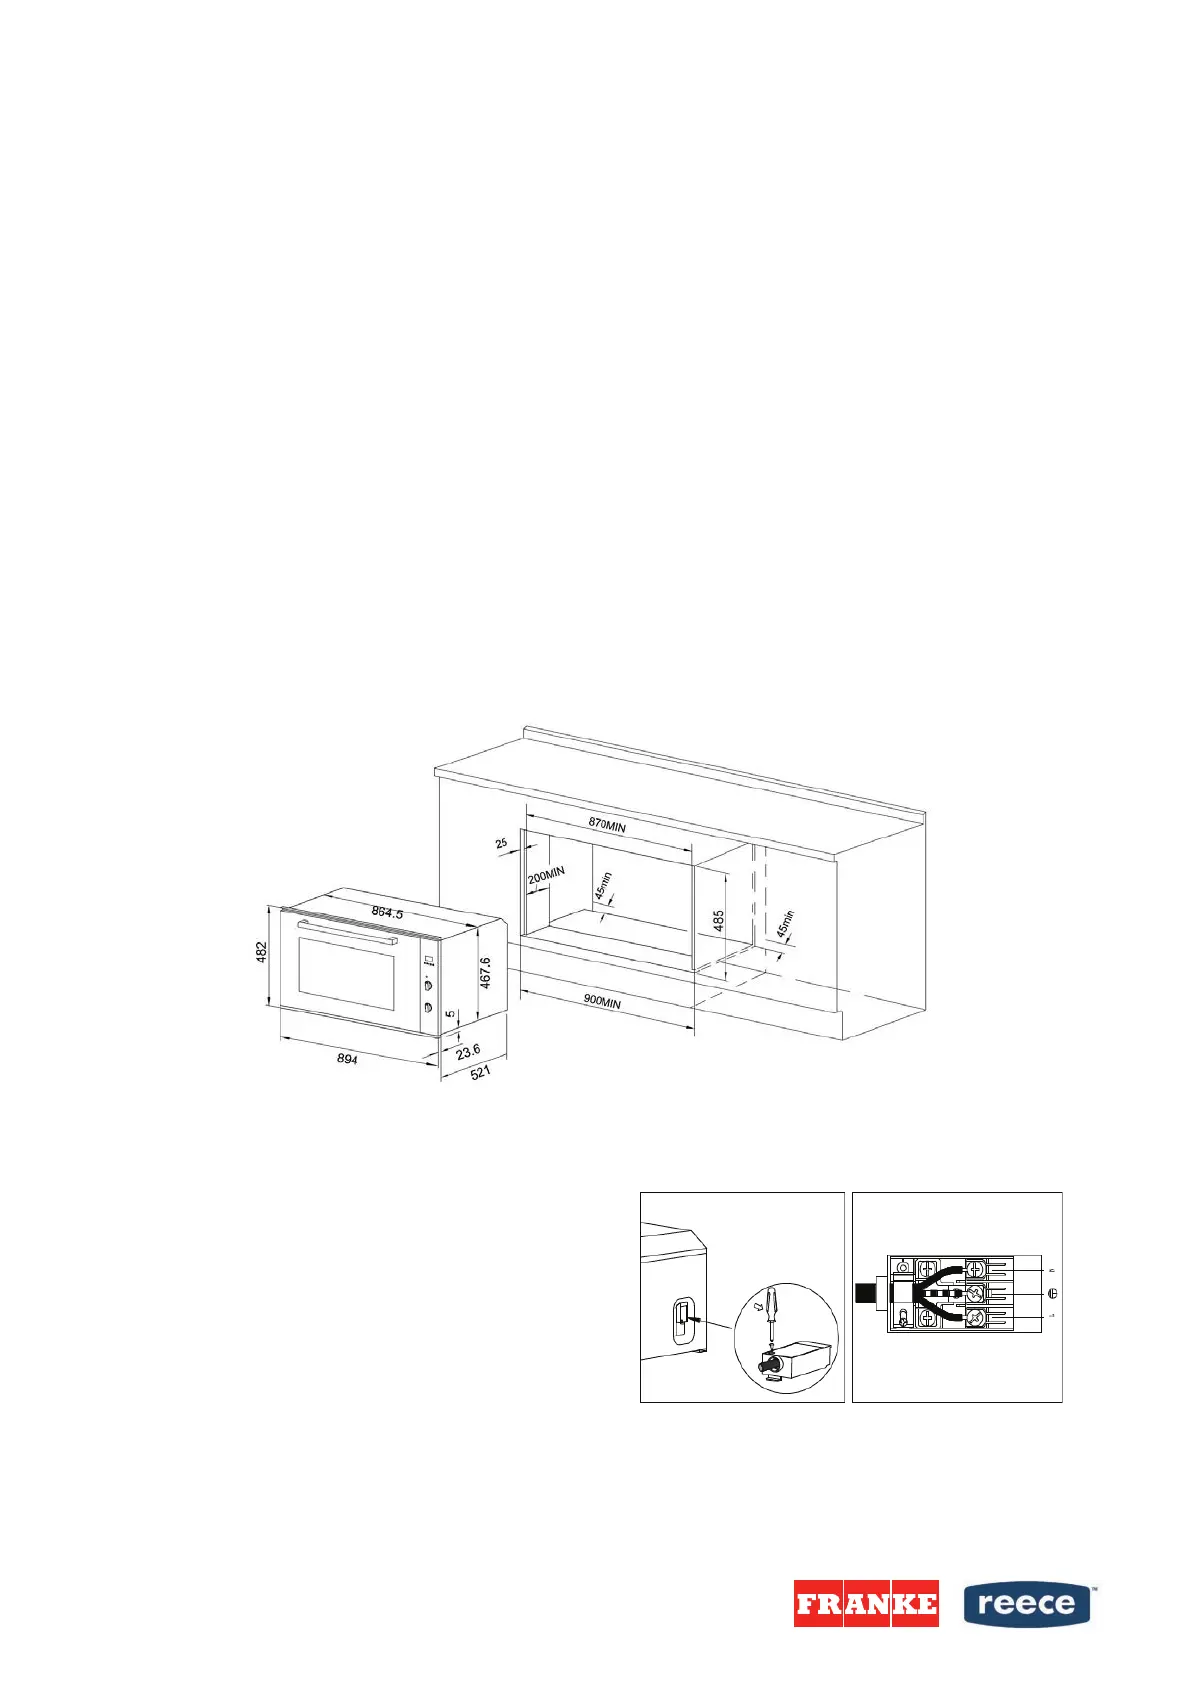
Installation of Built-in Ovens
In order to ensure that the built-in appliance functions properly, the cabinet containing it must be appropriate. The figure below
gives the dimensions of the cut-out for installation under the counter. In order to ensure adequate ventilation, the back panel of
the cabinet unit must be removed.
The oven must have a 40mm clearance between the oven and the rear timber panel. The panels of the adjacent cabinets
must be made of heat-resistant material. In particular, cabinets with a veneer exterior must be assembled with glues which can
withstand temperatures of up to 100℃.
In compliance with current safety standards, contact with the electrical parts of the oven must not be possible once it has been
installed.
The oven must be secured by 4 screws to the cabinet.
The oven must not be installed behind a decorative door in order to avoid overheating.
Electrical Connection
The ovens equipped with a three-pole power supply cable are designed to operate with an alternating current. The wire for
earthling the appliance is yellow-green in color.
Fitting on a Power Supply Cable
The ovens equipped with a three-pole power supply cable are
designed to operate with an alternating current. The wire for
earthing the appliance is yellow-green in color.
Fitting on a Power Supply Cable Opening the terminal board:
–Using a screwdriver, prize the bolt on the side tabs of the
terminal board cover; Unscrew the bolt, pull open the cover of
the terminal board.
To install the cable, proceed as follows: Remove the wire clamp
screw and the three contact screws L-N –
– Fasten the wires beneath the screw heads using the following
page 2 of 3
color scheme :Blue (N) Brown (L) Yellow-Green
– Fasten the supply cable in place with the clamp and close the
c
over of the terminal board.
Plumbers, please ensure a copy of the installation instructions
is left with the end user for future reference
 Loading...