BATTERIES AND BATTERY CHARGING
1. Battery Installation:
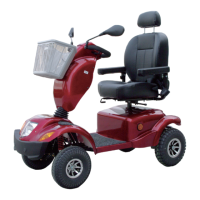
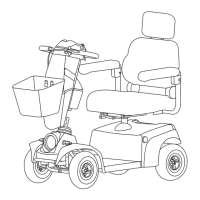
Your scooter is equipped with two maintenance free 12 volt 75Ah batteries. The batteries are
linked together by wiring cables to supply the electronic system with 24 volts of power.
Warning: It is imperative that the two batteries are connected correctly to prevent a short
circuit between the two batteries. When first installing the batteries follow these assembly
instructions.
(1) Connect the labeled positive (+) wire to the positive (+) terminal of the battery,
with the screw, nut and washer provided.
(2) Connect the labeled negative (-) wire to the negative (-) terminal of the battery,
with the screw, nut and washer provided.
(3) Repeat this procedure on the second battery making certain the plastic red/black
terminal covers are secured over each terminal.
(4) Sit on the seat and switch on your scooter, the battery meter will now move to
show the state of charge in the batteries and your scooter is ready to drive.
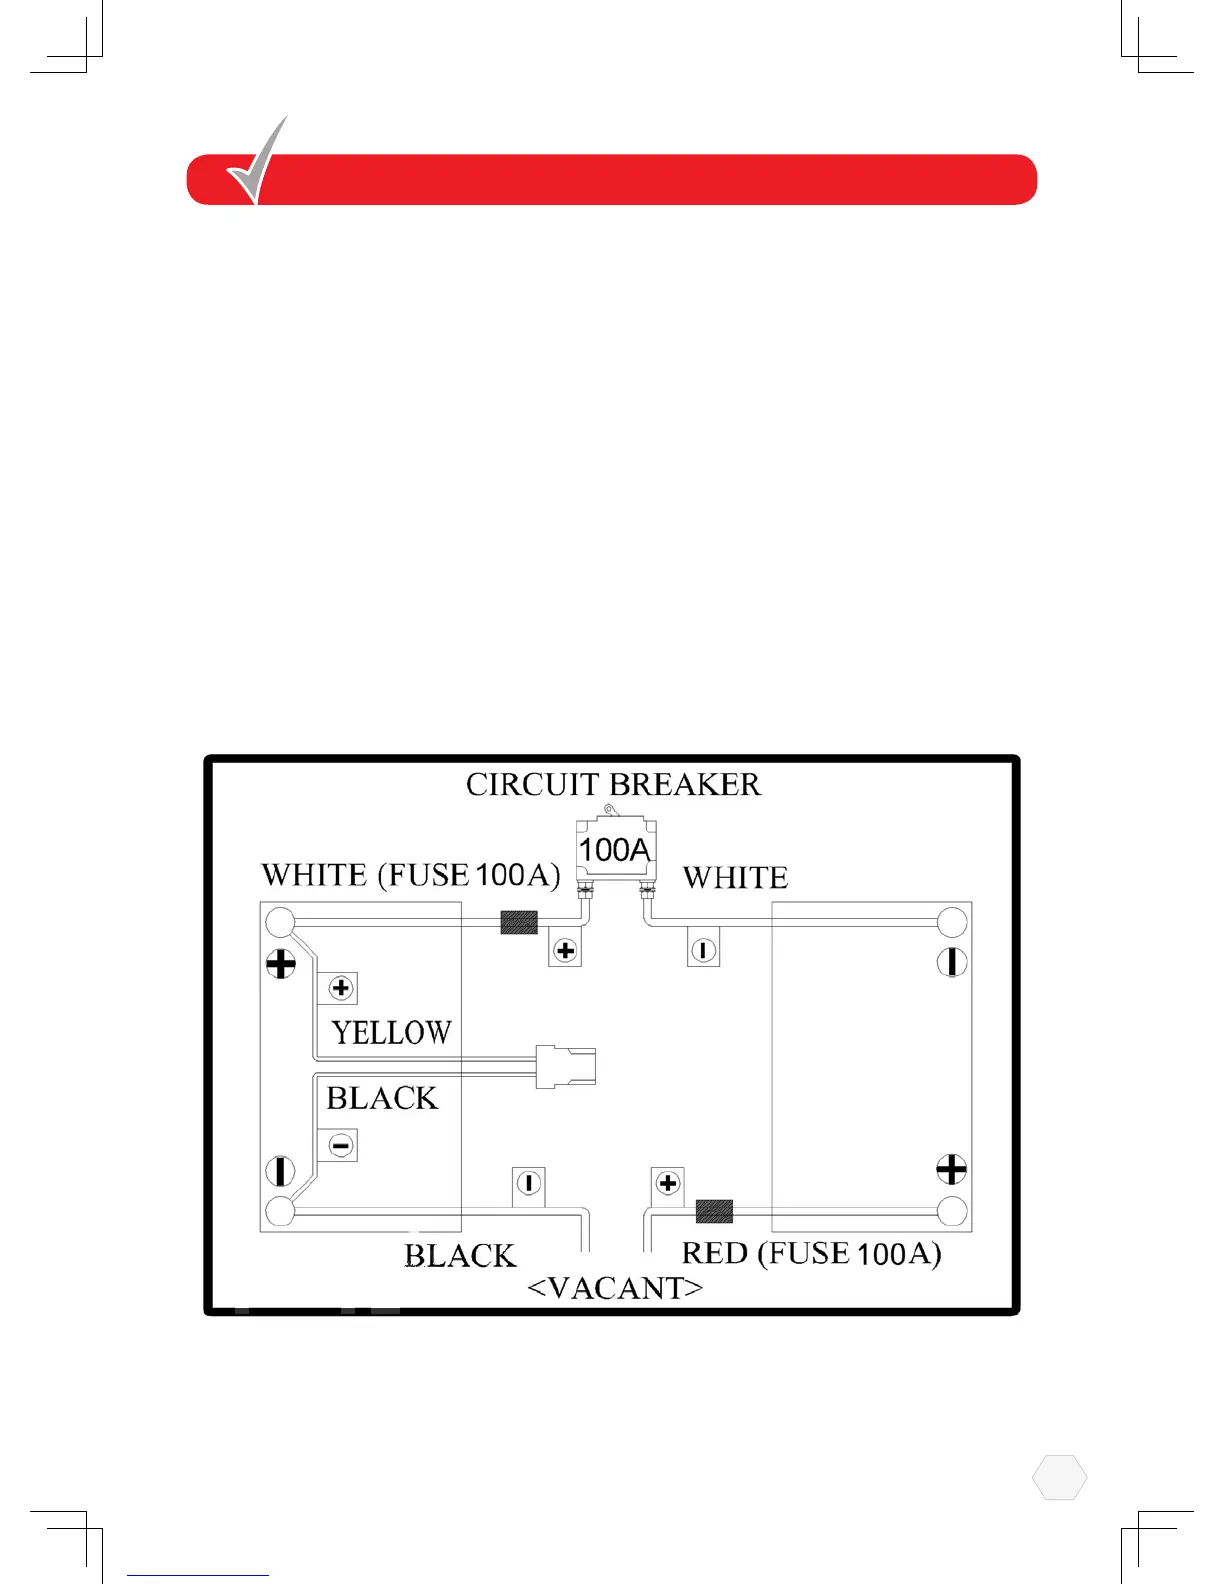
Batteries circuit diagram
20