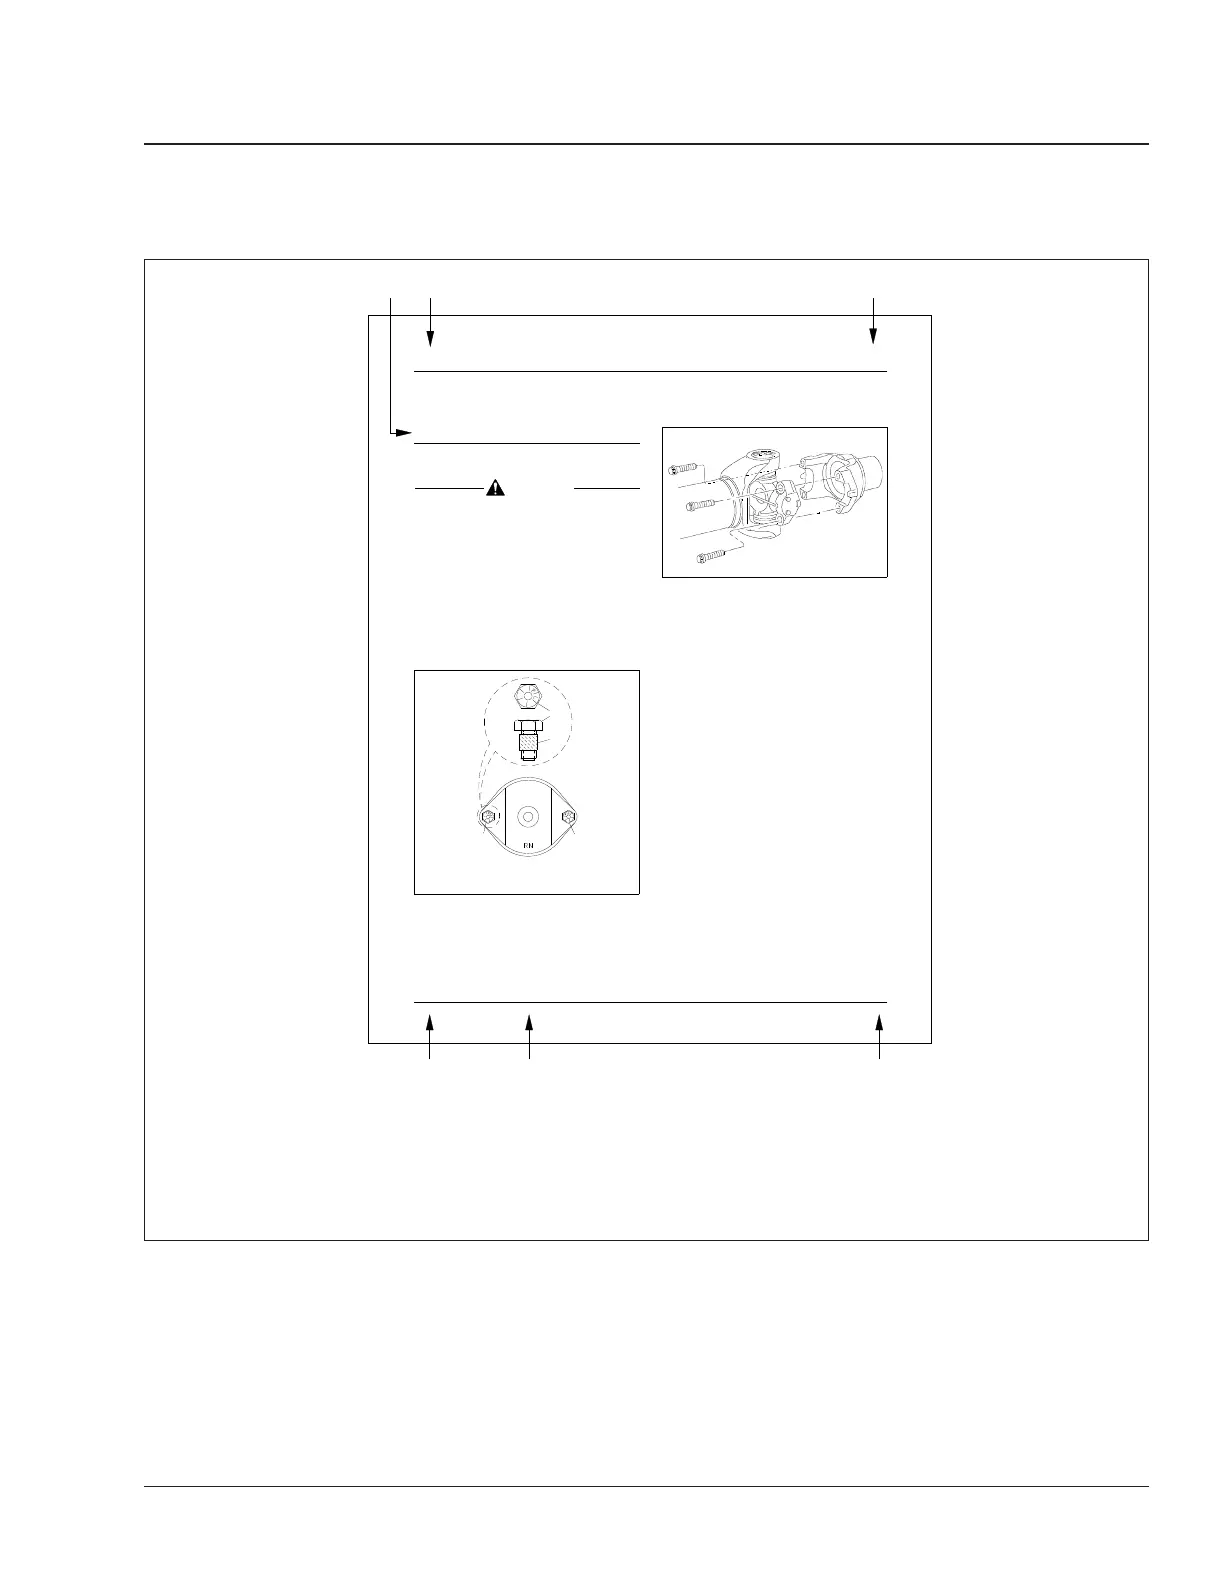
For an example of a Maintenance Manual page, see Fig. 1.
f020166
CB
FDE
41−01
Driveline
Inspection
1.
P
ar
k
the
v
ehicle
on a le
v
el
surf
ace
,
apply
the
par
king
br
akes
,
and
choc
k
the
tires
.
CA
UTION
D
u
et
o
t
h
eext
r
e
m
e
l
o
a
do
cc
u
rr
i
ng
at
h
i
gh
−
s
p
ee
d
r
o
tat
i
on
,
a
l
oo
se
o
r
b
r
o
ke
n
ca
p
sc
r
ew at a
n
y
po
i
n
t
i
n
t
h
e
d
r
i
ve
li
n
ew
ill
weake
n
t
h
e
d
r
i
ve
li
n
ec
onn
ec
−
t
i
on
,
w
h
i
c
h
c
ou
l
d
eve
n
t
u
a
ll
y
r
es
u
l
t
i
n
se
r
i
ou
sve
−
h
i
c
l
e
d
a
m
a
g
e
.
T
i
gh
te
nb
ea
r
i
ng
−
ca
p
ca
p
sc
r
ews
o
r
y
o
ke
−
st
r
a
p
ca
p
sc
r
ews t
o
s
p
ec
i
f
e
d
t
o
r
qu
e
,
b
e
i
ng
ca
r
ef
u
l
t
ono
t
o
ve
r
t
i
gh
te
n
.
2.
F
or
U−joints
with
bear
ing
caps
,
tighten bear
ing−
cap
capscre
ws
43
lbf·ft
(49
N·m).
See
.
Fig.
1
F
or
Ar
vin
Mer
itor
RPL
ser
ies
U−joints
,
tighten
bear
ing−cap
capscre
ws
125
lbf·ft
(169
N·m).
See
Fig.
2
.
F
or
U−joints
with
y
ok
e
str
aps
,
tighten y
ok
e−strap
capscre
ws
125
lbf·ft
(169
N·m).
See
.
Fig.
3
3.
Chec
k
the
dr
iv
eline
y
okes
f
or
cr
ac
ks
,
and
chec
k
end−y
okes
f
or
looseness
.
See
.
Fig.
3
Replace
cr
ac
k
ed
y
okes
.
If an
y
end−y
ok
e
can
be
mo
v
ed in
or
out
on
its
shaft,
or
can
be
roc
k
ed on
its
shaft,
disconnect
the
dr
iv
eshaft
and U−joint
from
the
y
ok
e
,
then
chec
k
the
dr
iv
e
component’
s
shaft
seal
f
or
leak−
age
or
other
visib
le
damage
that
ma
y
ha
v
e
been
caused
b
y
the
loose
y
ok
e
.
Replace
the
seal
if
needed,
then
tighten
the
y
ok
e nut.
Ref
er
to
Gr
oup
41
of
the
Casc
adia
TM
W
or
ks
hop
Man
ual
f
or
torque
specifications
.If
the
y
ok
e
is still
loose
after
tightening
the
y
ok
enut,
replace
the
end−
y
ok
e
and
y
ok
e nut.
Replace
the
pre
v
ailing
torque
loc
kn
ut
(end−y
ok
e
n
ut)
if it
w
as
remo
v
ed
f
or
y
ok
e
replacement,
seal
replacement,
or
an
y
other
reason.
4.
Chec
k
U−joint
assemb
lies
f
or
wear
b
y
mo
ving
the
dr
iv
eshaft
up
and
do
wn,
and
from
side
to
side
.
If
an
y
mo
v
ement
of
the
U−joint
cross
in
the
bear−
ings
can
be
f
elt
or
seen,
replace
the
U−joint
as−
semb
ly
.
5.
Chec
kif
the
midship
bear
ing
and
mounting
are
loose
or
ha
v
e
deter
ior
ated,
b
y
attempting
to
mo
v
e
the
dr
iv
eshaft
up
and
do
wn,
and
from
side
to
side
.
If
the
bear
ing
is
loose
on
its
shaft,
or
r
attles
,
replace
it. If
the
bear
ing
mount
is
loose
on
the
fr
ame
,
tighten
the
mounting
f
asteners
to
the
proper
torque
v
alue
.
See
of
the
Gr
oup
41
Casc
adia
Y
W
or
ks
hop
Man
ual
f
or
torque
specif−
cations
.
Replace
the
midship
bear
ing
assemb
ly
if
the
rub
ber
cushion
is
deter
ior
ated
or
oil−soak
ed.
6.
Chec
k
slip
joints
f
or
spline
wear
b
y
mo
ving
the
slee
v
e−yoke
and
splined
shaft
bac
k
and
f
or
th.
See
.
If
the
slip
joint
can
be
twisted
in a
Fig.
4
cloc
kwise
,
or
countercloc
kwise
mo
v
ement
f410155a
04/13/98
1
1
1
2
M
E
R
I
T
O
R
Capscre
w
2.
Adhesiv
e
Band
Fig.
1,
Ar
vin
Meritor
U−Joint
F
astener
s
for
Bearing
Caps
12/09/97
f410182
Fig.
2,
Ar
vin
Meritor
RPL Series
U−Joint
41
Cascadia
TM
Maintenance Manual, July 2007
41/1
Driveline
1.
Self−Locking
A
06/11/2007
A. Maintenance Operation Number consists of the Group Number followed by the Sequence Number
B. Group Title
C. Group Number
D. Vehicle Name
E. Release Date
F. Group Number/Page Number
Fig. 1, Example of a Maintenance Manual Page
Introduction
Page Description
New Cascadia Maintenance Manual, January 2017 I–3