57 PB
R-410A REFRIGERANT SYSTEM REPAIR
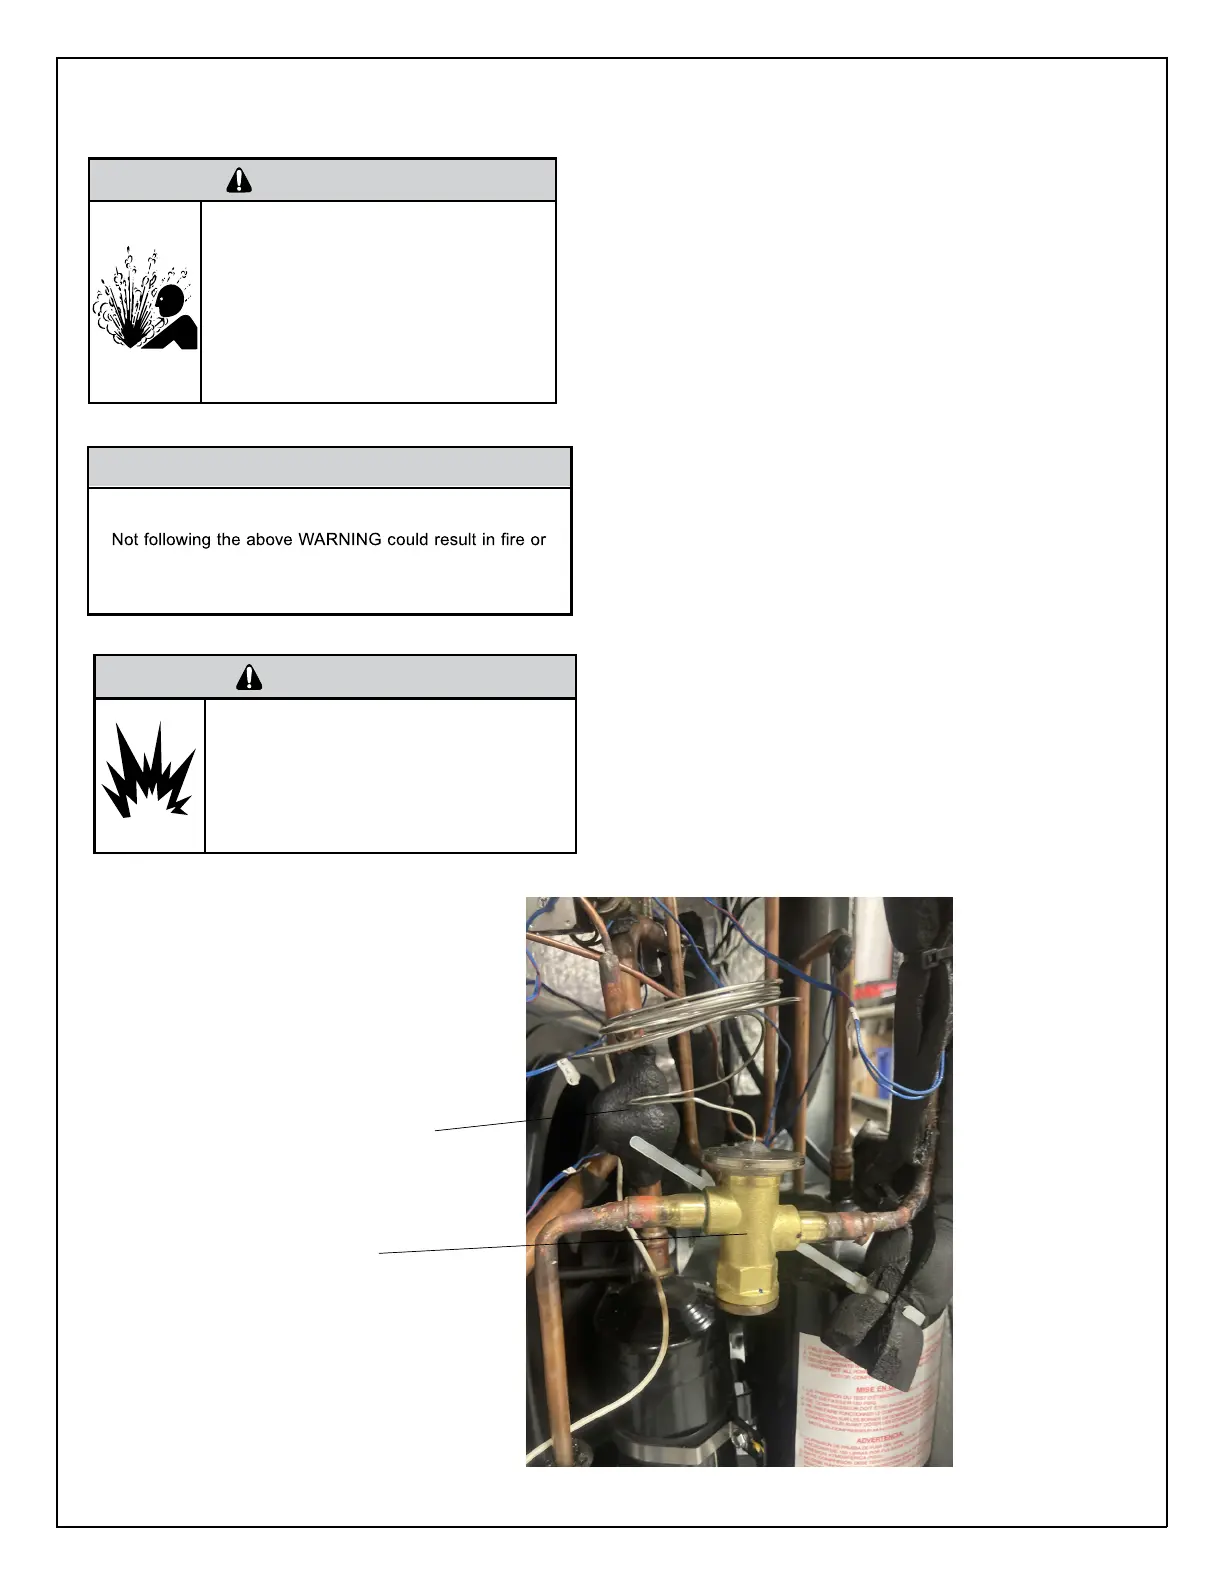
TXV Replacement
Please follow the steps below when replacing TXV:
1. Disassemble the front panel.
2. Remove the thermal bulb down by undoing the insulation around it.
3. Remove the TXV off from the liquid pipe with a welding torch. Be
careful not to burn the liquid pipe.
4. Wrap the new TXV with a piece of wet cloth to prevent damage
caused by heat from being too hot and connect the nitrogen flow to the
liquid pipe to prevent it from being oxidized. Weld the TXV to the liquid
pipe, (solder must be 5% or more silver content) and pay attention to
the direction of the TXV, then weld the pressure pipe to the gas pipe.
5. When the pipe cools down, connect it with 550 PSI nitrogen
equipment and examine the work for any leaks.
6. Secure the thermal bulb to the suction pipe with insulation strips
and perform insulation works.
7. Evacuate the system and charge. Refer to refrigeration charging.
WARNING
HIGH PRESSURE HAZARD
Sealed Refrigeration System contains refrigerant
and oil under high pressure.
Proper safety procedures must be followed,
and proper protective clothing must be worn
when working with refrigerants.
Failure to follow these procedures could
result in serious injury or death.
NOTICE
FIRE HAZARD
electically unsafe conditions which could cause moderate
or serious property damage.
Read, understand and follow the above warning.
WARNING
EXPLOSION HAZARD
The use of nitrogen requires a pressure
regulator. Follow all safety procedures and
wear protective safety clothing etc.
Failure to follow proper safety procedures
could result in serious injury or death.
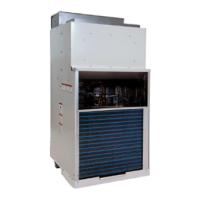
TXV
Sensing Bulb
Figure 701 (TXV Valve Replacement)
 Loading...