Please follow these steps for a successful installation:
1. Verify your thermostat can be replaced:
a. Make sure your original thermostat is working properly:
i. Increase heat, confirm heat comes on.
ii. Increase A/C, confirm cooling comes on.
CAUTION: Do not test the system by shorting electric terminals at the furnace or air conditioner. This may
damage the thermostat.
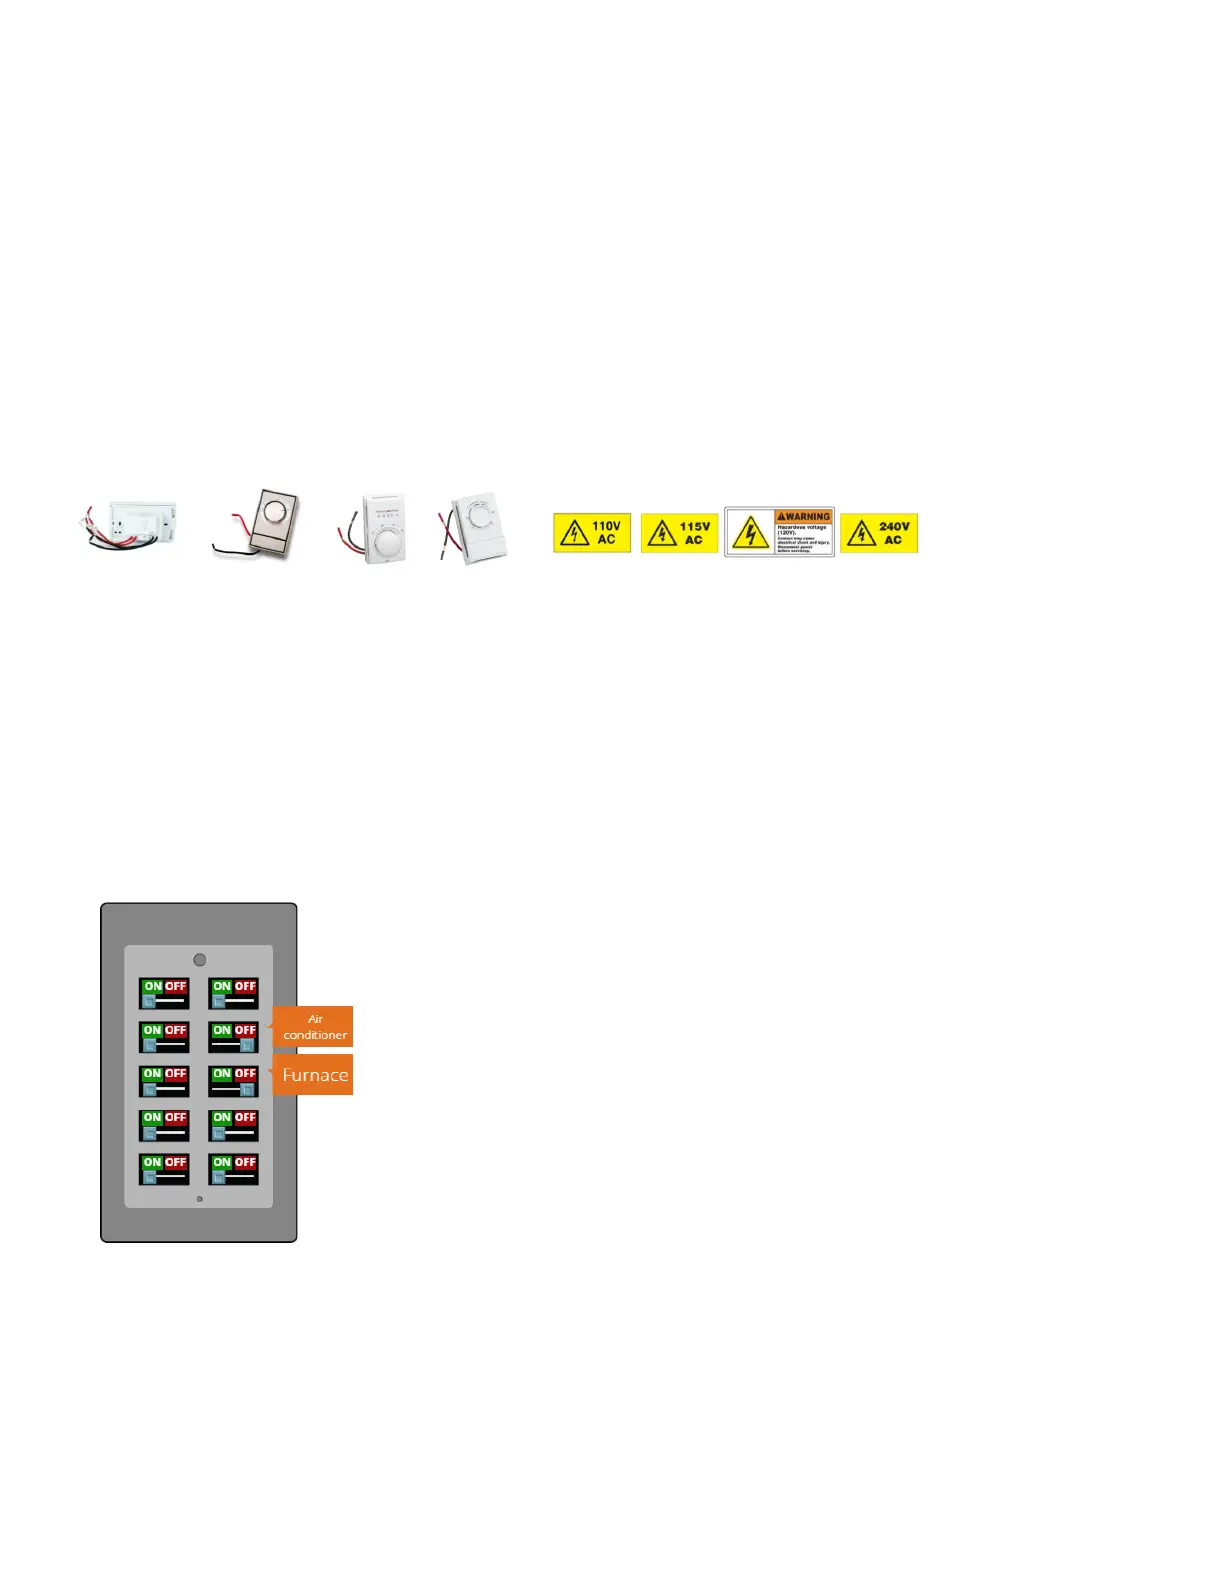
b. Make sure your old system is not high voltage. If the old system is labeled as 120 or 240 volts, or has thick, 14-
gauge, stranded wires coming out of the thermostat itself, it is high voltage. High voltage systems will require an
HVAC professional to do the installation.
Note: An amperage higher than 1 amp to each thermostat terminal may cause damage to the thermostat.
Examples and indicators of high voltage systems:
Once you’ve confirmed your thermostat is working and is not high voltage, you may proceed to the next step.
2. At the circuit breaker(s), turn all heating and cooling systems OFF. You may have two different circuit breakers at two
different locations- one for inside, and one for outside; both must be adjusted to reflect OFF for heating and cooling
systems.
a. NOTE/CAUTION: Your circuit breaker may look something like the below. If you are unsure as to whether or not to
turn off one of your breaker switches, it’s better to be safe and turn it off. If you have a master switch on the
breaker that controls all power, switching it off is the safest. Should there be any exposed wires, do not touch
them.
3. Once the power to both the heating and cooling systems is off, remove the old thermostat cover from the existing
thermostat. This may or may not require a screwdriver, depending on the model of your current thermostat.
4. Take a photo of the connected wires before disconnecting any of them.
 Loading...