Version
1.0
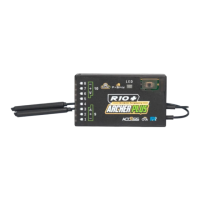
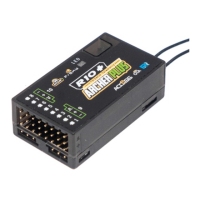
Instruction Manual for FrSky ARCHER PLUS R10+ Receiver
FrSky Electronic Co., Ltd. www.frsky-rc.com Contact us : frsky@frsky-rc.com
Add: F-4,Building C, Zhongxiu Technology Park, No.3 Yuanxi Road, Wuxi, 214125, Jiangsu, China Technical Support: sales4tech@gmail.com
Note:
●
If the failsafe is not set, the model will always work with the last working status before the signal is
lost. That could cause potential damage.
●
When the failsafe is disabled on the RF module side, the failsafe set on the receiver side will be
applied.
●
SBUS port does not support the failsafe setting in No Pulses mode and always outputs signal.
Please set "Hold" or "Custom" mode for the SBUS port.
Version
1.0
Instruction Manual for FrSky ARCHER PLUS R10+ Receiver
FrSky Electronic Co., Ltd. www.frsky-rc.com Contact us : frsky@frsky-rc.com
Add: F-4,Building C, Zhongxiu Technology Park, No.3 Yuanxi Road, Wuxi, 214125, Jiangsu, China Technical Support: sales4tech@gmail.com
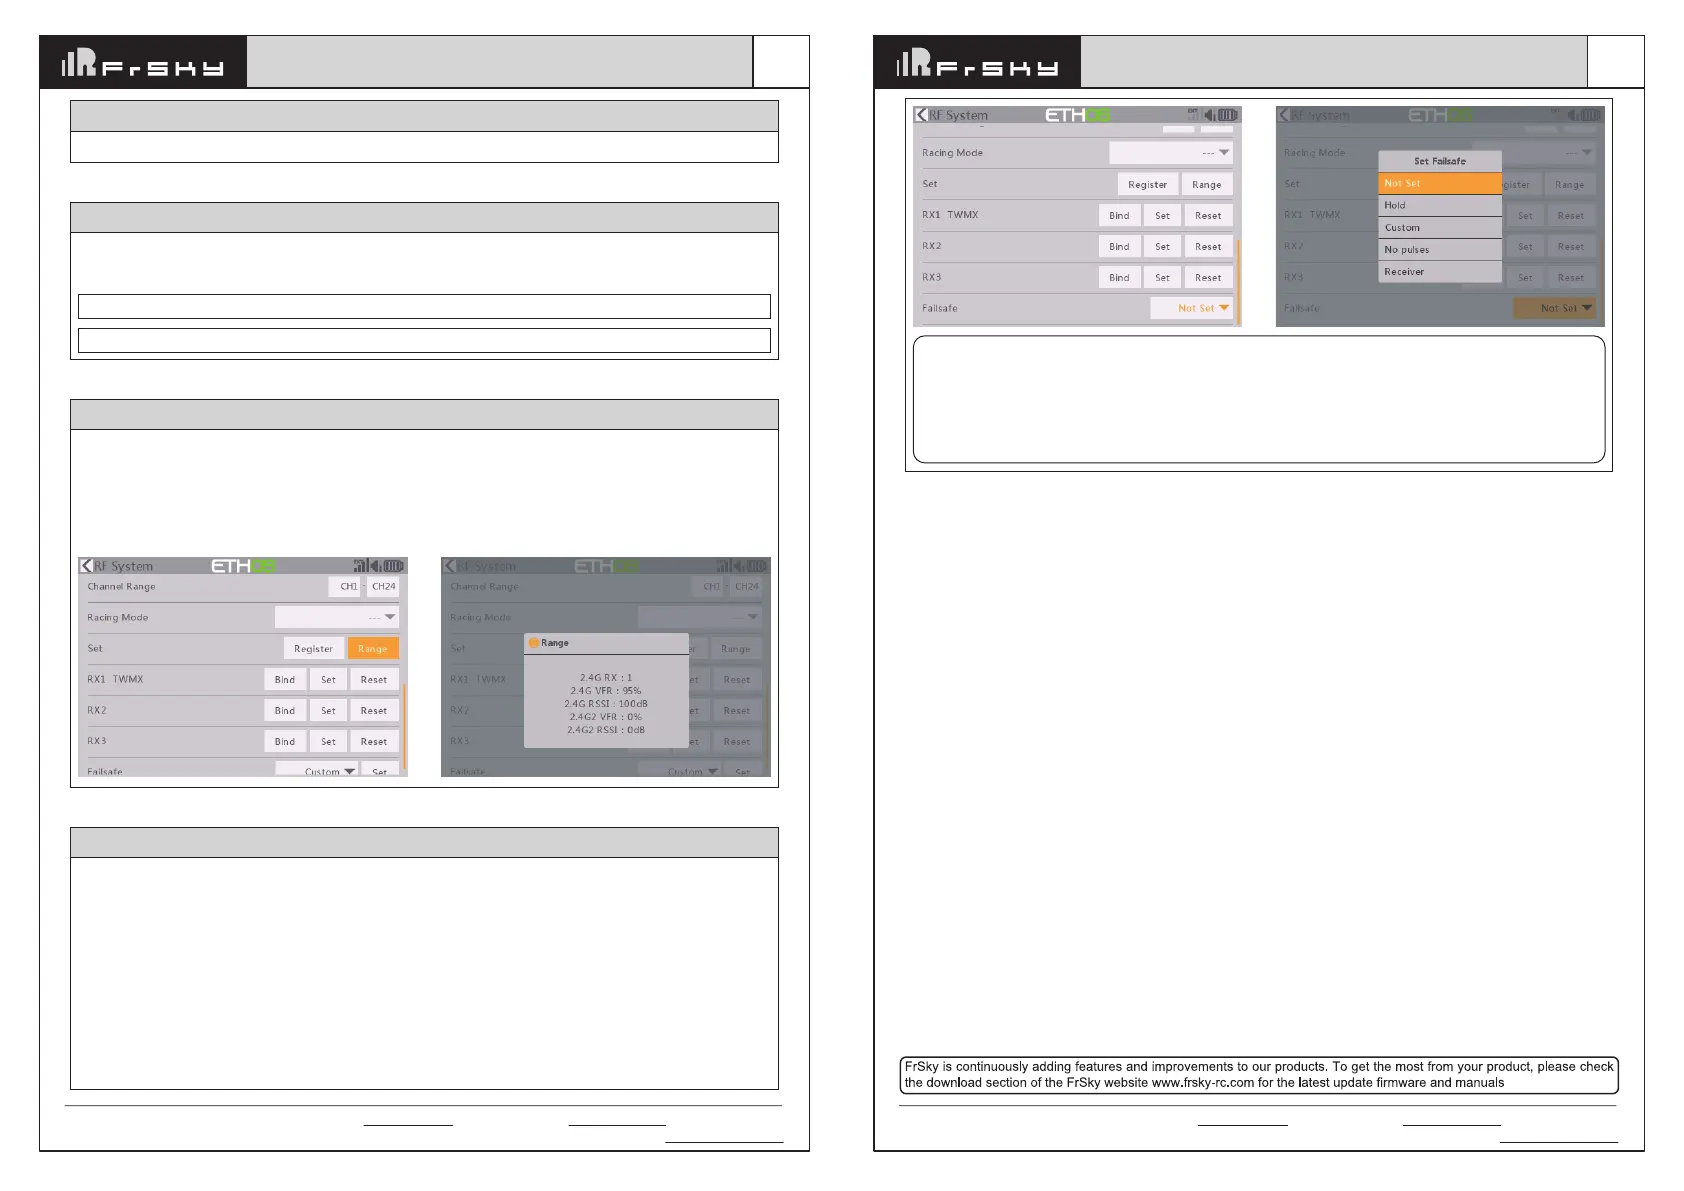
There are 3 failsafe modes when the setting is enabled: No Pulse, Hold, and Custom mode.
●
No Pulses Mode: On loss of signal, the receiver produces no pulses on any channel. To use this mode, select
it in the menu and wait 9 seconds for the failsafe to take effect.
●
Hold Mode: The receiver continues to output the last positions before the signal was lost. To use this mode,
select it in the menu and wait 9 seconds for the failsafe to take effect.
●
Custom Mode: Pre-set to required positions on the lost signal. Move the cursor to the failsafe mode of the
channel and press Encoder, then choose the Custom mode. Move the cursor to the channel you want to set
failsafe On and press Encoder. Then rotate the Encoder to set your failsafe for each channel and short-press
the Encoder to finish the setting. Wait 9 seconds for the failsafe to take effect.
How to set Failsafe
A pre-flight range check should be done before every flight, in case the signal loss is caused by the reflection of
the signal by the nearby metal fence or concrete, and the shading of the signal by buildings or trees during the
actual flight. Under normal circumstances, in Range Check mode, the RSSI at 150m is about 45-50.
1. Place the model at least 60 cm (2 feet) above the non-metal contaminated ground (such as on a wooden
bench). The receiving antenna should be in a vertical position.
2. Ener the ETHOS system, move to the "RF System", scroll the Encoder to select "RANGE" mode and press
Encoder. In range check mode, the effective distance will be decreased to 1/30.
Range Check
How to switch SBUS channel mode
Enter into RX Settings, click [SBUS], then select SBUS-16 mode or SBUS-24 mode.
Note: Please do not do the binding operation in the near range while the firmware upgrading in progress.
Note: Update the firmware after the receiver getting registered (OTA).
Go to the [File manager], and select the FW, press the enter button, select [Flash RX by int.OTA]. Power on the
receiver, select the RX, go to the [ENTER], complete the flash process, the transmitter will display [Success].
Wait for 3 seconds, the receiver works properly at the moment.
About OTA function (ACCESS mode)
 Loading...