Printing at up to 10R (25.4 × 30.5 cm) / A4 size
5
(2848 × 2136)
Printing at up to 4R (10.2 × 15.2 cm) / A6 size
2
(1600 × 1200)
To use for e-mail or web site
`
(640 × 480)
Printing at up to 6R (15.2 × 20.3 cm) / A5 size
3
(2048 × 1536)
45
Advanced Features
3
44
ISOISO
AUTOAUTO
8080
100100
200200
ISOISO
AUTOAUTO
8 80
100100
200200
1
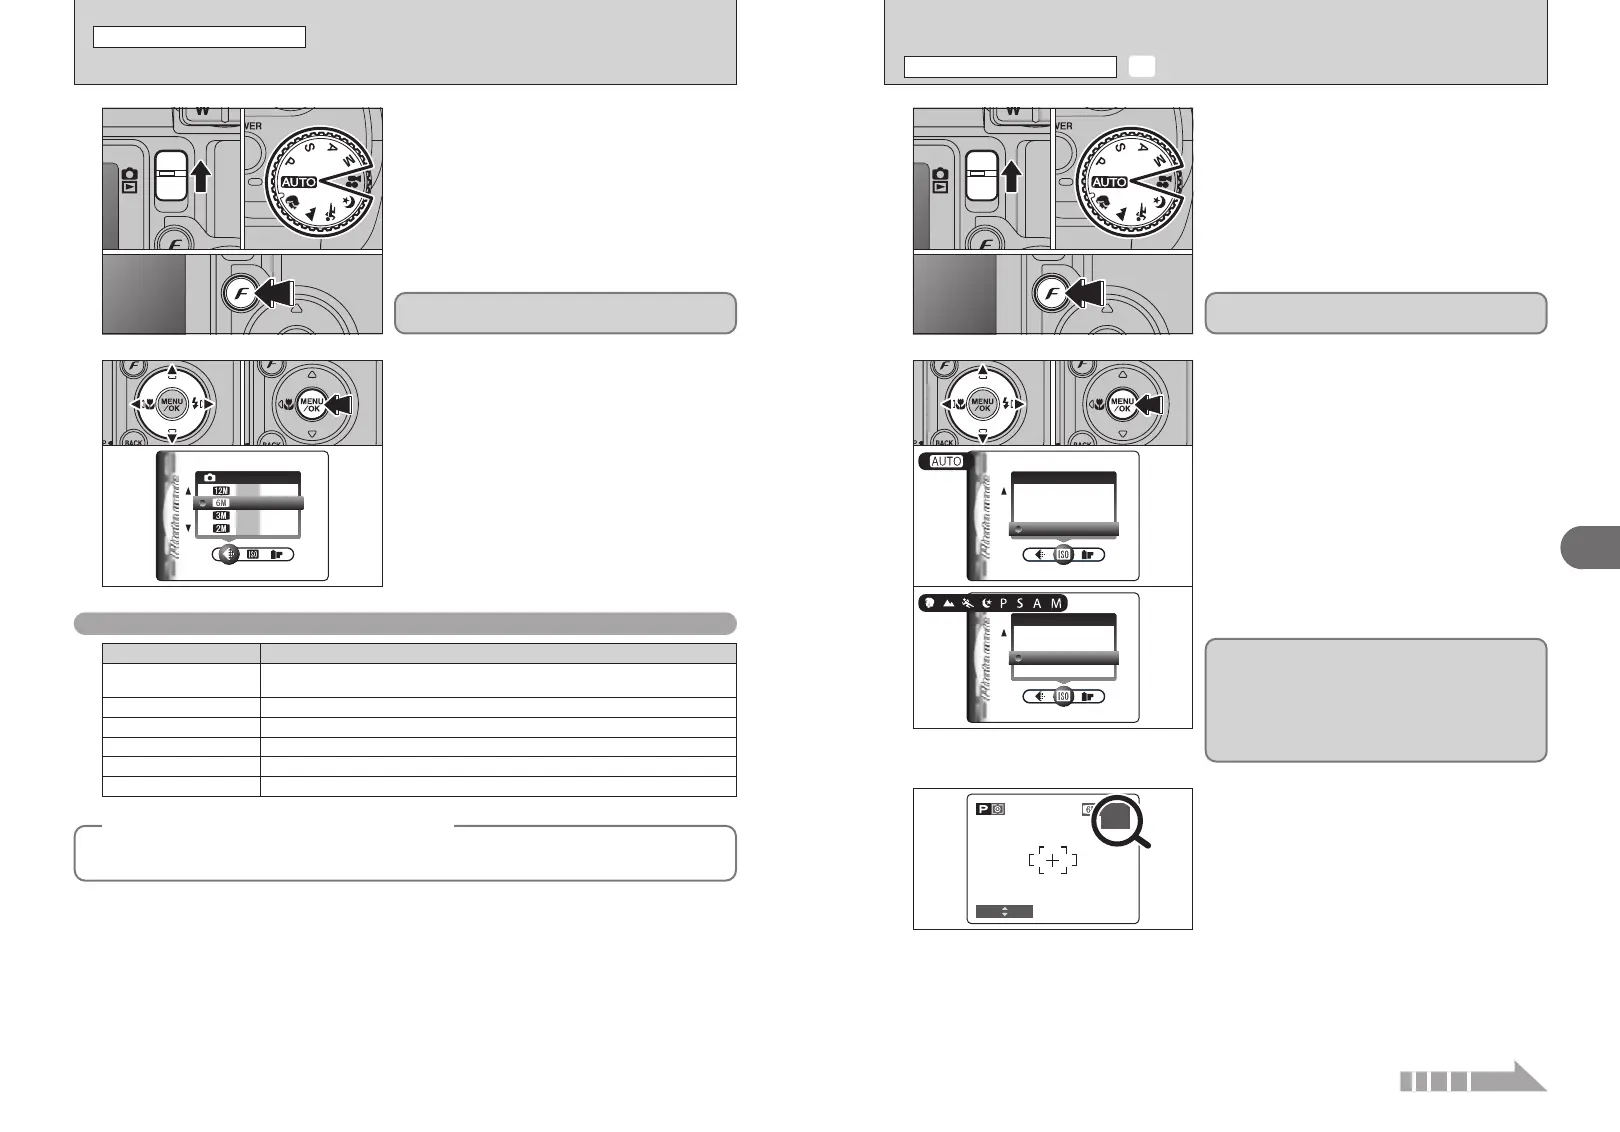
1Set the Mode switch to “q”.
2Set the Mode dial to Photography mode.
3Press the “p” button.
●
!
In “r” Movie mode, do not set the “S” (sensitivity) setting.
2
3
01
03
02
01 02
///////
Sensitivity is retained even when the camera is off
or the mode is changed.
250250 F5.6F5.6
ISO 80ISO 80
1010
S SENSITIVITY
p PHOTO MODE PHOTOGRAPHY
QUALITYQUALITY
N
FRAMESFRAMES
6 6
1010
1919
2525
y QUALITY MODE
(
NUMBER OF RECORDED PIXELS
)
p PHOTO MODE PHOTOGRAPHY
1
1Set the Mode switch to “q”.
2Set the Mode dial to Photography mode.
3Press the “p” button.
1Press “d” or “c” to select the “
y” QUALITY
setting and then press “a” or “b” to change the
setting.
2Press the “MENU/OK” button to confirm the
setting.
●
!
The numbers to the right of each setting show the number of
available frames.
●
!
When changing the quality setting, the number of available
frames also changes (➡P.24).
01
03
02
The quality setting is retained even when the
camera is off or the mode is changed.
2
01 02
Quality settings in Photography mode
Quality mode
Printing at up to 14 × 17 in. (35.6 × 43.2 cm) / A3 size
T
N (4048 × 3040)
Printing at up to 14 × 17 in. (35.6 × 43.2 cm) / A3 size
For better quality, select “T F”
T
F (4048 × 3040)
Sample Uses
1Press “d” or “c” to select the “S” setting and
then press “a” or “b” to change the setting.
2Press the “MENU/OK” button to confirm the
setting.
h Settings
B: AUTO /80/100/200/400/800
m, ,, ., /, N, M, < and >: 80/100/200/400/800
When the sensitivity is set to “80”, “100”, “200”,
“400” or “800” the selected sensitivity setting
appears on the LCD monitor.
●
!
When setting CCD-RAW (➡P.85), only “80”, “100”, “200” and
“400” sensitivity settings can be selected.
●
!
While selecting a higher sensitivity setting will allow you to
take pictures in darker locations, it will also increase the
amount of speckling in your images. Streaking may also be
visible in shots of scenes such as the night sky.
Choose the sensitivity setting that best suits the conditions.
Selecting AUTO as the sensitivity setting, the
camera selects the best sensitivity setting for the
subject’s brightness.
Refer to “Specifications” (➡P.117) for information
on the AUTO sensitivity setting.
The AUTO sensitivity setting can be selected in the
“
B” Photography modes.
◆
Quality setting in high-sensitivity mode
◆
When a high-sensitivity setting (ISO 800) is selected, the “5” and “T” quality modes are no longer
available. The “
`”, “2” and “3” quality modes can be selected.
Continued