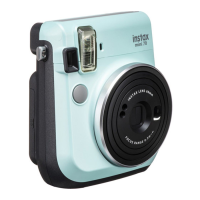
2. Flash light sensor
3. Film ejection slot
4. Flash lampface
5. Viewfinder
6. Shutter button
7. Lens cover / Lens
8. Selfie mirror
9. Lens barrel
10. Power button
11. Flash charging lamp
12. Strap eyelet
13. Viewfinder eyepiece
14. Back cover lock
15. Film confirmation window
16. Back cover
17. Film counter
18. Battery lid
Taking Pictures
Do not open the back camera cover until you have used all images in the loaded INSTAX Mini film pack. Opening the
camera door will expose the remainder of the unused film pack, turning it white and rendering it no longer usable.
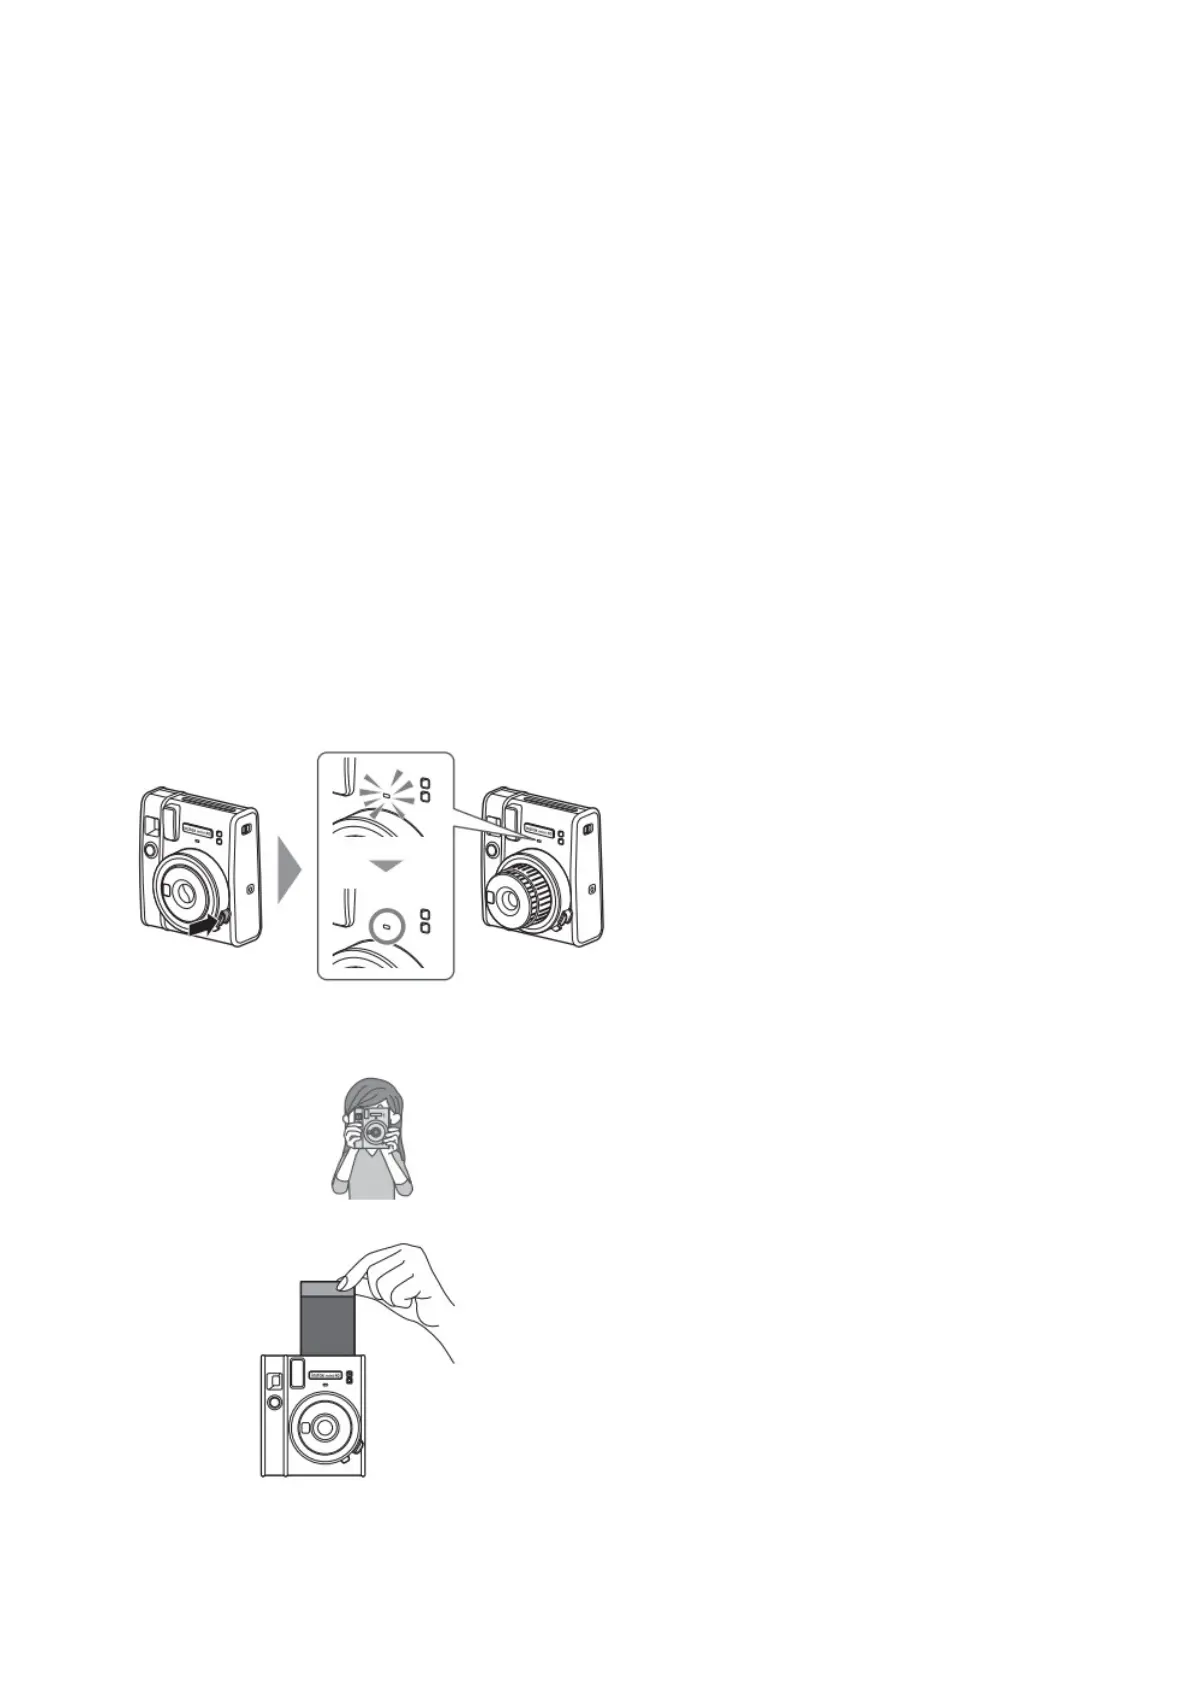
1. Once the batteries are loaded, press the power button to turn the camera on.
The lens barrel extends and the flash charging lamp blinks and then lights up. (Blinking indicates that the flash
is charging.)
2. Hold the camera, look through the viewfinder of the camera to frame your desired composition, and
press the shutter button.
* The shutter button cannot be pressed while the flash is charging.
3. When the sound of the film being ejected stops, grasp the edge of the ejected film and take the film out.
The film counter decreases in numerical order, counting down from “10” with each photo taken. “0” will be
displayed when the film is finished and after the last photo has been taken.
4. When you have finished taking photos, turn off the camera by pushing the lens barrel back in.



 To Next Page