5
■ Installation (Custom)
1. Perform steps 1. to 2. in "Installation
(Recommended) (page 4)".
2. Click the [Installation (Custom)] button.
3. Select the check box for the software to
install and click the [Next] button.
4. Follow the instructions on the screen to
proceed with the installation.
Installing the Scanner
Install the scanner in the following procedure.
1. Place the scanner at its installation site.
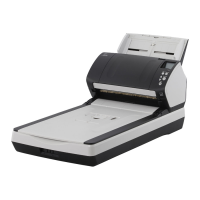
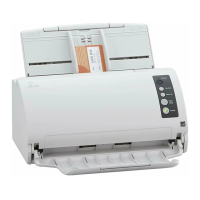
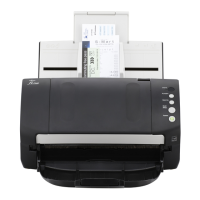
fi-7140
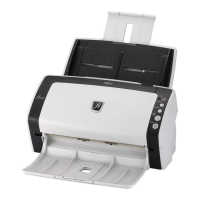
fi-7240
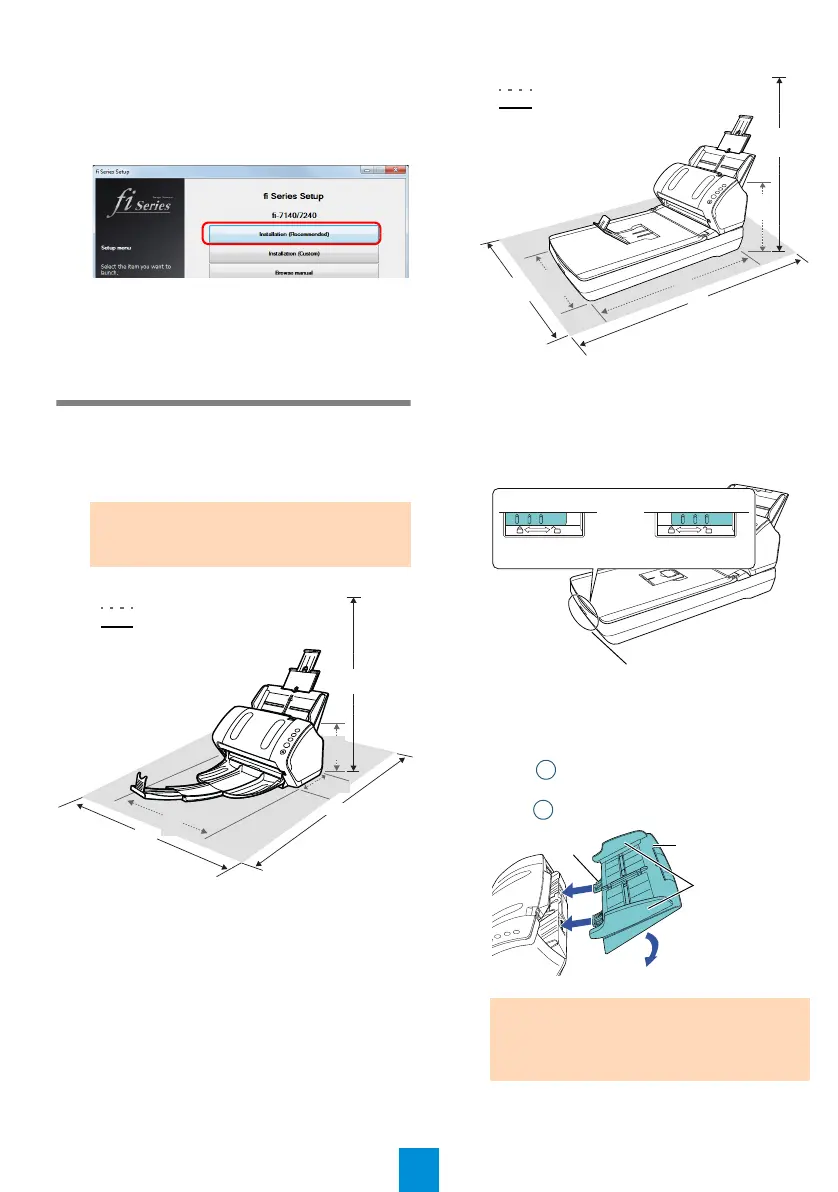
2. Unlock the transport lock switch.
For fi-7240, there is a carrier unit inside the
flatbed which is fixed in place to prevent
damage during transportation.
Slide the transport lock switch on the front.
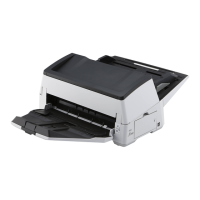
3. Attach the ADF paper chute (Feeder).
Insert the tabs into the slots on the back of
the scanner in the direction indicated by the
arrow
, and tilt the ADF paper chute
backwards in the direction indicated by the
arrow until it locks in place.
ATTENTION
Carry the scanner by supporting it from the
bottom.
(6.69)
300
(11.81)
300
163
380
700
400
170
380
(14.96)
(6.42)
(27.56)
(15.75)
Outer Dimensions
Installation Space
Unit: mm (in.)
ATTENTION
Insert the ADF paper chute (Feeder) firmly
so that there is no space between the
scanner.
234
(9.21)
800(31.50)
577(22.72)
300
(11.81)
400
(15.75)
450
(17.72)
Outer Dimensions
Installation Space
Unit: mm (in.)
Locked
Unlocked
Transport Lock Switch
ADF Paper Chute
(Feeder)
Side Guides
Tab
 Loading...