Do you have a question about the Fujitsu HALCYON ASU12RLF and is the answer not in the manual?
This new setting allows lockout of a specific mode. Indoor unit beeps twice and LEDs flash to indicate function locked out.
Sets the operation mode to heat pump. This is the factory setting.
Sets the operation mode to heating only.
Sets the operation mode to cooling only.
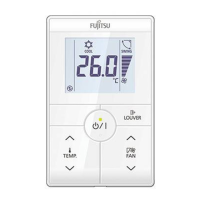
Instructions for entering function settings mode and selecting function number/value.
Instructions for entering function settings mode and selecting function number/value.
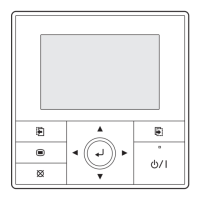
Steps to enter function settings menu, select options, and confirm settings.
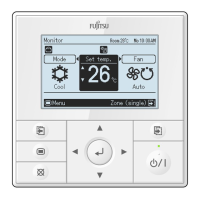
Procedure to enter function setting mode and select/confirm settings.
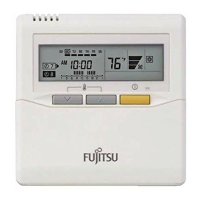
Guide to entering function setting mode and setting function/setting numbers.
This document, an Engineering Bulletin from Fujitsu General America, Inc., describes how to configure the "Heating / Cooling Lockout Setting" for various Halcyon-branded air conditioning systems. This feature allows users to restrict the operation mode of their indoor units to either heat pump (default), heating only, or cooling only.
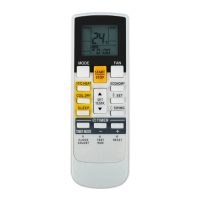
The Heating / Cooling Lockout Setting is a user-configurable feature designed to limit the operational modes of specific Fujitsu Halcyon indoor units. Once configured, the system will prevent the selected mode(s) from being activated. If a user attempts to select a locked-out mode via the wireless remote, the indoor unit will emit two beeps and all LED lights will flash, indicating that the function is locked out. This feature is particularly useful in applications where specific heating or cooling modes are not desired or are restricted for energy management or comfort control purposes.
The bulletin provides a table detailing the "Fixed operation mode switching" with corresponding function numbers and setting values:
The Heating / Cooling Lockout Setting applies to a wide range of Fujitsu Halcyon indoor unit models, including:
This extensive list indicates that the feature is broadly implemented across various capacities and types of Halcyon indoor units, suggesting a standardized control protocol for these models.
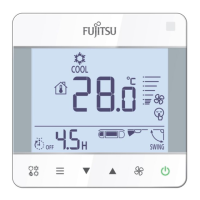
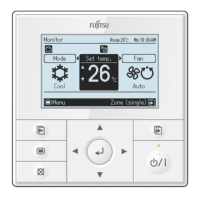
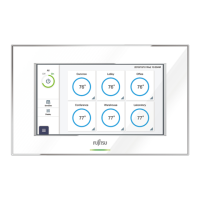
The bulletin provides detailed instructions for entering and configuring function settings using different types of remote controllers:
A critical maintenance step after completing any function setting is to cycle the power to the outdoor disconnect. The bulletin explicitly states: "After completing the Function Setting, be sure to turn off power to the outdoor disconnect for a minimum of one minute and turn it on again." This power cycle is essential to ensure that the new settings are properly saved and applied to the system.
The document includes a disclaimer advising that performing some of these tests may require an electrical and/or refrigerant license. It strongly recommends checking the Service Manual for detailed explanations and contacting Fujitsu General America, Inc. at 866-952-8324 if unsure about the recommendations. This highlights the technical nature of these adjustments and the importance of qualified personnel for their implementation.
The bulletin is dated April 23, 2015 (#054) and September 10, 2014 (#050), indicating it has been updated or revised over time.
| Brand | Fujitsu |
|---|---|
| Model | HALCYON ASU12RLF |
| Category | Remote Control |
| Language | English |