for these battery packs to reach their maximum capacity.
Mains Charger:
The general procedure to adopt is use the laser during the day & charge-up
overnight. You cannot damage the system by "over-charging" the batteries.
When plugged into a 230V mains supply, the red LED flashes every 1 sec.
Connect to the laser socket (or direct to the battery pack) & this LED should
be ON continuously:
ie. Red LED = charging; Green LED = sufficient charge to operate.
Even though the Green light is ON, we recommend a full 8 hour charge.
The FRE-207 can be operated with the charger connected to the mains
supply, if required. On receipt of your new laser, we suggest charging the
batteries fully overnight.
A Spare Battery holder is also included - to be used as a back-up power
source.
Four type C, 1.5V Alkaline batteries can be used instead or in an emergency;
but do NOT attempt to recharge them, otherwise serious damage will occur.
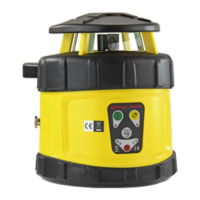
Positioning the Laser:
Mount the FRE-207 on a generally level, firm surface or 5/8” threaded Tripod.
To operate correctly this surface must be within +/-5 deg of true horizontal.
The laser can be used Indoors or Outdoors, where it is waterproof to IP54.
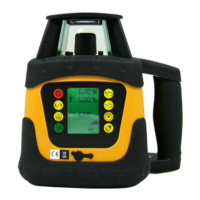
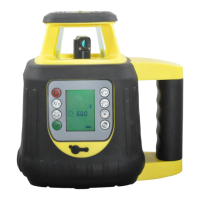
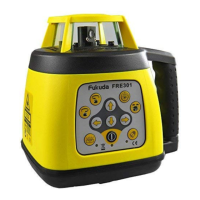
Controls:
Power ON/OFF is via the green button. The LCD screen illuminates; laser
takes 15 to 30 seconds to auto level & then the head rotates & projects a
visible red laser beam. The rotational speed is shown on the display together
with the battery charge level.
The yellow speed control button (just above the green button), when pressed
2