3. Installation
3.1.Unpacking
After opening the carton, remove all accessory parts from the side areas of the carton.
Afterwards, you can lift out the machine included the moulded foam parts. Remove these
moulded parts from the machine. Please keep both the carton as well as these transport
moulded parts in case the machine has to be transported.
3.2.Scope of delivery
The following parts are included in the scope of delivery:
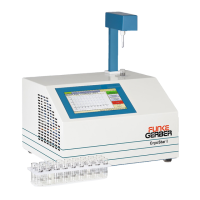
CryoStar I
Mains cable
1 bottle of cooling bath liquid(500 ml)
1 bottle of calibration solution A(250 ml)
1 bottle of calibration solution B (250 ml)
1 cooling bath container
1 pack (50) of sample vials
1 stand for 27 sample vials
1 Phillips screwdriver
1 Allen key
1 copy of these Operating Instructions
Please check the delivery is complete.
3.3.Installation location
Select an even, level place in your laboratory for the machine. The machine should not be
installed in the vicinity of ovens, water baths or other sources of heat or in a humid
environment. The machine requires a very large amount of cooling air which is sucked in
on the right-hand side of the machine and below the machine. Therefore, ensure that the
air slots on the sides are always unobstructed and that there is no other equipment within
approx. 20 cm (right and left), especially not heat-emitting equipment. Do not place any
loose sheets of paper or similar near the machine. These could be sucked in with the air
stream and obstruct the air access.
5
 Loading...