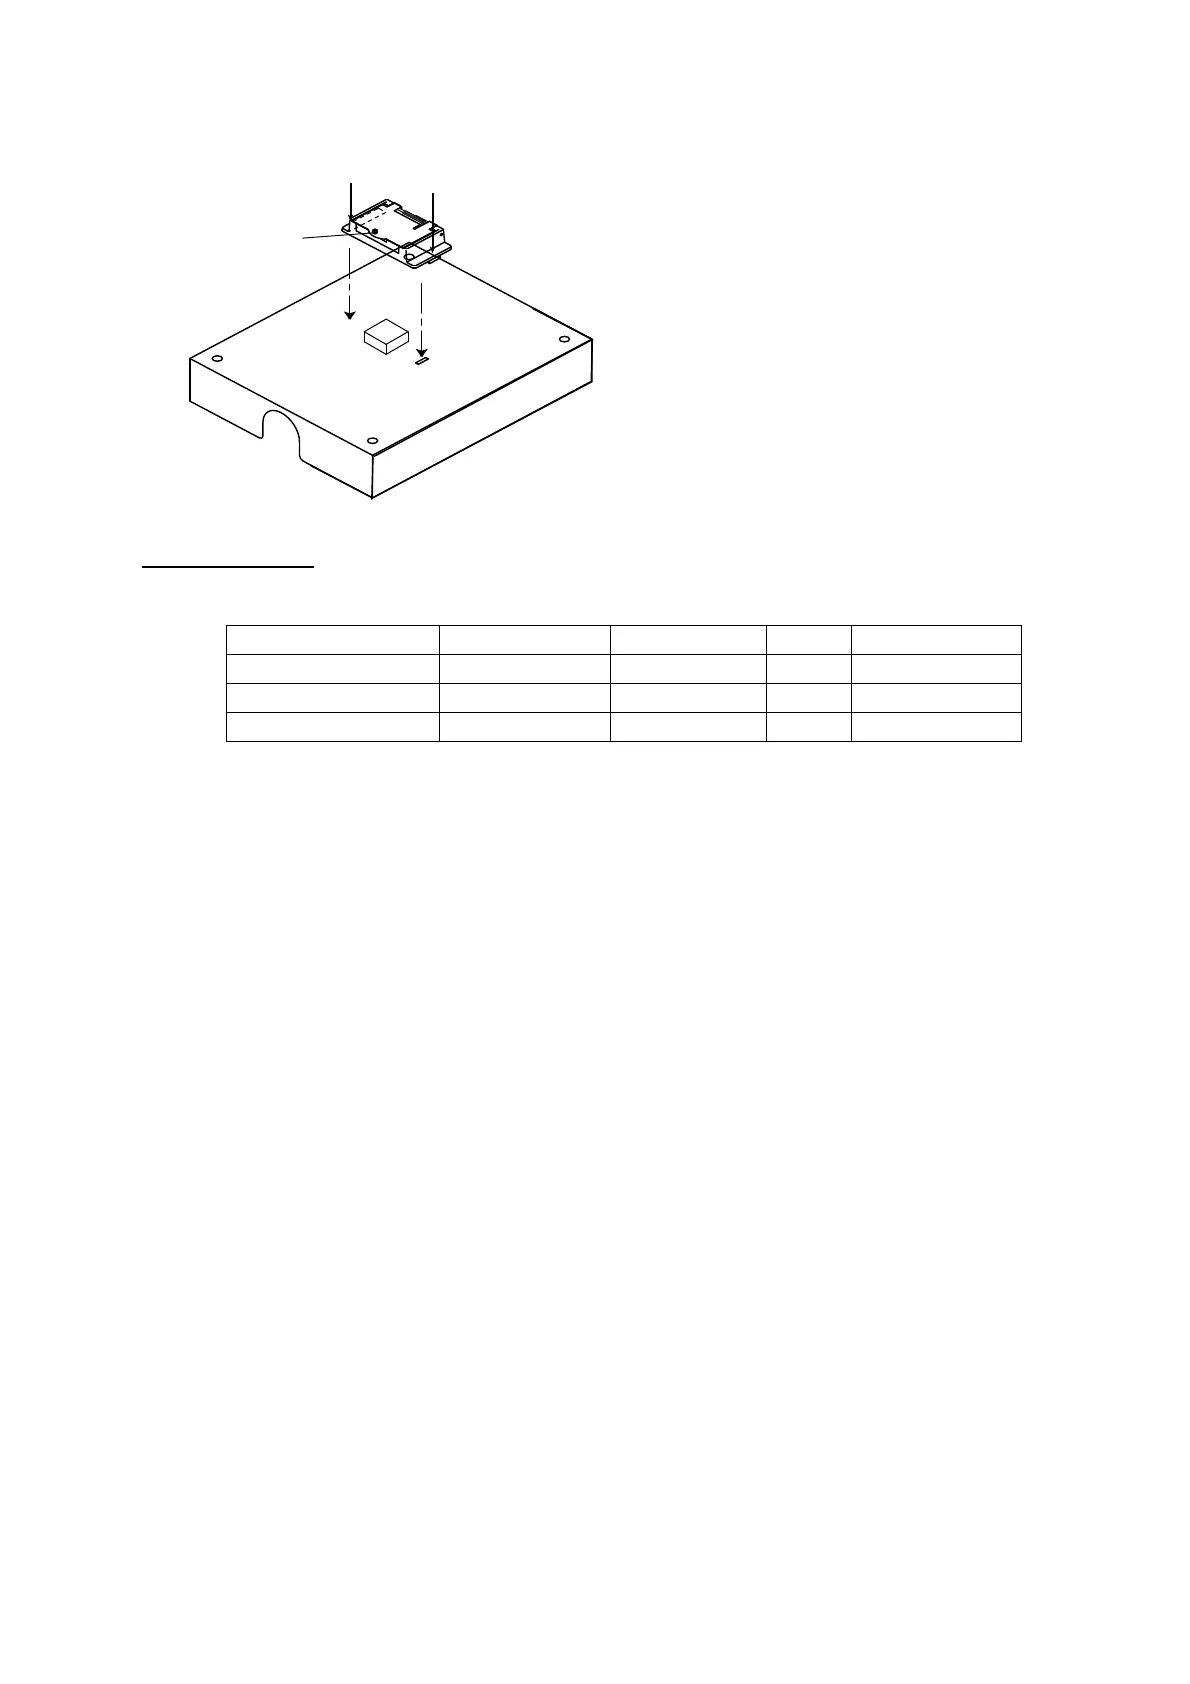
5
5. Attach the switch cover as shown below. Note that the cover may also be rotated 180
degrees.
Switch cover
Flush mounting
The optional flush mount kit OP16-28 (Code No. 004-448-010) is required.
Name Type Code No. Qty Remarks
Fixture 16-018-7201-1 100-317-931 1
Pan head screw M3x6 000-800-362 4
Self-tapping screw 4x16 000-802-080 4
1. Cut out the mounting position referring to the outline drawings at the back of this
manual.
2. Fix the unit to the fixture with four pan head screws (supplied).
3. Fasten the fixture with the unit to the mounting location with four self-tapping screws
(supplied).
4. Attach switch cover as shown above.