Water Bee™ Pedal Boat Owner’s Manual and Assembly Guide
D) Bimini Installation
6. Align the horizontal
attachment rod (white
washer facing the
screw hole of the long
ole) with the screw
hole at end of the long
ole.
Future Beach
™ Corporation
The World’s Beach Company
™
7
8. Using your Phillips
star screwdriver,
attach these pieces
together as shown
above. Repeat steps 6-
8 with other long
bimini pole.
5. Weave the pole
through the canopy
holes (first under the
canopy, then over the
canopy, and so on).
3. Place the two long
imini poles (thick end
down) into the two
edal wells as shown
above.
4. Insert the long pole
through the first hole
of your bimini canopy.
7. Place tie-down cord
after the attachment
rod and then place tie-
down screw through
tie-down cord,
horizontal attachment
rod, and long pole.
Begin threading screw
by hand.
2. Before tightening the screw, ensure
that the D-rings face the upwards
direction as shown above.
1. Using your Phillips star screwdriver,
screw D-ring into hole at rear of hull.
Repeat with the second D-ring.
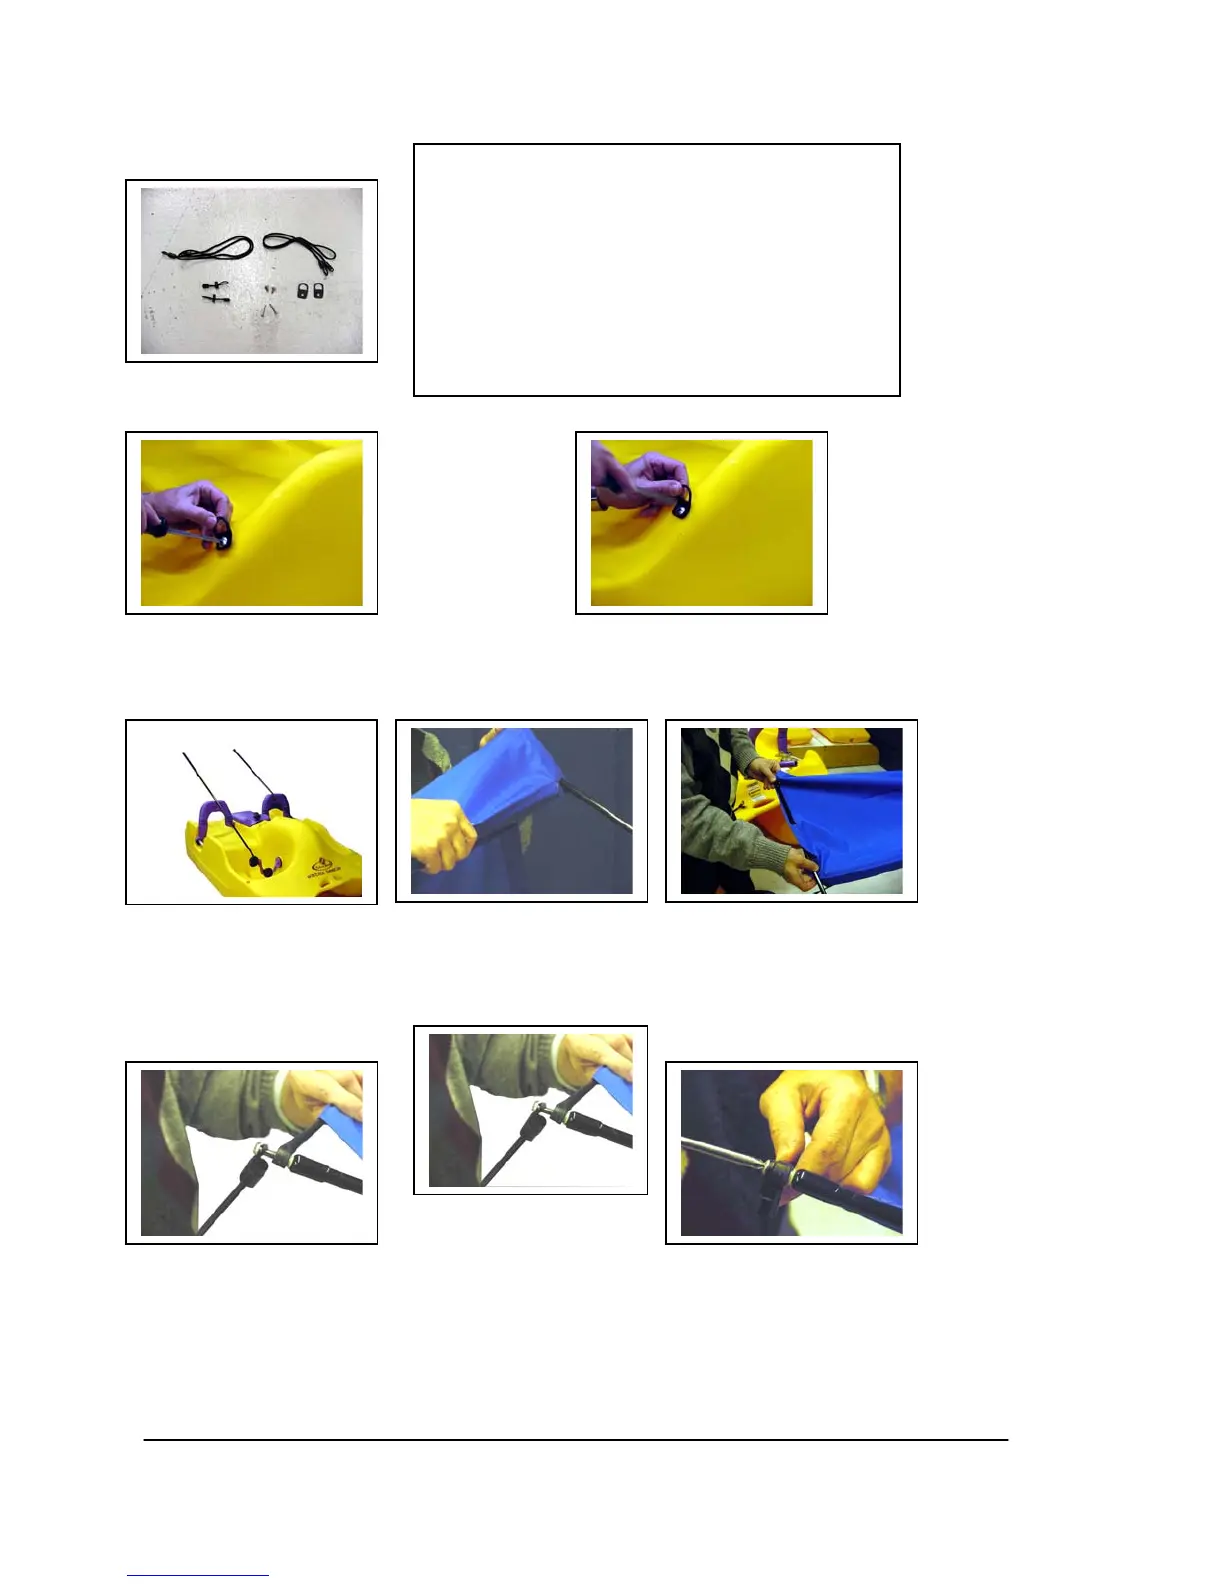
Contents of
Attachment Kit
Bimini kit includes:
• 2 poles
• 1 canopy with horizontal attachment rod
• 1 attachment kit
o 2 D-Rings
o 2 screws for attachment rod
o 2 tie-down cords
o 2 tie-down screws