34
100-119 Internal program 3
120-139 Internal program 4
140-159 Internal program 5
160-179 Internal program 6
180-199 Internal program 7
200-219 Internal program 8
220-239 Lamp off
240-255 No function
Control channel 13 - Pan-movement with 16 Bit-resolution
Control channel 14 - Tilt-movement with 16 Bit-resolution
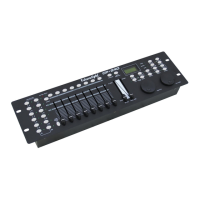
Control Board
The Control Board situated on the base offers several features. You can simply set the starting address,
switch on and off the lamp, run a test program, make a reset and also use special functions for manual
control and service purposes.
The main menu is accessed by pressing the Enter-button for 3 seconds until the display starts flashing.
Browse through the menu by pressing the Up/Down-buttons. Press the Enter-button in order to select the
desired menu. Browse through the sub-menu by pressing the Up/Down-buttons. The functions provided are
described in the following sections.
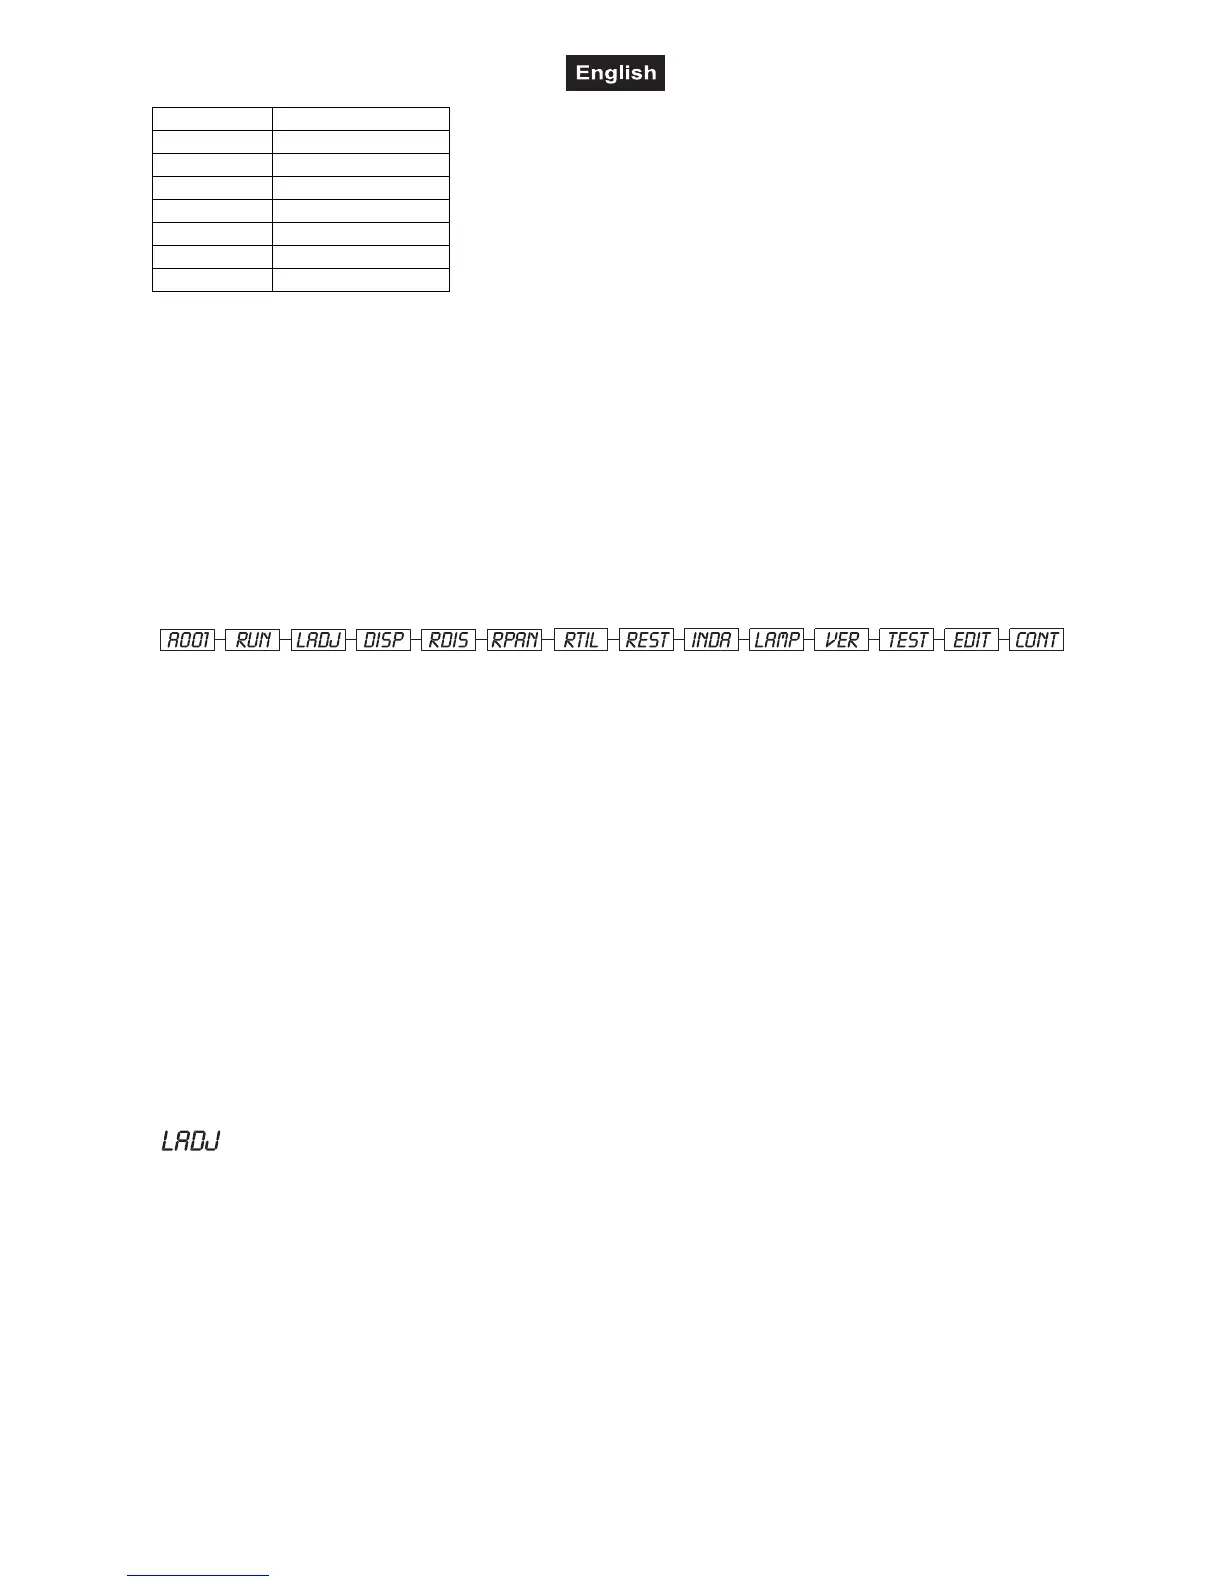
Main functions
A001
- DMX address setting
1. Press [ENTER] for 3 seconds to enter main menu (Display flashing);
2. Select “A---“ by pressing [UP] button;
3. Press [ENTER], adjust the DMX address by pressing [UP] or [DN]
4. Press [ENTER] to confirm
5. Press [EXIT/DN] return to main menu.
Run
- Run the pre-built in program in the memory (EEPROM)
1. Press [ENTER] for 3 seconds to enter main menu;
2. Select “RUN” by pressing [UP] button;
3. Press [ENTER], the display shows “ON” or “OFF”;
4. Press [UP], to select “ON” or “OFF”
5. Press [ENTER] to confirm
6. Press the Exit/Down-button in order to return to the main menu..
7. If you selected “ON”, the projector will run the built-in program.
- Lamp adjustement
1. Press [ENTER] for 3 seconds to enter main menu;
2. Select “FOCU” by pressing [UP] button;
3. Press [ENTER], the display shows “ON” or “OFF”;
4. Press [UP] to select “ON” if you wish to enable this function or “OFF” if you don’t;
5. Press [ENTER] to confirm
6. Press the Exit/Down-button in order to return to the main menu..
Disp
- Display the DMX 512 value of each channel
1. Press [ENTER] for 3 seconds to enter main menu;
2. Select “DISP” by pressing [UP] button;
3. Press [ENTER], the display shows “DP-X”, ”X” stands for the channel No., value “1”-“F”;
4. Press [UP] to choose the value for “X”, for example: when you choose “DP-E”, it displays the DMX value of
the 14th channel.
 Loading...