T
T
F
F
-
-
D
D
G
G
C
C
A
A
L
L
-
-
P
P
A
A
K
K
F
F
i
i
x
x
t
t
u
u
r
r
e
e
M
M
a
a
n
n
u
u
a
a
l
l
MIC TRAC MT-3000
9
2010 Gagemaker, LP
RCDMMT300010-10
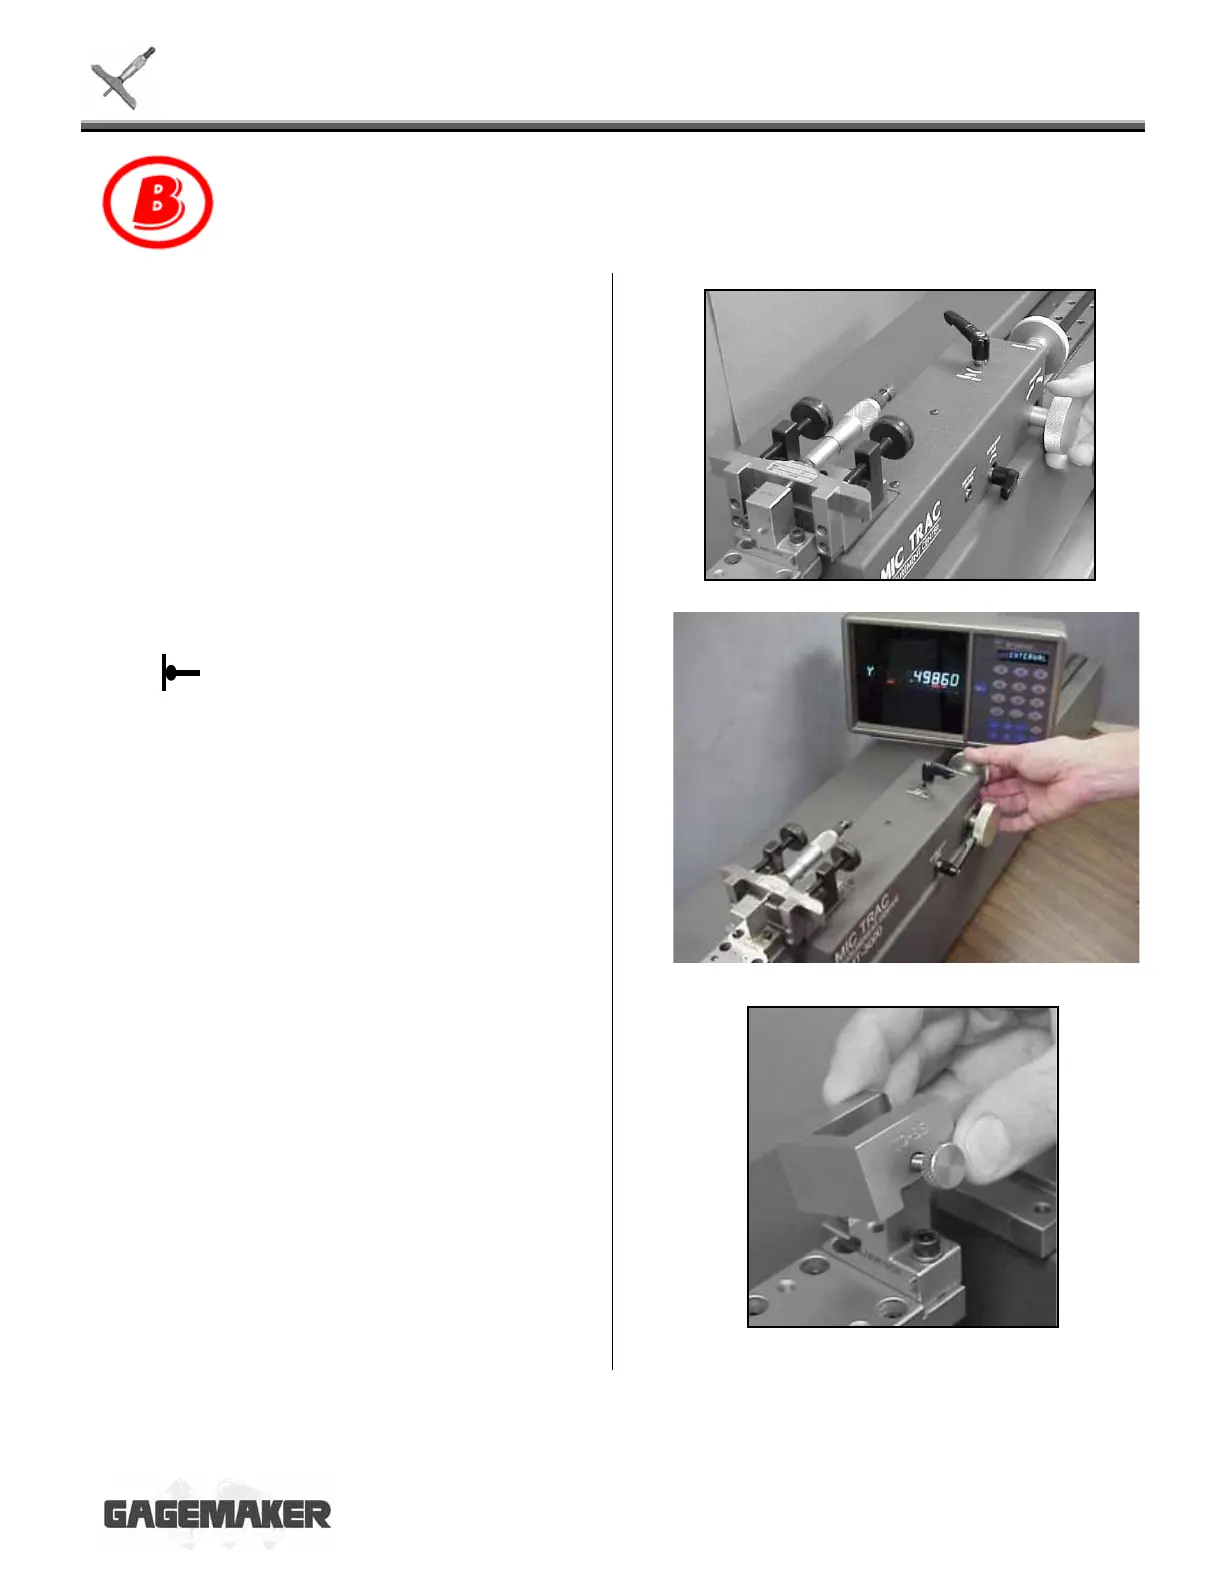
5. Turn the coarse adjust knob counterclockwise
until the depth micrometer rod barely touches
the flat face anvil.
6. Secure the coarse adjust lock.
7.
Turn the fine adjust knob clockwise until the
- in the axis display lights up. If you
have a Seiko Printer attached to your MIC
TRAC a permanent record of the measurement
prints.
8. Record any deviations on the Gage Calibration
Record or in-house calibration report. Continue
with remaining measurements for the first
depth rod.
Note: It is recommended that depth rods 6” and
longer be supported during calibration.
9. Locate and mount the TF-SS support. With the
thumbscrew facing forward, slide the support
over the flat face anvil.
10. Remove the depth rod from the depth
micrometer and insert the next depth rod.
Adjust the height of the depth gage support to
hold the end of the depth rod, so it does not
bend during calibration. Tighten the thumb
screw.

 Loading...