6. Assign the controller to a site
1. Log into the SMB Configuration App.
Note: Login details can be requested from Gallagher Technical Support.
2. Has the site been created?
If no, continue to step 3.
If yes, go to step 6.
3. Select the +ADD NEW SITE located at the top of the screen.
The 'New Site' lightbox displays.
4. Enter a name for the site and complete all fields.
The key account holder will be the first person from your customer’s site to download the
Gallagher SMB App. The Key Account holder performs a similar role to a facility manager
and is the person who will invite other users, to the site.
Select the Site uses tags checkbox if the site will be issuing key tags to users. Selecting
this checkbox will enable tag assigning functionality within the Gallagher SMB App.
Note: If using tags, cards, or user codes to arm & disarm an area, change the Locally
disarm area to Single Factor within the Area lightbox.
5. Select the Save button.
The site is created, and the default configuration is displayed.
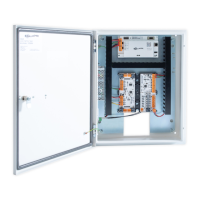
6. Navigate to the site, click the Scan controller QR code button, scan the QR code printed
on the controller, then click the ASSIGN CONTROLLER button. If using a laptop, take a
photo of the QR code using your phone and present it to the laptop.
ASSIGN CONTROLLER
Scan controller QR code
Controller ID
Note: If you're unable to scan the controller's QR code, you can enter the controller's ID in
the Controller ID field, then click the ASSIGN CONTROLLER button. The controller's ID is
printed on the controller, below the QR code.
The controller will download the latest firmware and it's default configuration from the
cloud. If the message Cannot assign controller displays, it has already been assigned to a
site.
 Loading...