13
GB
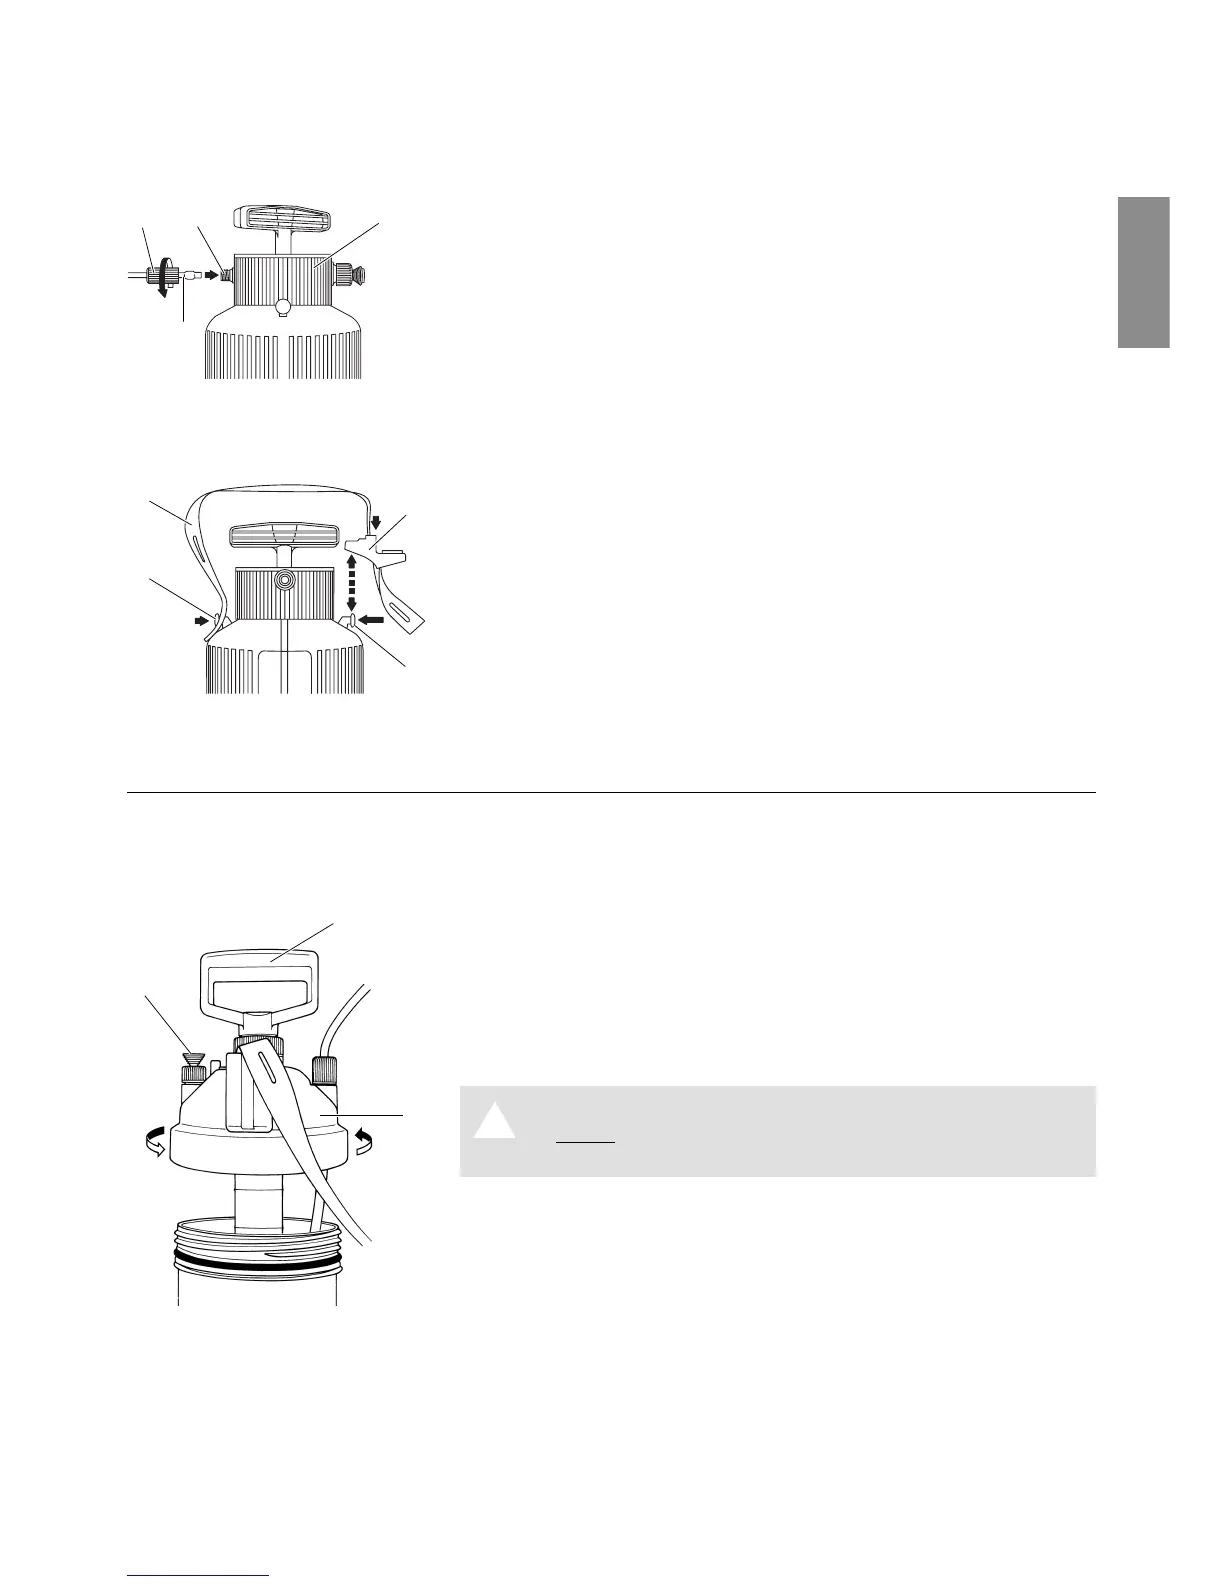
3.3. Assembly Instructions for Pressure Sprayer Art. No. 875 / 879 / 880
1. Push the short union nut
G
over the spray hose
5
.
2. Push on the spray hose
5
so that it covers at least the
beginning of the thread
H
.
3. Screw the short union nut
G
onto the container cap
I
and tighten by hand (do not use pliers).
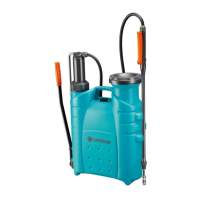
1. Remove the spray tube holder
J
from above (direction of
the arrow).
2. Guide the shoulder strap
K
through the elongated hole
of the spray tube holder
J
and attach it into the holder
L
of the container.
3. Press the spray tube holder back on until you hear it click
into place.
4. Attach the shoulder strap on the other side of the holder
L
.
4. Operation
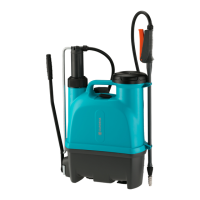
4.1. Operating Instructions for Pressure Sprayer Art. No. 867/ 869
1. Mix the fluid well.
2. Unscrew the container cap
B
.
3. Pour the fluid into the container up to the maximum mark
(3 litres or 5 litres).
Please observe the safety and proportioning instructions provid-
ed by the manufacturer of the product you are going to spray.
4. Screw the container cap
B
back on and tighten by hand
(do not use pliers).
Risk of injury!
A V Never connect your Pressure Sprayer to an air
compressor.
5. Pull the pump lever
N
repeatedly (approx. 30 to 40 times)
until the operating pressure has been reached.
Any excess pressure escapes through the safety valve
O
.
Attaching the spray hose
to the container cap:
Attaching the shoulder strap:
Filling the container:
K
L
J
L
G H
5
I
O
N
B