4
GB
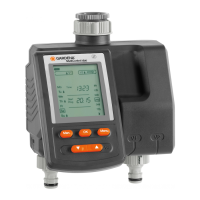
Insert battery into
Water Timer:
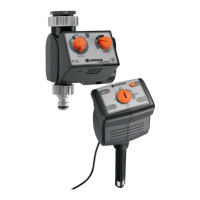
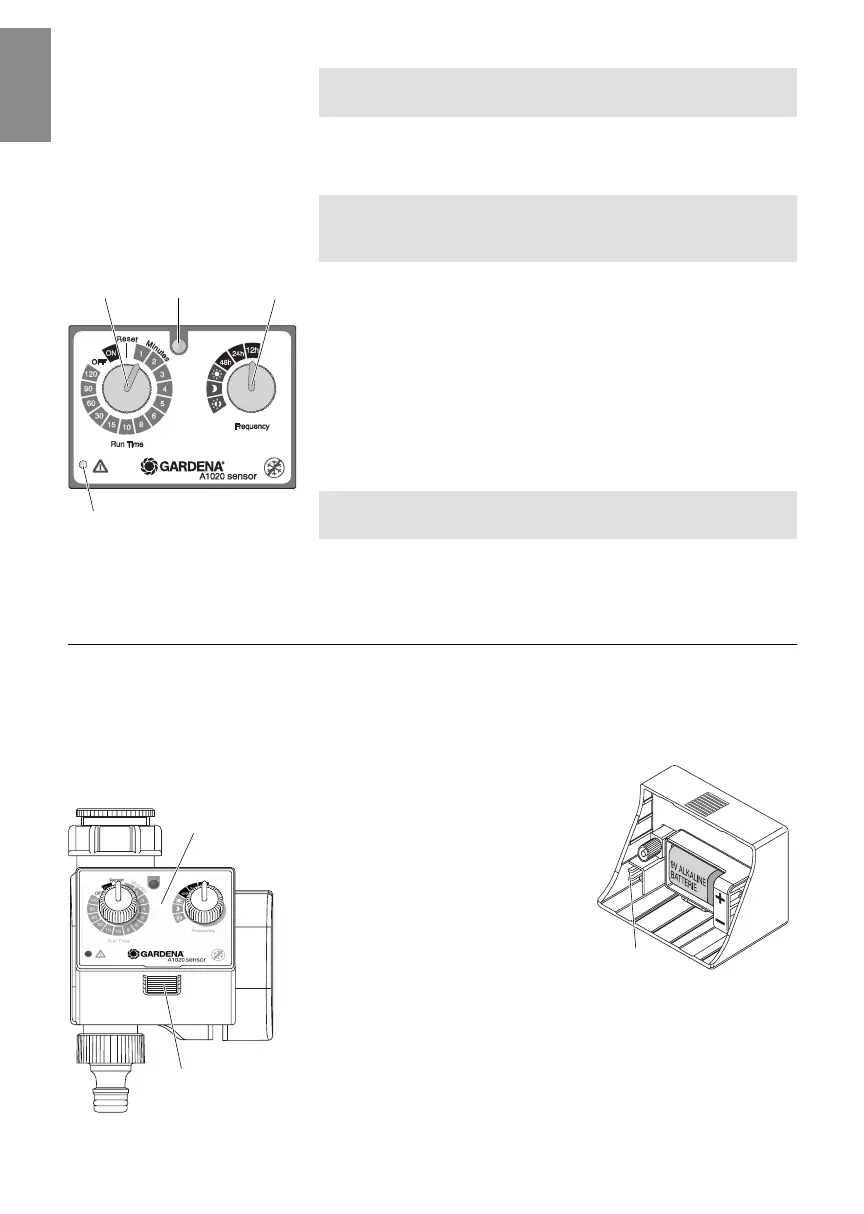
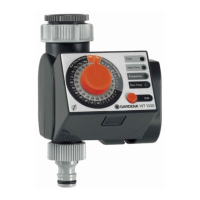
Control panel of the
Water Timer:
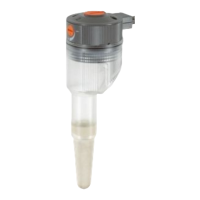
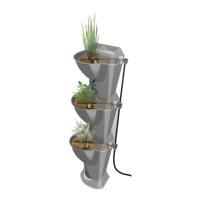
Connect adapter cable of
the Soil Moisture Sensor:
If the batteries are flat and are not replaced, the connected
Water Timer will function with the watering programme selected.
v Replace batteries (see 7. Maintenance
“Replace batteries of
Soil Moisture Sensor”
).
With the GARDENA Automatic Irrigation Set you can take soil
moisture into account for controlled watering. The watering time
and the watering duration can be set individually.
6
Run Time Used to set the watering duration.
button:
7
Frequency Used to set the watering cycle.
button:
8
Light Sensor: day / night recognition (dependent on the
lighting conditions).
9
Error LED: Indicates that the battery is almost empty
or that the Soil Moisture Sensor is not
connected or not properly connected.
If the battery is almost empty the programme is not activated any
more. The valve cannot be opened manually any more.
v Replace battery (see 7. Maintenance
“Replace battery of the
Water Timer”
).
4. Initial Operation
Water Timer:
v For inserting the battery, please see 7. Maintenance
“Replace
battery of the Water Timer”
).
1. Press unlock button
1
and
remove control panel
2
from
the Water Timer.
2. Insert short adapter cable in
sensor connection
3
.
3. Plug control panel
2
onto the
Water Timer again.
3
76 8
9
1
2
1835-29.960.02_12.03.2007.qxd 15.03.2007 15:52 Seite 4