Fig.O
6. CHECKING OIL SUPPLY (Fig. N)
Keep clear of the saw chain as it will start rotating upon
starting of engine.
After starting the engine, run the chain at medium
speed and see if chain oil is scattered off as shown in
the figure.
The chain oil flow can be changed by inserting a
screwdriver in the hole in bottom of the clutch side.
Adjust according to your work conditions.
NOTE:The oil tank should become nearly empty by the
time fuel is used up. Be sure to refill the oil tank every
time when refueling the unit.
7. ADJUSTING CARBURETOR (Fig. O)
The carburetor on your unit has been factory adjusted,
but may require fine tuning due to change in operating
conditions. Before adjusting the carburetor, make
sure that provided are clean air/fuel filters and fresh,
properly mixed fuel. When adjusting, take the following
steps:
NOTE: Be sure to adjust the carburetor with the bar
chain attached
1) Stop engine and screw in both H and L needles until
they stop. Never force. Then set them back the initial
number of turns as shown below.
L NEEDLE: 1
1/4
H NEEDLE: 1
3/8
2) Start engine and allow it to warm up at OPEN-
throttle.
3) Turn L needle slowly clockwise to find a position
where idling speed is maximum, then set the needle
back a quarter(1/4)turn counterclockwise
4) Turn idle adjusting screw (T) counterclockwise to
that saw chain dose not turn. If idling speed is too
slow, turn the screw clockwise.
5) Make a test cut and adjust the H needle for best
cutting power, not for maximum speed.
4
L needle
5
H needle
6
Idle adjusting screw
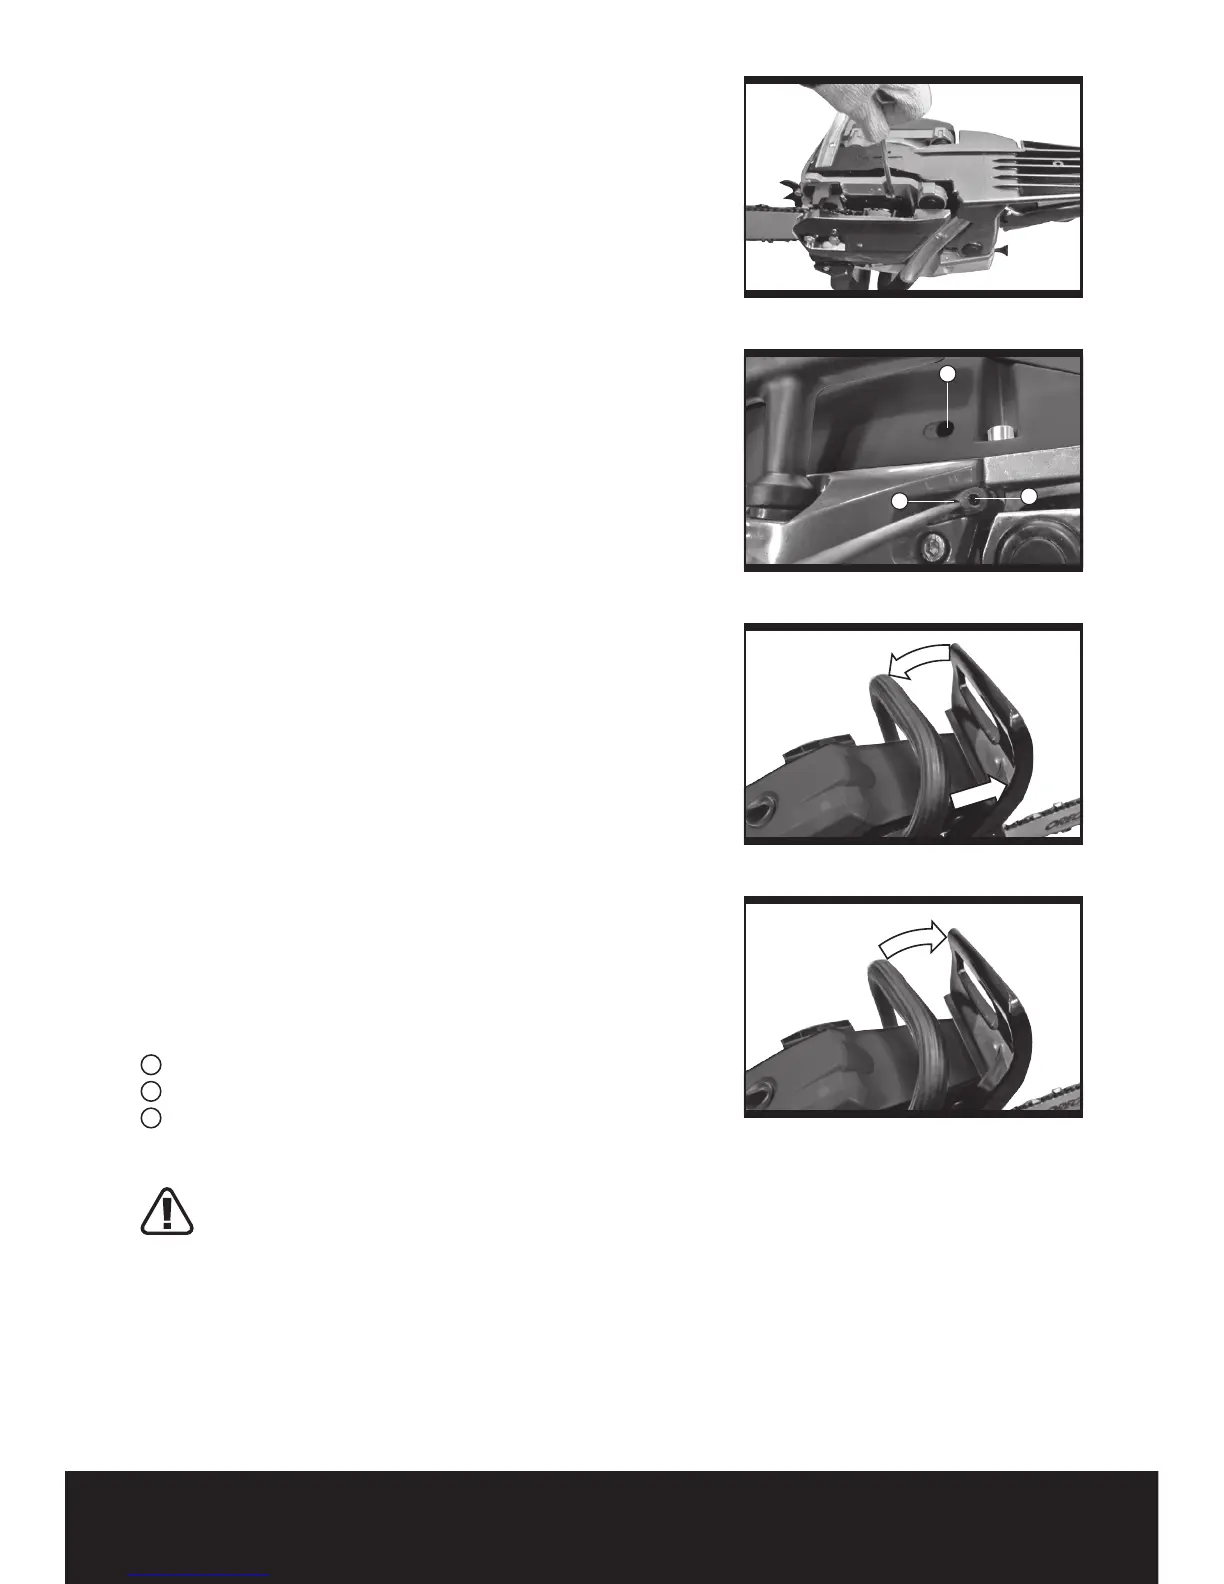
8. CHAIN BRAKE (Fig. P1&P2)
WARNING: If the brake band is worn too thin
it may break when the chain brake is triggered.
DO NOT USE IT. It must be replaced by the
manufacturer, its service agent or similarly
qualified persons in order to avoid a hazard. With
a broken brake band, the chain brake will not stop
the chain. The chain brake should be replaced by an
authorized service dealer if any part is worn to less
than 0.5 mm (0.020”) thick. Repairs on a chain brake
Fig.P1
Fig.P2