
B
Brandon VargasJul 28, 2025
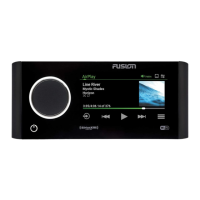
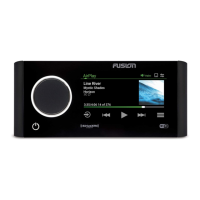
What to do if I cannot see or connect to Fusion PartyBus devices on my Garmin Fusion Apollo SRX400?
- JJasmine PorterJul 28, 2025
If your Garmin Stereo System's Fusion PartyBus devices aren't showing up or connecting on the network, make sure only one device (either the stereo or a router) is set up as a DHCP server. Check that all Fusion PartyBus devices, network switches, routers, and wireless access points are connected and powered on. For wireless devices, confirm they're linked to a wireless router or access point. You might also want to try changing the channel on your router or access point to fix any interference. Disconnecting Bluetooth devices can also help rule out interference. Verify each device has a unique IP address, the first three sets of numbers in the IP addresses match, and all subnet masks are the same. As a last resort, try resetting all network settings to their factory defaults.