2
Select History > Records.
3
Select a sport.
4
Select a record.
5
Select View Record.
Restoring a Personal Record
You can set each personal record back to the one previously
recorded.
1
From the watch face, hold MENU.
2
Select History > Records.
3
Select a sport.
4
Select a record to restore.
5
Select Previous > Yes.
NOTE: This does not delete any saved activities.
Clearing a Personal Record
1
From the watch face. hold MENU.
2
Select History > Records.
3
Select a sport.
4
Select a record to delete.
5
Select Clear Record > Yes.
NOTE: This does not delete any saved activities.
Clearing All Personal Records
1
From the watch face, hold MENU.
2
Select History > Records.
3
Select a sport.
4
Select Clear All Records > Yes.
The records are deleted for that sport only.
NOTE: This does not delete any saved activities.
Clocks
Setting an Alarm
You can set up to ten separate alarms. You can set each alarm
to sound once or to repeat regularly.
1
From the watch face, hold MENU.
2
Select Clocks.
3
Select UP or DOWN to scroll to the alarms screen.
4
Select an option:
• To set an alarm for the first time, select Set Alarms.
• To set additional alarms, select START > Add Alarm.
5
Enter the alarm time.
6
If necessary, select the alarm, and select an option:
• Select Status to turn the alarm on or off.
• Select Time to edit the alarm time.
• Select Repeat, and select when the alarm should repeat.
• Select Sounds, and select a type of notification.
• Select Backlight > On to turn on the backlight with the
alarm.
• Select Label, and select a description for the alarm.
Deleting an Alarm
1
From the watch face, hold MENU.
2
Select Clocks.
3
Select UP or DOWN to scroll to the alarms screen.
4
Select START.
5
Select an alarm.
6
Select Delete.
Starting the Countdown Timer
1
From the watch face, hold MENU.
2
Select Clocks.
3
Select UP or DOWN to scroll to the timers screen.
4
Select Set Quick Timer.
5
Enter the time.
6
If necessary, select MENU > Restart > On to automatically
restart the timer after it expires.
7
If necessary, select MENU > Sounds, and select a type of
notification.
8
Select START to start the timer.
Saving a Quick Timer
You can set up to ten separate quick timers.
1
From the watch face, hold MENU.
2
Select Clocks.
3
Select UP or DOWN to scroll to the timers screen.
4
Select an option:
• To set a quick timer for the first time, select Set Quick
Timer.
• To save additional quick timers, select START > Add
Timer.
5
Enter the time.
6
Select MENU > Save Timer.
Deleting a Timer
1
From the watch face, hold MENU.
2
Select Clocks.
3
Select UP or DOWN to scroll to the timers screen.
4
Select START.
5
Select a timer.
6
Select MENU > Delete.
Using the Stopwatch
1
From the watch face, hold MENU.
2
Select Clocks.
3
Select UP or DOWN to scroll to the stopwatch screen.
4
Select START.
5
Select START to start the timer.
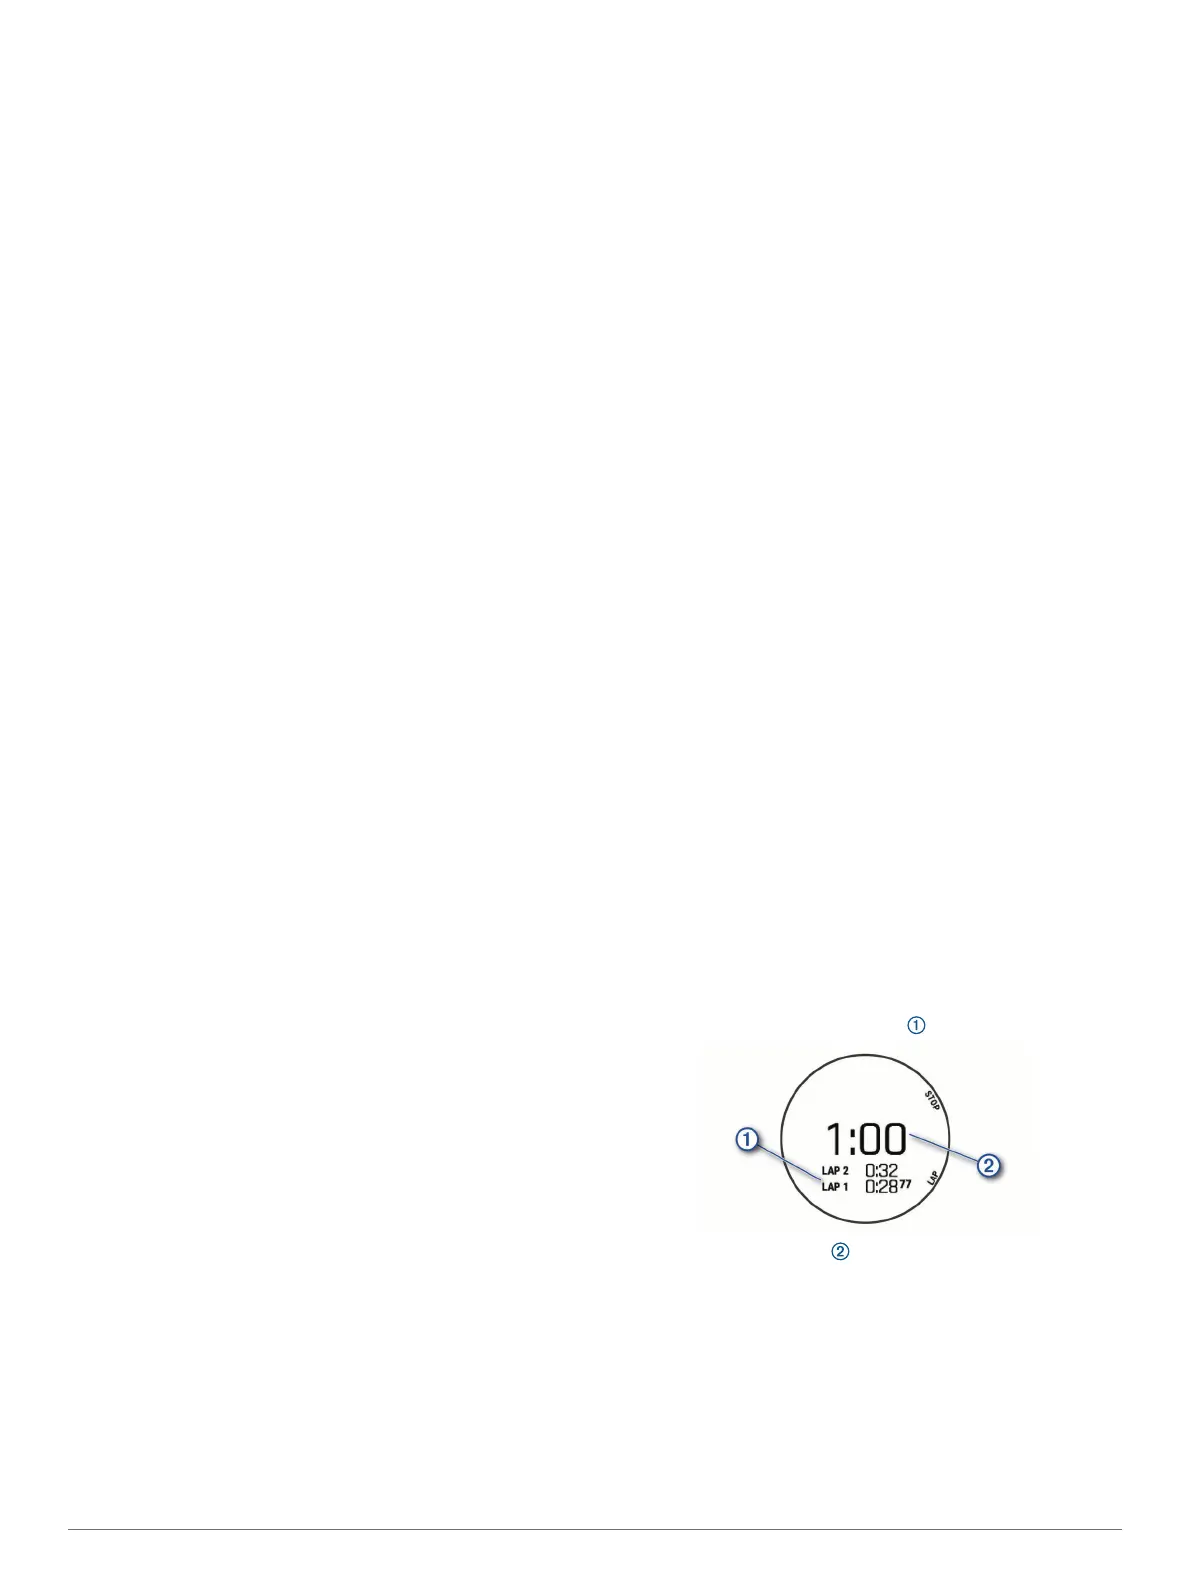
6
Select LAP to restart the lap timer .
The total stopwatch time continues running.
7
Select STOP to stop both timers.
8
Select an option:
• To reset both timers, select DOWN.
• To review the lap timers, select MENU > Review.
• To save the stopwatch time as an activity, select MENU >
Save Activity.
• To exit the stopwatch, select MENU > Done.
Clocks 23