5
E
N
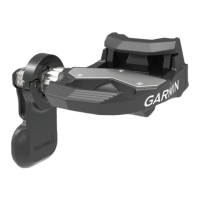
9 Insert the screw ➎ into the pedal
pod, and use the 2.5 mm hex key to
tighten the screw.
10 Rotate the crank arm to check for
clearance.
The pedal pod should not interfere
with any part of the bike.
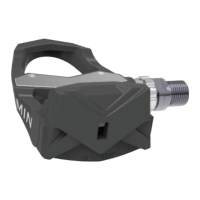
11 Repeat steps 2 through 10 to install
the right pedal and pedal pod.
NOTE: If the pedal pod cable rubs
the chain, you can add one or two
washers between the spindle and the
crank arm to increase clearance. Do
not use more than two washers.
Installing the Shoe Cleats
NOTE: The left and right cleats are the
same.
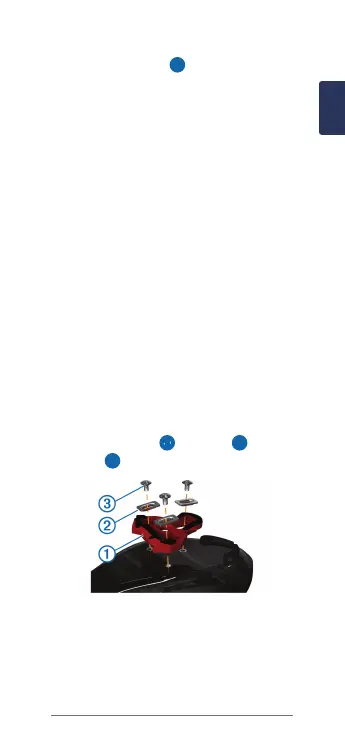
1 Apply a thin layer of grease on the
cleat bolt threads.
2 Align the cleat ➊, washers ➋, and
bolts ➌.
3 Use a 4 mm hex key to loosely attach
each bolt to the sole of the shoe.
4 Adjust the cleat to the shoe in your
preferred position.
This can be adjusted after a trial ride.