!
Monitor'Installation'
Maintain!a!30-cm!(1-ft)!clearance!envelope !ab ov e!the !GastroCH
4
ECK™!Gastrolyzer®!while!it!is!
running.!The!equipment!should!not!be!positioned!such!that!it!is!difficult!to!operate!the!
disconnection!device!(Mains!Plug).!!
If!it!is!neces sa ry !to !move!the!GastroCH
4
ECK™!Gastrolyzer®,!maintain !t h e !fo l lo wing!conditio ns:!!
1. Select!a!location!away!from!heat-producing!laboratory!equipment,!with!sufficient!ventilation!to!
allow!heat!dissipation.!!
2. Position!the!GastroCH
4
ECK™!Gastrolyzer®!on!a!level!surface,!such!as!a!sturdy!table!or!laboratory!
bench!that!can!support!the!weight!of!the!GastroCH
4
ECK™!Gastrolyzer®!6!kg!and!resist!vibration.!
3. Place!the!GastroCH
4
ECK™!Gastrolyzer®!at!least!5!cm!(2!in.)!from!the!front!edge!of!the!surface.!!
4. In!additio n!to!space!for!the!GastroCH
4
ECK™!Gastrolyzer®,!allow !1 5 .2 !c m!(6-in.)!clearan ce s !at !th e !
sides!and!back!to!ensure!sufficient!air!circulation.!The!GastroCH
4
ECK™!Gastrolyzer®!must!have!
adequate!air!ventilation!to!ensure!compliance!to!local!requirements!for!vapours!produced!
during!operation.!!
5. Relative!humidity!should!n ot!ex cee d!7 5% !(no n-condensing)!!
!
Monitor'Set-up'
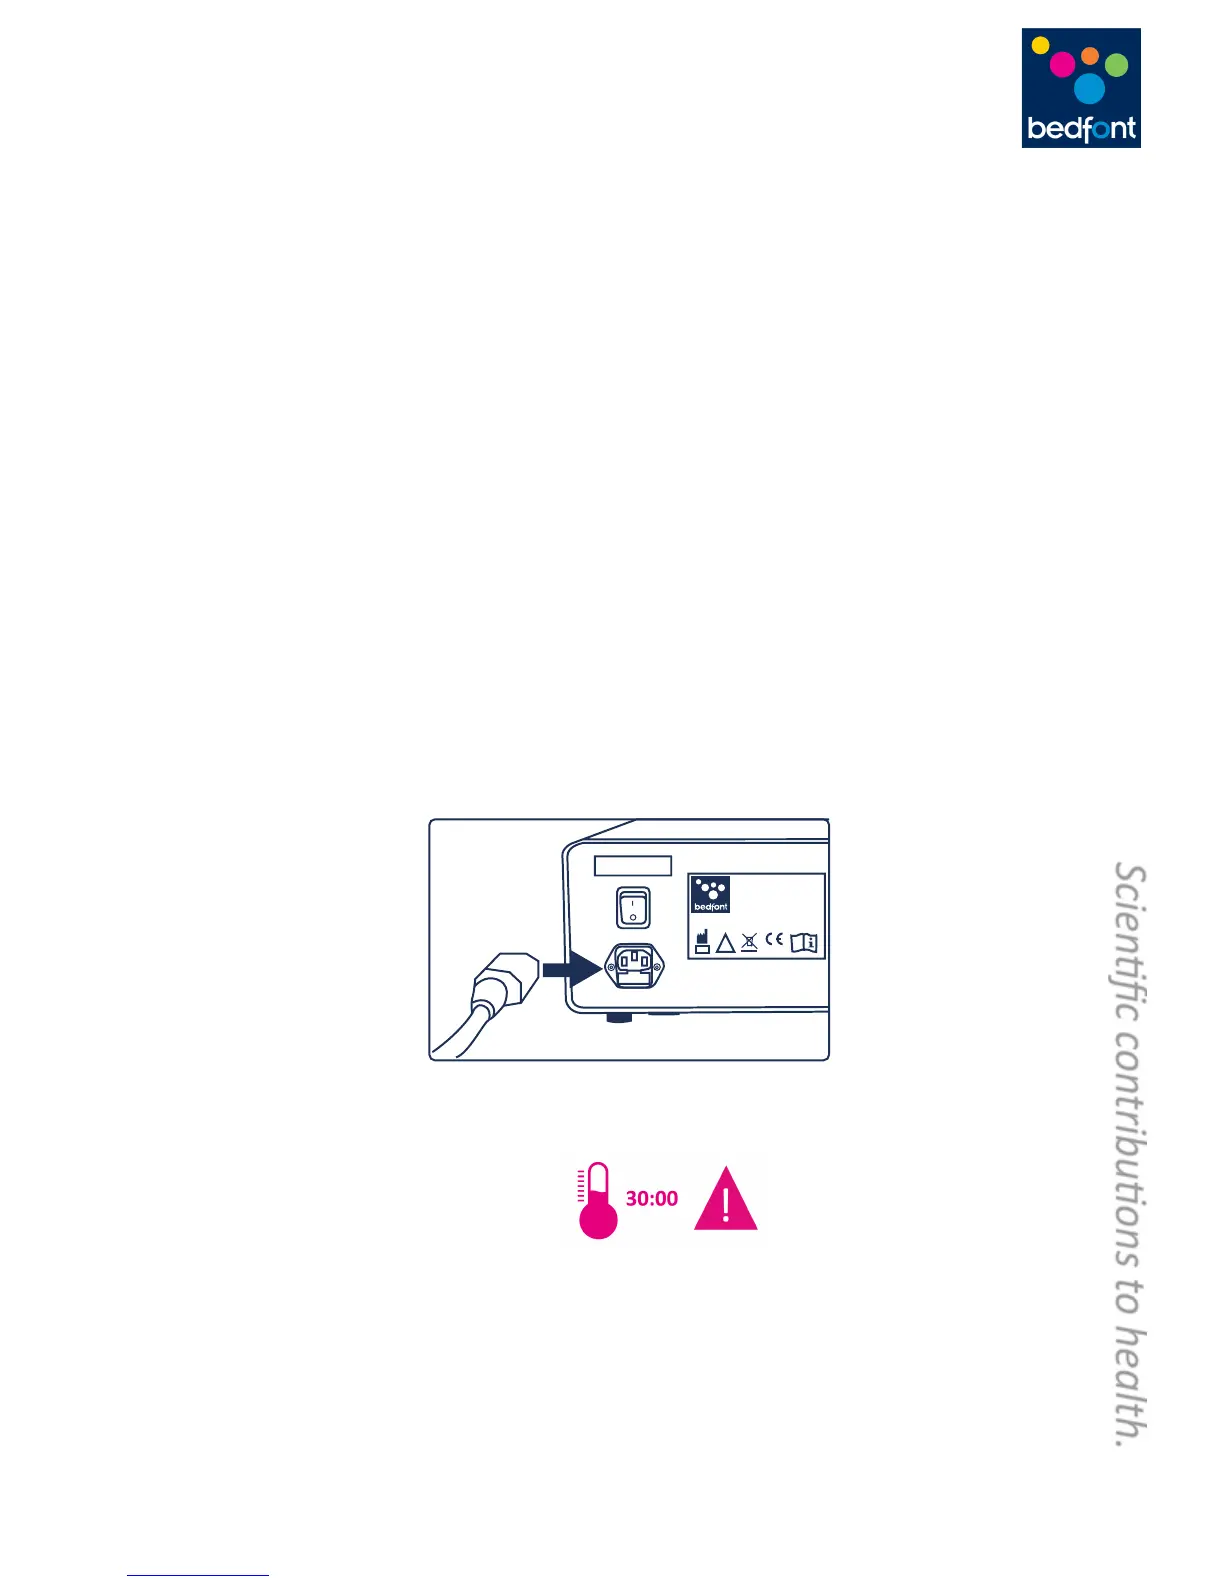
1. Connect!the!power!lead!to!the!GastroCH
4
ECK™!via!the!socket!on!the!rear!of!the !panel!and!
connect!to!the!electricity!supply:!
!
2. Switch!the!monitor!on!using!the!on/off!switch!on!the!back!of!the!unit.!The!green!LED!should!
light!up.!T h e!GastroCH
4
ECK™!monitor!will!begin!a!purging!process,!the!full!w arm!up!takes!30!
minutes,!see!‘Temperature!Requirements’,!and!a!countdown!timer!will!be!shown!onscreen!for!
the!duration!of!th e!w arm -up!as!shown:! .!
3. Connect!the!sam pling!line!to!the!sample!line!dock!for!B reath!samples,!ensuring!the!connecter!
‘clicks’!fu lly !in t o !p la c e .!
4. Push!moisture!filter!onto!bag!sampling!port!for!breath!bag !sam p ling .!!
!