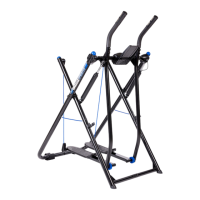
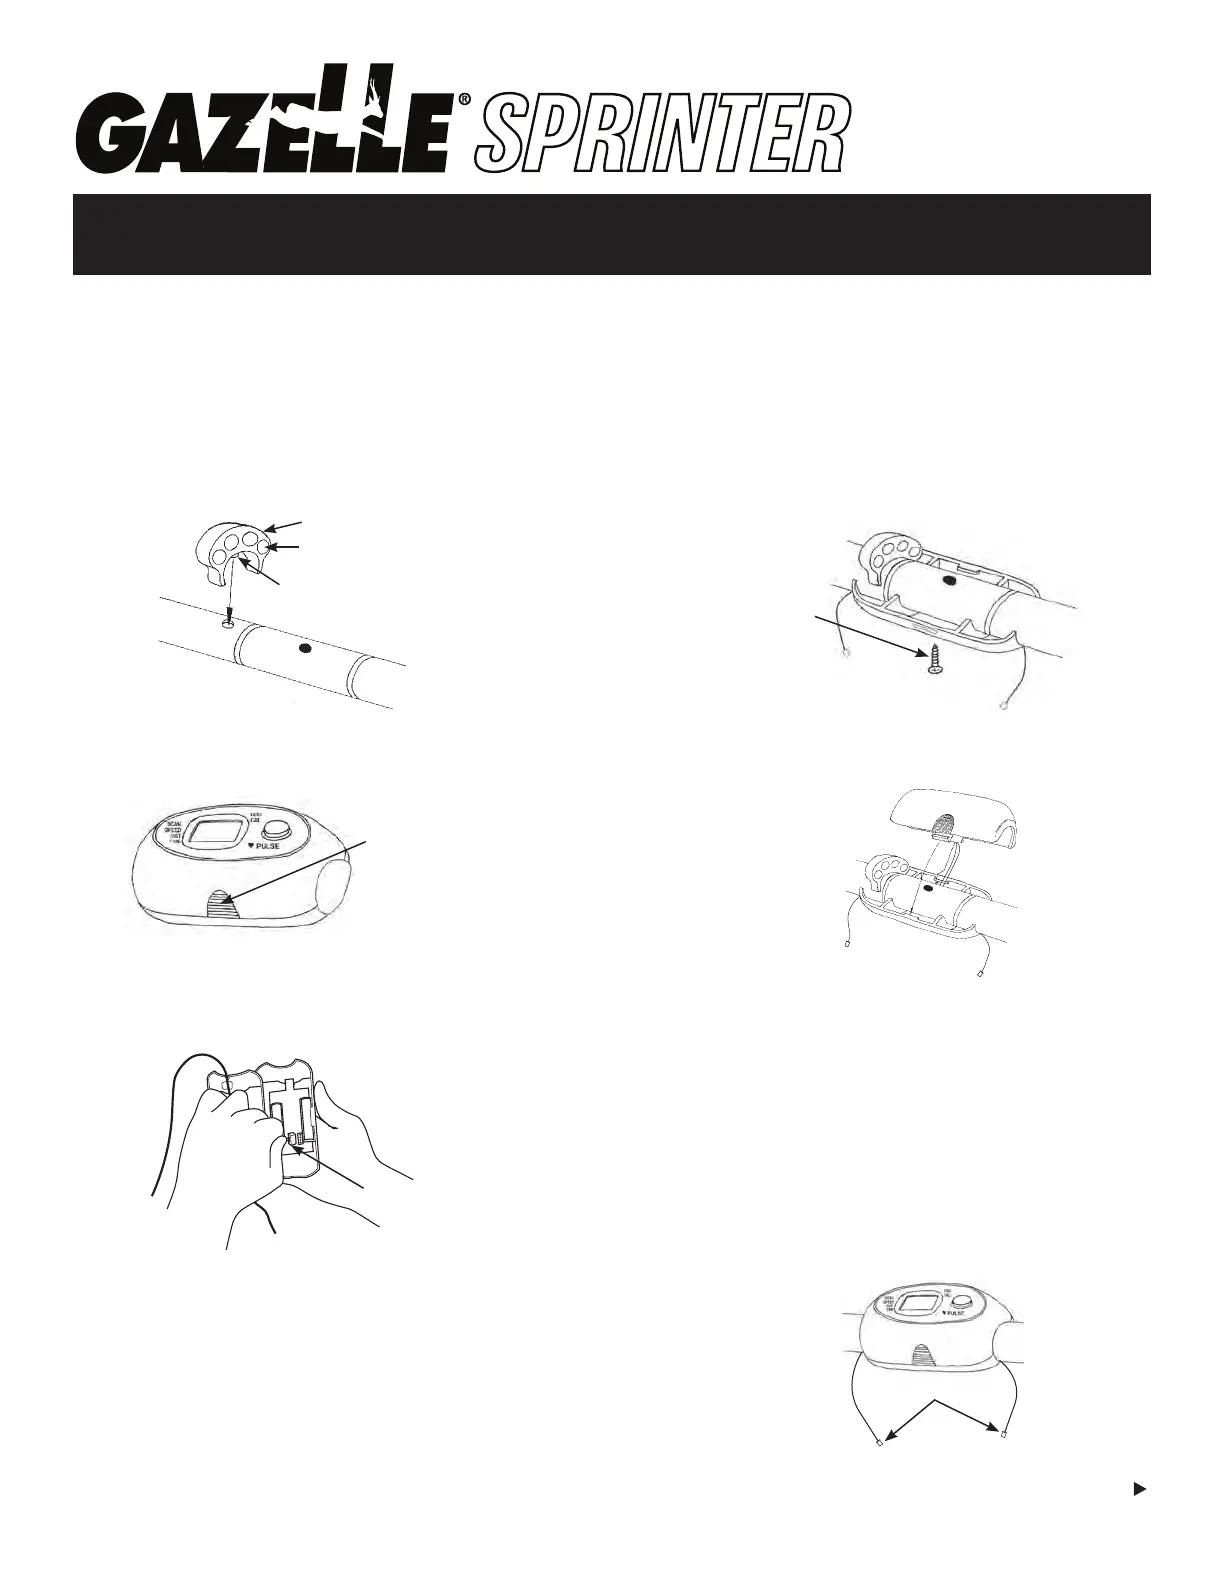
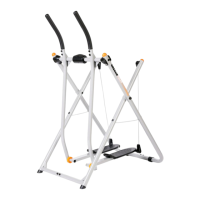
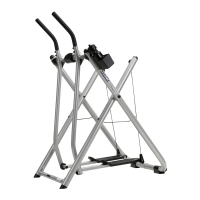
INSTALLATION OF FITNESS COMPUTER
NOTE: Be sure to follow the instructions below to correctly mount the computer to the Gazelle
®
unit prior to
operating. INCLUDES: Computer, Magnet Cluster, Batteries & M6 Screw (if installing device holder attachment,
the M6 screw will be replaced with the larger loose screw that comes with the device holder attachment).
STEP 5: Place the bottom case of the computer
underneath the bar. Insert the M6 Screw into the center
hole on the bottom housing & the hole on the bottom
side of the axle tube. Tighten the screw.
STEP 2: Push in release tabs on both sides to separate
top & bottom of computer.
STEP 3: Connect electronics plug from bottom housing
to inside of top housing as shown.
STEP 4: Install two AAA batteries in the top of the
computer housing. Match + on battery with the + on
battery housing.
Boss
Magnets facing in
Magnet Cluster
STEP 1: Push the Magnet Cluster over the left section
of tubing, then work the boss into its mating hole in
the tubing. (Make sure magnets face in as shown).
Insert M6 Screw
into center hole.
Press in release
tabs on both
sides to open.
Electronics Plug
STEP 6: Align the top half of the case with the bottom
half & snap them together.
Connectors
NOTE: If your display screen cannot be easily read
when using the unit, you can adjust it by loosening the
bolts at both ends of the axle tubes. Reposition the
computer & retighten the bolts.
STEP 7: Insert wires from handlebars into connectors
on both sides of the electronics. NOTE: Excess wire
can be pushed back into the handlebars or inside the
electronics housing. Be careful not to damage wires.
Clip wire holders on the top of the swing arms to hold
any loose wires in place.
Over Please
You may nd it easier to
assemble the tness computer
together with the device
holder attachment.