12
Fan Installation
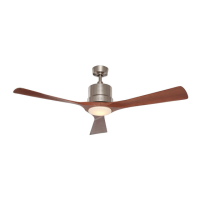
Align the slotted hole on the canopy trim ring (C) with
the mounting bracket push lever, Take both hands
and push the canopy trim ring (C) up to the top of the
canopy (B). The canopy trim ring (C) will snap and lock
into place on the canopy (B) .
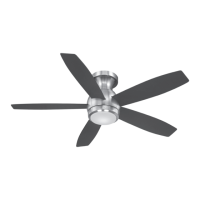
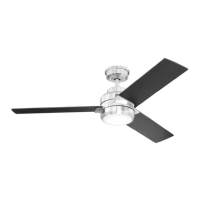
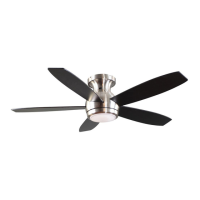
ATTACHING THE FAN BLADES
B
C
E
I
EE
Remove and discard the preassembled plastic motor blocks
but retain the screws(EE). Attach the blade (I ) to the motor
assembly (E), secure with three (3) blade screws (EE) each.
Repeat for the remaining blades, tighten all screws.
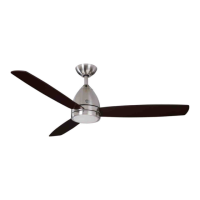
Tighten all the 4 canopy mounting screws (K).
K
Groove
Tab
K
7.
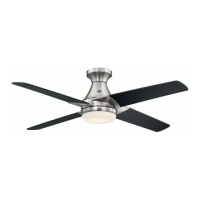
FINISHING THE FAN INSTALLATION
B
8.
10.
1.
2.
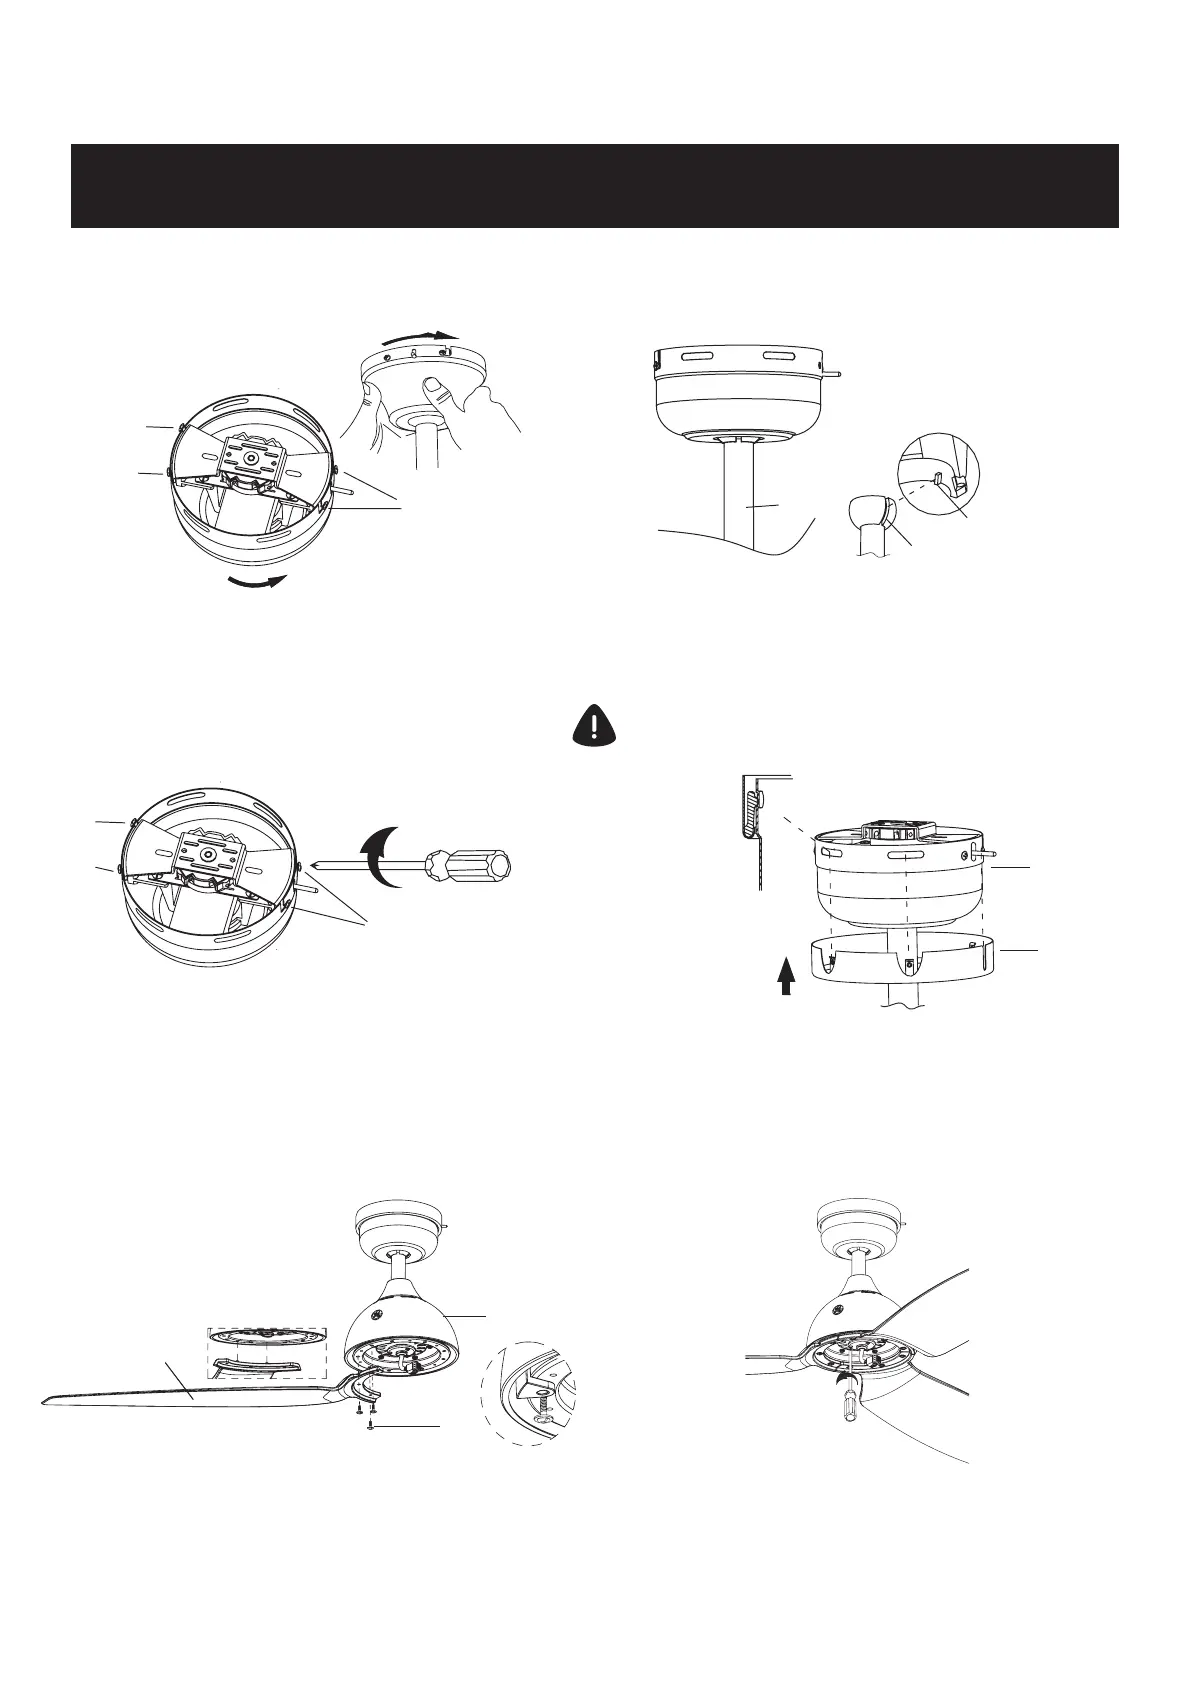
Make sure the tab on the mounting bracket socket
is properly seated in the groove in the hanger ball/
downrod assembly (B). This will help to balance the
ceiling fan.
WARNING: Failure to properly seat the tab in the
groove could cause damage to wiring.
Rotate the canopy to the right (clockwise), continue
turning the canopy until the screws (K) lock into
place on the receptacle j slots.
Note: You may need to loosen the canopy screws
slightly, if you find it's difficult to lock the screws
into the receptacle j slots.
9.