USING THE PROGRAM LOCATOR
If you intend to record more than one program per tape side, start
the tape at the beginning (magnetized portion). Set the PROGRAM
LOCATOR to “000” by pushing the RESET button. Record your pro
gram onto the cassette, allowing the tape to run at least 10 counts
past the end of the program. Make note of the PROGRAM LOCA
TOR number for the start and end of each program so you can later
easily locate the desired program.
To select a particular program later, start the tape at the beginning,
set the PROGRAM LOCATOR to “000” and push the Fast Forward
(F-FWD) button. Wind the tape until the corresponding number for
the start of the desired program appears in the LOCATOR window.
The digital PROGRAM LOCATOR does not indicate actual distance
in units of measure but only determines the relative position of each
program. You may find it necessary to Rewind (RWD) or Fast For
ward (F-FWD) a few counts to arrive at the start of the program, par
ticularly if the program was recorded on another recorder.
PAUSE CONTROL
Your recorder is equipped with a convenient PAUSE control which
will stop PLAY and RECORD operation. Press PAUSE button to
stop PLAY or RECORD operation, and press again for continued
operation.
RECORD PLAY REWIND
F-FWD
STOP/EJECT
PAUSE
O n , ,
D 0 \
REWIND/REVIEW
(REW/REV)
• REWIND (REW): While in OFF position (all buttons up), depress
REWIND button to run the tape back to the beginning or to any
point of your recording. Depress STOP/EJECT button after you
have rewound the desired amount.
• REVIEW (REV): While in PLAY position, you can momentarily
review (or rewind) a portion of the recorded tape. Push the RE
WIND/REVIEW button and the tape will rewind until you release
it, then the unit will resume its normal play operation. This
feature allows quick scanning without resetting the controls.
FAST FORWARD/PREVIEW
(F-FWD/PREV)
• FAST FORWARD (F-FWD): While in OFF position (all buttons up),
depress F-FWD button, which remains depressed, to skip over
portions of the tape quickly. Depress STOP/EJECT button after
you have advanced the desired amount of tape.
• PREVIEW (PREV): While in PLAY position, you can momentarily
preview (or fast forward) your recorded tape. Press and hold the
FAST FORWARD/PREVIEW button and the tape will advance.
To stop the tape, merely release the button and continue PLAY
operation.
NOTE: If the REVIEW or PREVIEW feature is used while in record, the
RECORD button will automatically disengage. This is to prevent ac
cidental erasure.
AUTOMATIC STOP
When the Data Recorder is in PLAY or RECORD mode and the end
of the tape is reached, the unit will automatically shut itself off and
return the engaged button to its off position.
TAPE ERASE
There are two ways to erase tape:
1. Record over unwanted programs.
2. By inserting TAPE ERASE plug, Accessory No. 5-1804, into the
MIC jack and pressing the RECORD button. When you have
erased the tape, the recorder will shut off automatically.
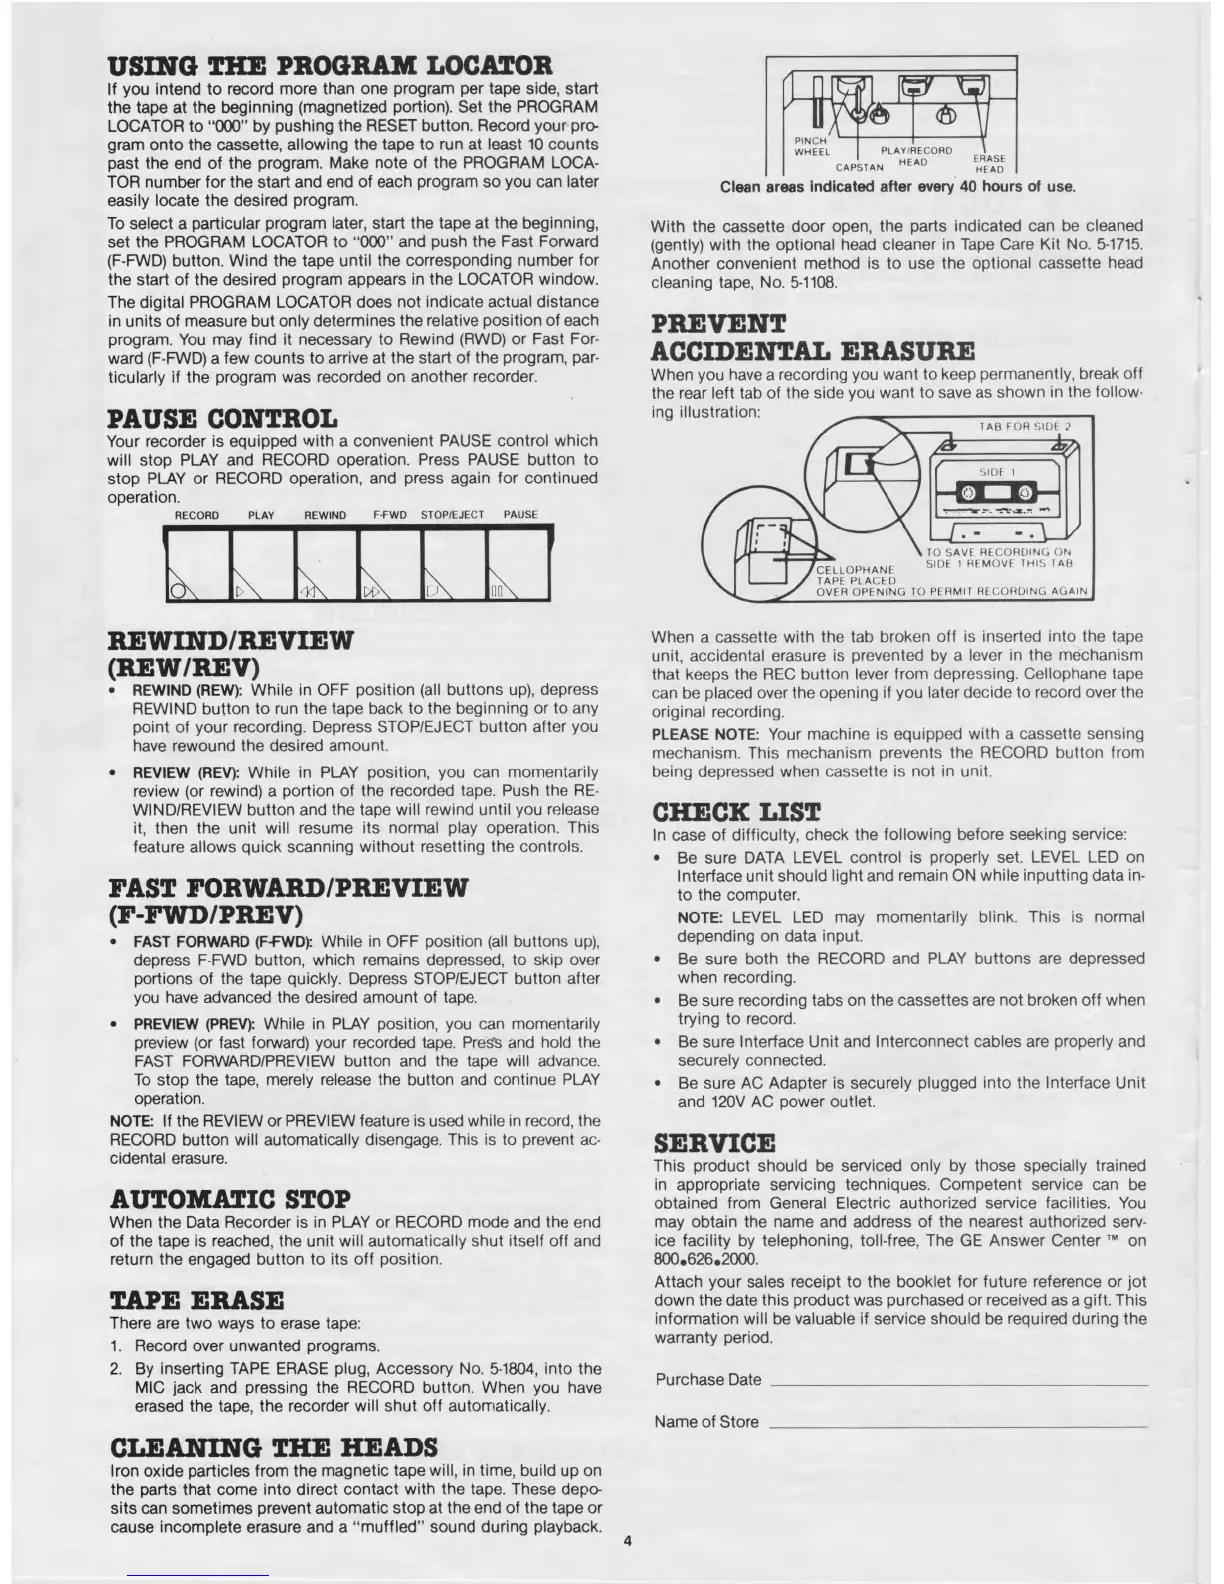
CLEANING THE HEADS
Iron oxide particles from the magnetic tape will, in time, build up on
the parts that come into direct contact with the tape. These depo
sits can sometimes prevent automatic stop at the end of the tape or
cause incomplete erasure and a “ m uffled” sound during playback.
Clean areas indicated after every 40 hours of use.
With the cassette door open, the parts indicated can be cleaned
(gently) with the optional head cleaner in Tape Care Kit No. 5-1715.
Another convenient method is to use the optional cassette head
cleaning tape, No. 5-1108.
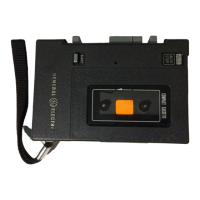
PREVENT
ACCIDENTAL ERASURE
When you have a recording you want to keep permanently, break off
the rear left tab of the side you want to save as shown in the follow-
When a cassette with the tab broken off is inserted into the tape
unit, accidental erasure is prevented by a lever in the mechanism
that keeps the REC button lever from depressing. Cellophane tape
can be placed over the opening if you later decide to record over the
original recording.
PLEASE NOTE: Your machine is equipped with a cassette sensing
mechanism. This mechanism prevents the RECORD button from
being depressed when cassette is not in unit.
CHECK LIST
In case of difficulty, check the following before seeking service:
• Be sure DATA LEVEL control is properly set. LEVEL LED on
Interface unit should light and remain ON while inputting data in
to the computer.
NOTE: LEVEL LED may momentarily blink. This is normal
depending on data input.
• Be sure both the RECORD and PLAY buttons are depressed
when recording.
• Be sure recording tabs on the cassettes are not broken off when
trying to record.
• Be sure Interface Unit and Interconnect cables are properly and
securely connected.
• Be sure AC Adapter is securely plugged into the Interface Unit
and 120V AC power outlet.
SERVICE
This product should be serviced only by those specially trained
in appropriate servicing techniques. Competent sen/ice can be
obtained from General Electric authorized service facilities. You
may obtain the name and address of the nearest authorized serv
ice facility by telephoning, toll-free, The GE Answer Center ™ on
800.626.2000,
Attach your sales receipt to the booklet for future reference or jot
down the date this product was purchased or received as a gift. This
information will be valuable if service should be required during the
warranty period.
Purchase D a te
_______________________________________________
Name of Store _______________________________________________
 Loading...