Maintenance
2001989-351A ApexPro™ 4-11
401
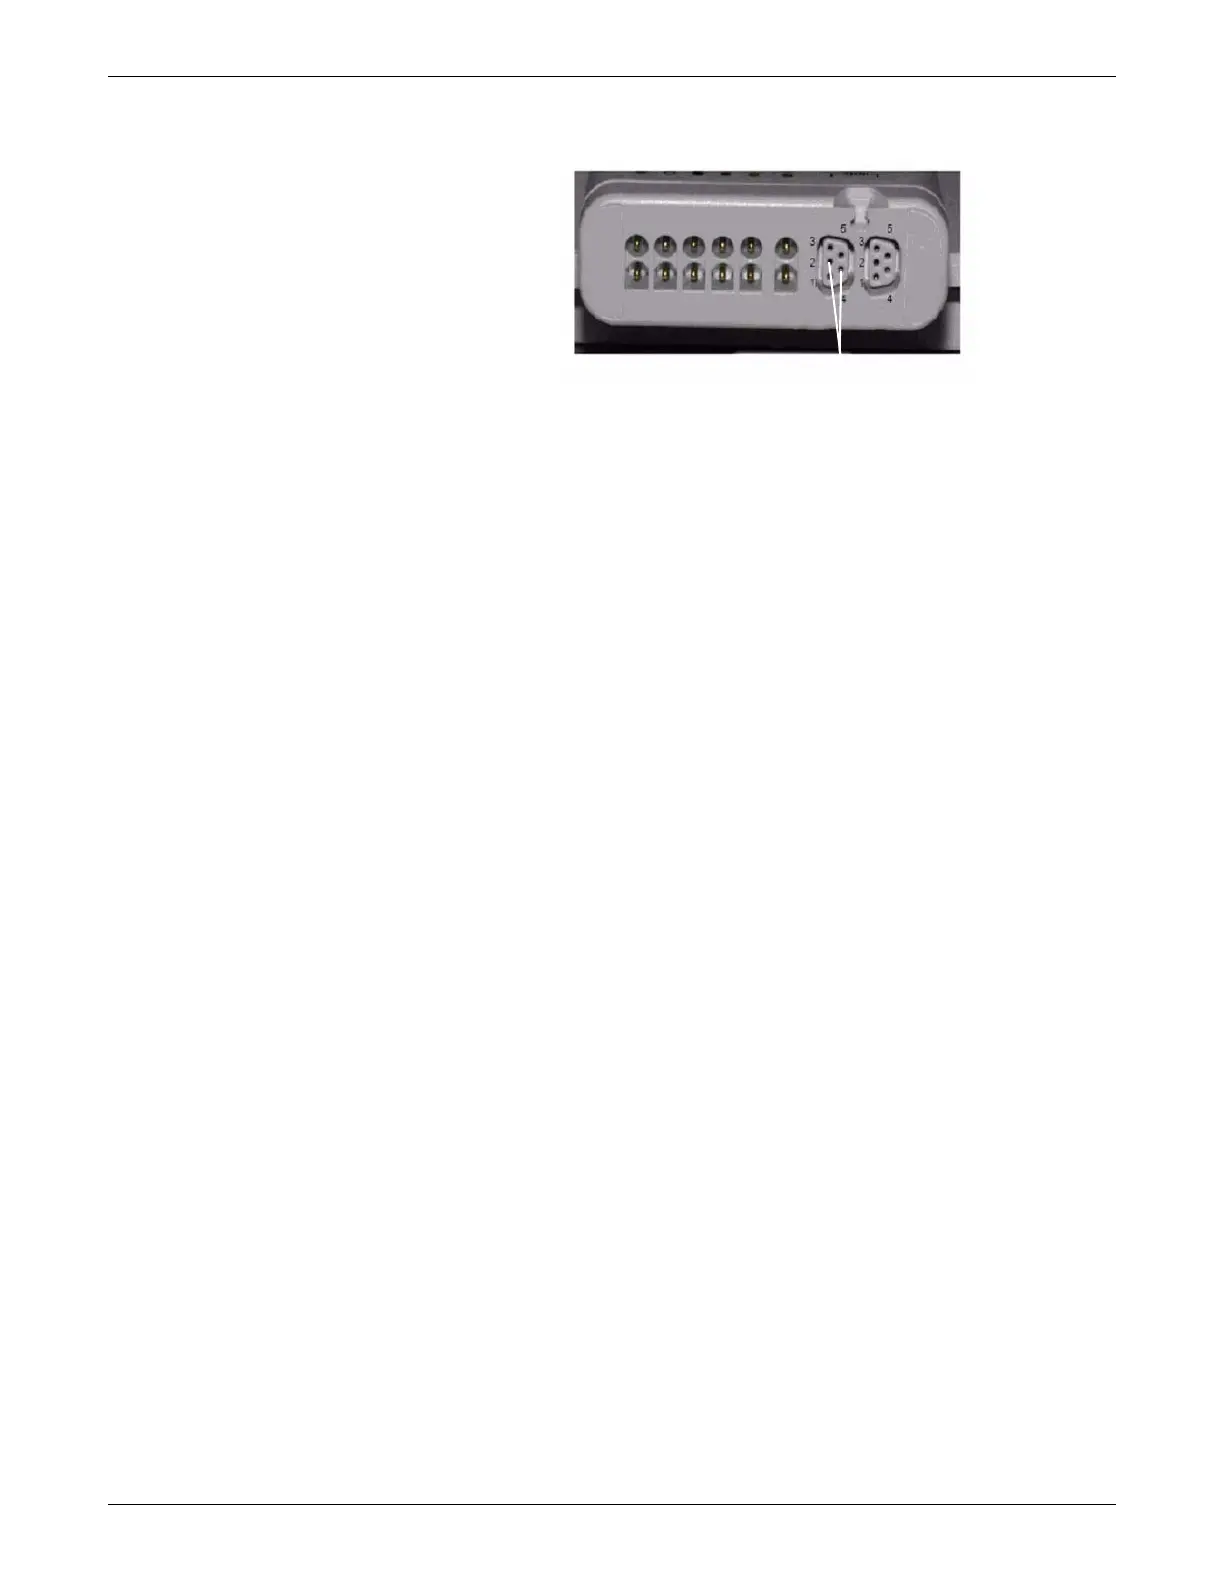
Plug the programming box into one of the two serial ports.
3. Power up the transmitter.
4. Place the transmitter within one foot of the spectrum analyzer.
5. Press PRESET.
6. Connect the external 10 MHz reference to the EXT TRIG IN/EXT REF IN.
NOTE
The external reference must be accurate to 0.0083ppm. Ensure that you
allow the external reference to warm up (See the device operators manual).
7. Set the analyzer for external 10MHz reference mode.
a. Press SETUP.
b. Press F3- HARDWARE SETUP.
c. Select BNC I/O MODE and press ENTER.
d. Select EXT REF IN and press ENTER.
8. Ensure the preamplifier is on.
a. Press SETUP.
b. Press F3 - HARDWARE SETUP.
c. Select PREAMP and press ENTER.
d. Select ON and press ENTER.
9. Set the center frequency to match the TTX number of the transmitter being
tested. Refer to the ApexPro Telemetry Frequency Chart Reference Manual for
TTX to frequency comparison.
a. Press FREQ.
b. Type the center frequency for the tested channel and press ENTER.
10. Set the reference amplitude to 0 dBm.
a. Press AMPT.
b. Type in 0, press dBM and press ENTER.
11. Set the span to 50 kHz.
 Loading...


