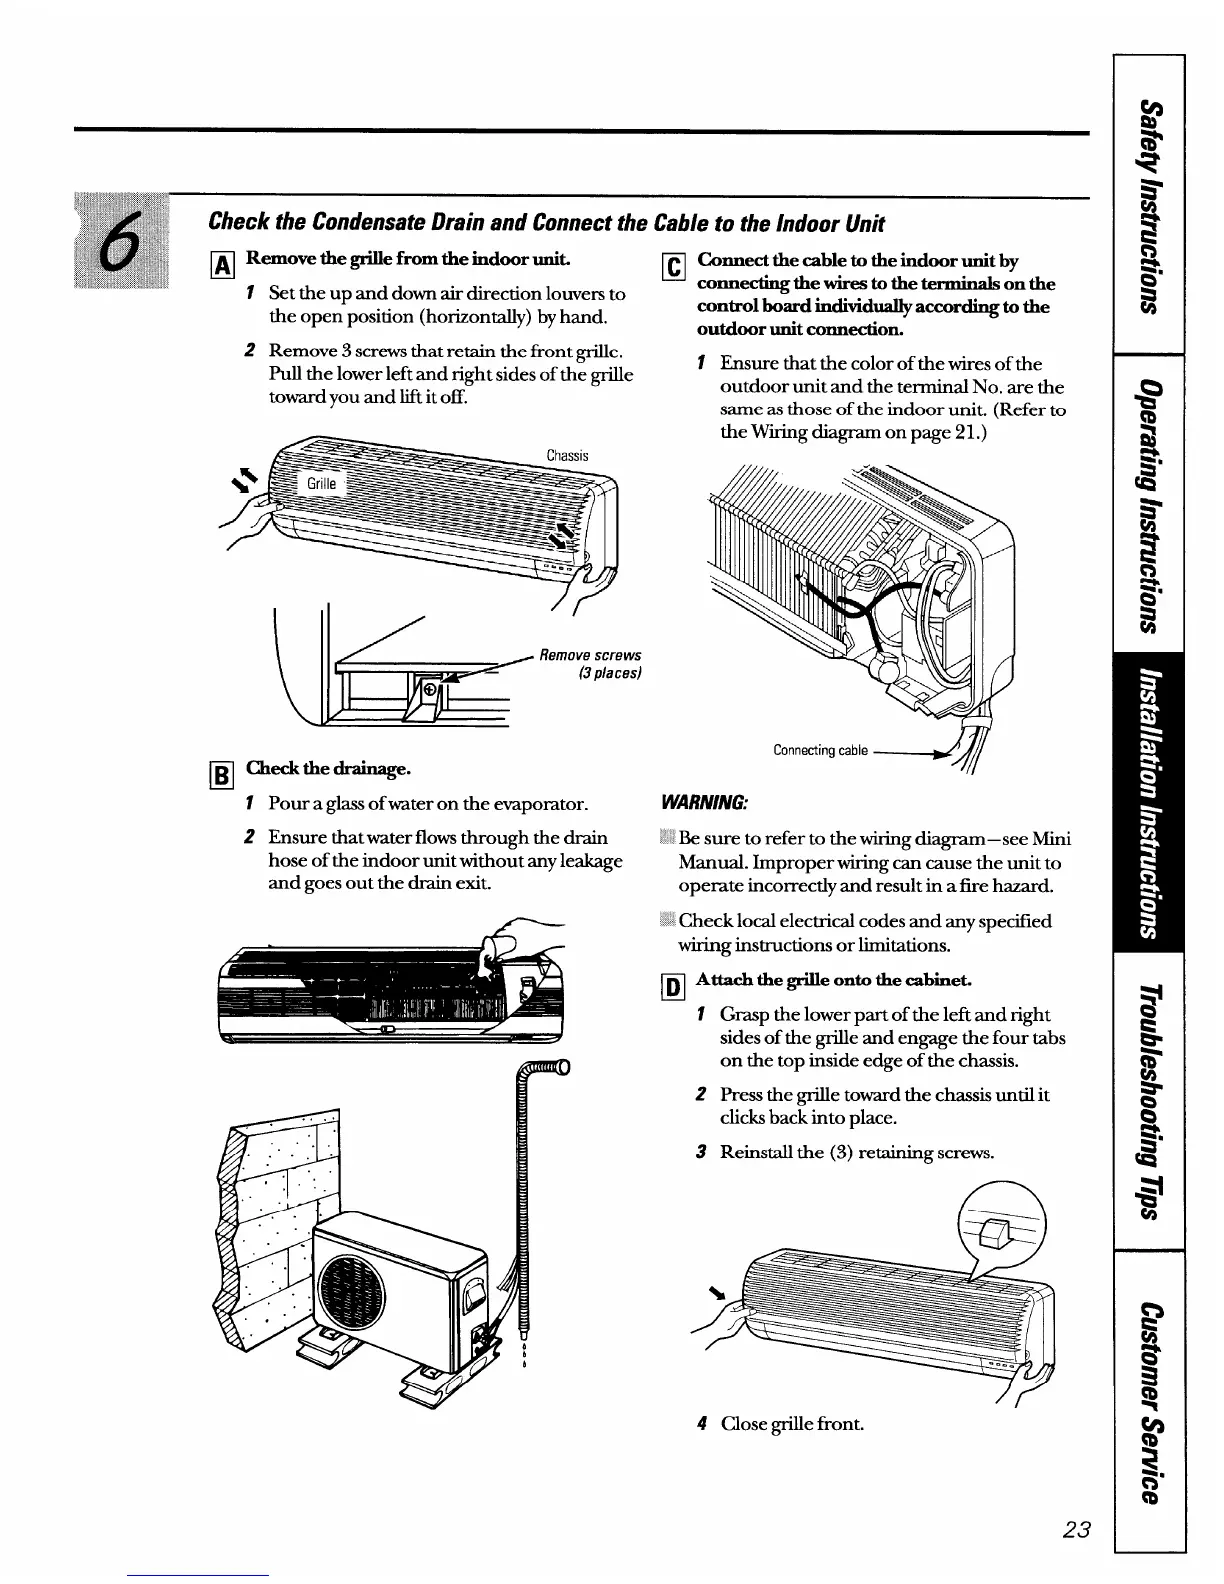
the open position (horizontally) by hand.
2 Remove 3 screws that retain the front grille.
Pull the lower left and right sides of the grille
toward you and lift it off.
❑
Gmect thecable to theindoor unitby
connectingthewirestothetermkak
on the
control board individuallyaccording to the
outdoor unitconnection.
1 Ensurethat the color of the wires of the
outdoor unit and the terminal No. are the
same as those of the indoor unit. (Refer to
e
,
Remove screws
—
(3 places)
@
El
Check the drainage.
1 Pour a glass of water on the evapomtor.
2 Ensurethat water flows through the drain
hose of the indoor unit without any leakage
and goes out the drain exit.
the Wiring diagram on page 21.)
WARNING:
>’.Be sure to refer to the wiring diagram-see Mini
Manual. Improper tig can cause the unit to
opemte incorrectly and result in a tie hazard.
~~Check local electrical codes and any spec~led
wiring instructions or limitations.
~ Attach thegrilleonto thecabimzt
-
1
2
3
Grasp the lower part of the left and right
sides of the grille and engage the four tabs
on the top inside edge of the chassis.
Press the grille toward the chassis until it
clicks back into place.
Reinstall the (3) retaining screws.
/f-
4 Close grillefront.
23
g
a’