– 36 –
5. Separate the burner tube from the burner valve.
Caution: Ensure the valve seal is in place before
installing the valve.
Burner Valves
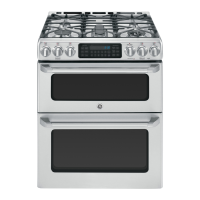
To remove the single and tri-burner valves (Café
models):
1. Remove the control panel. (See Touch Panel and
Electronic Range Control (ERC).)
2. Pull the igniter switch off the burner valve stem.
(See Igniter Switch Assembly.)
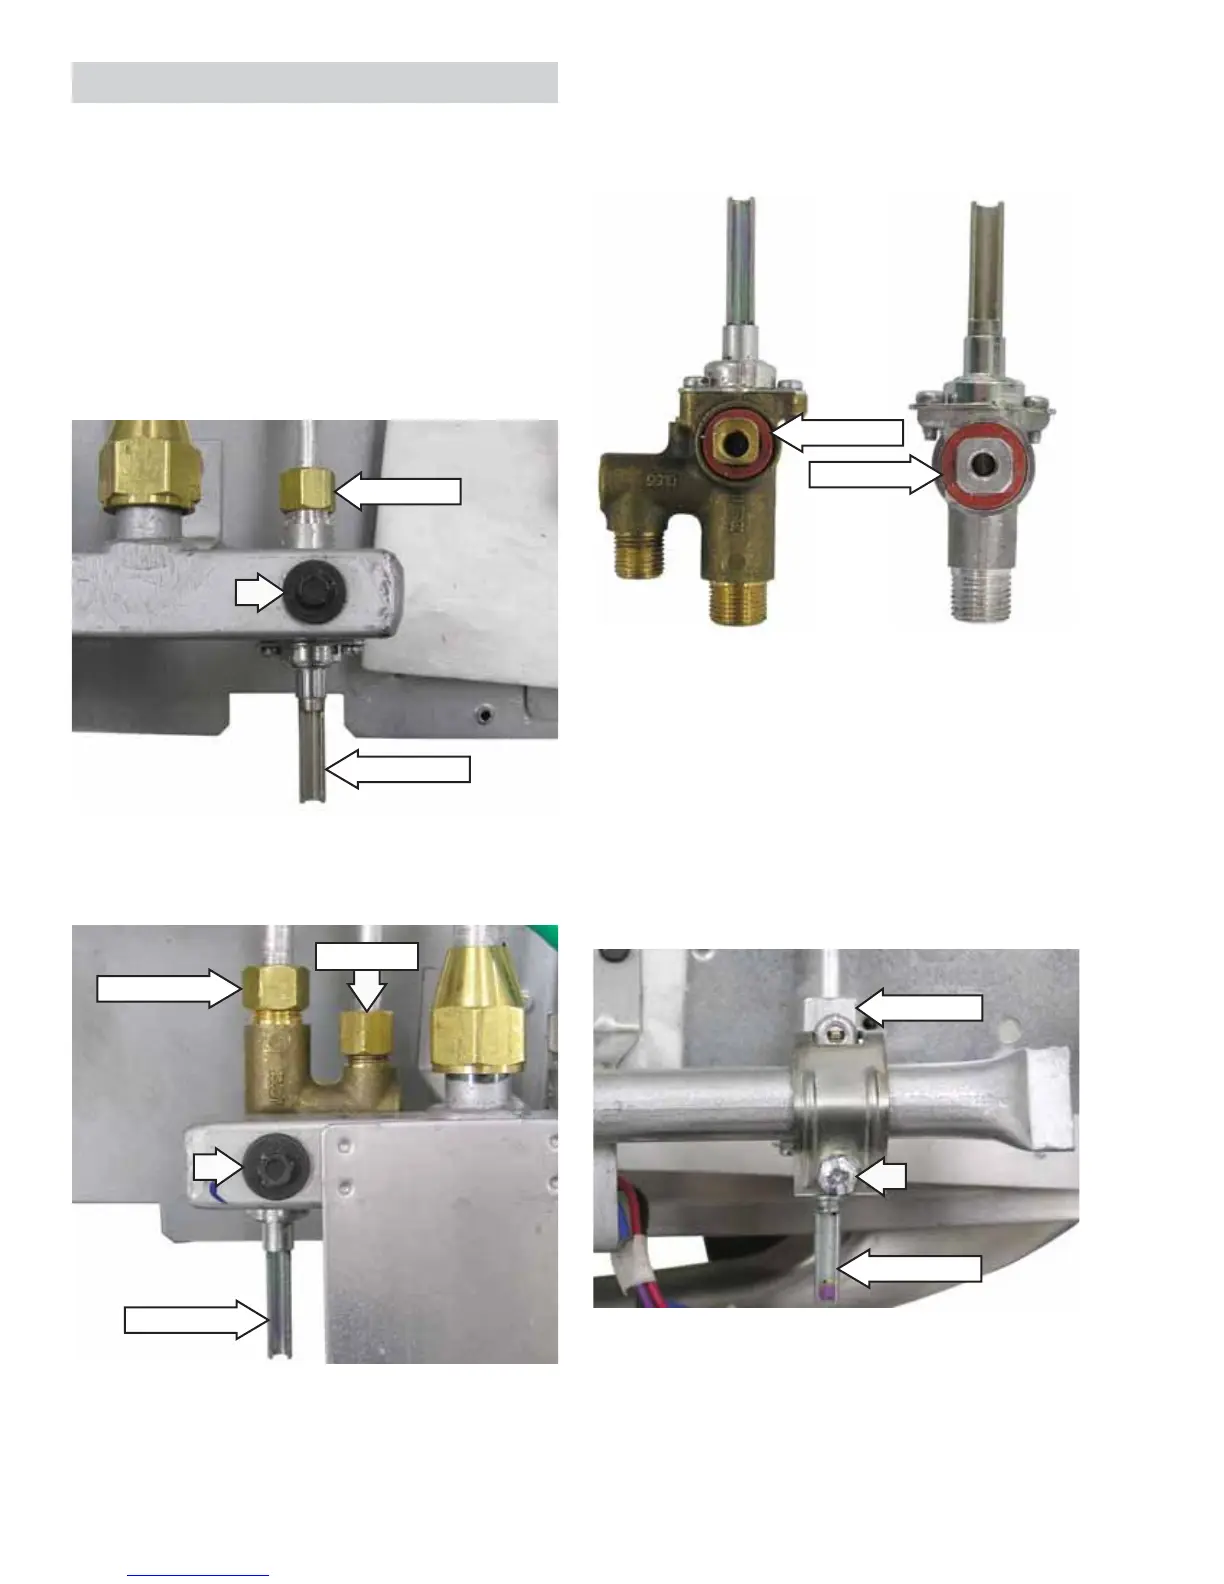
3. For single burner valves, remove the 13-mm nut
and 1/4-in. hex-head screw.
13-mm Nut
Burner Valve
4. For the tri-burner valve, remove the 13-mm nut,
the 9/16-in. nut, and 1/4-in. hex-head screw.
Burner Valve
9/16-in. Nut
13-mm Nut
Valve Seal
Valve Seal
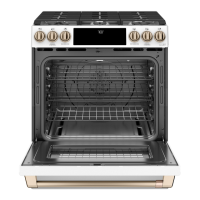
To remove the single burner valve (Profi le and GE
models):
1. Remove the manifold panel. (See Manifold Panel.)
2. Pull the igniter switch off the burner valve stem.
(See Igniter Switch Assembly.)
3. Remove the 13-mm nut and 1/4-in. hex-head
screw.
13-mm Nut
Burner Valve
(Continued next page)