4400-0024 enFlow Operator’s Manual EN Rev. T 05/12 Page 10 of 26
3. Turn right to lock. (See arrows on label.)
e) The rear mounted I/0 (ON/OFF) switch on the Controller turns the power on and off. Switch the
Controller to ON. Upon startup, the Controller conducts a self-test. The power indicator
illuminates green, the Controller display flashes “enFlow”, a short audible “Beep” occurs, and
the LED’s light up for about one (1) second.
Note The Controller automatically switches for operation at either
115 VAC or 230 VAC
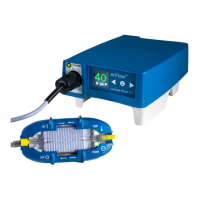
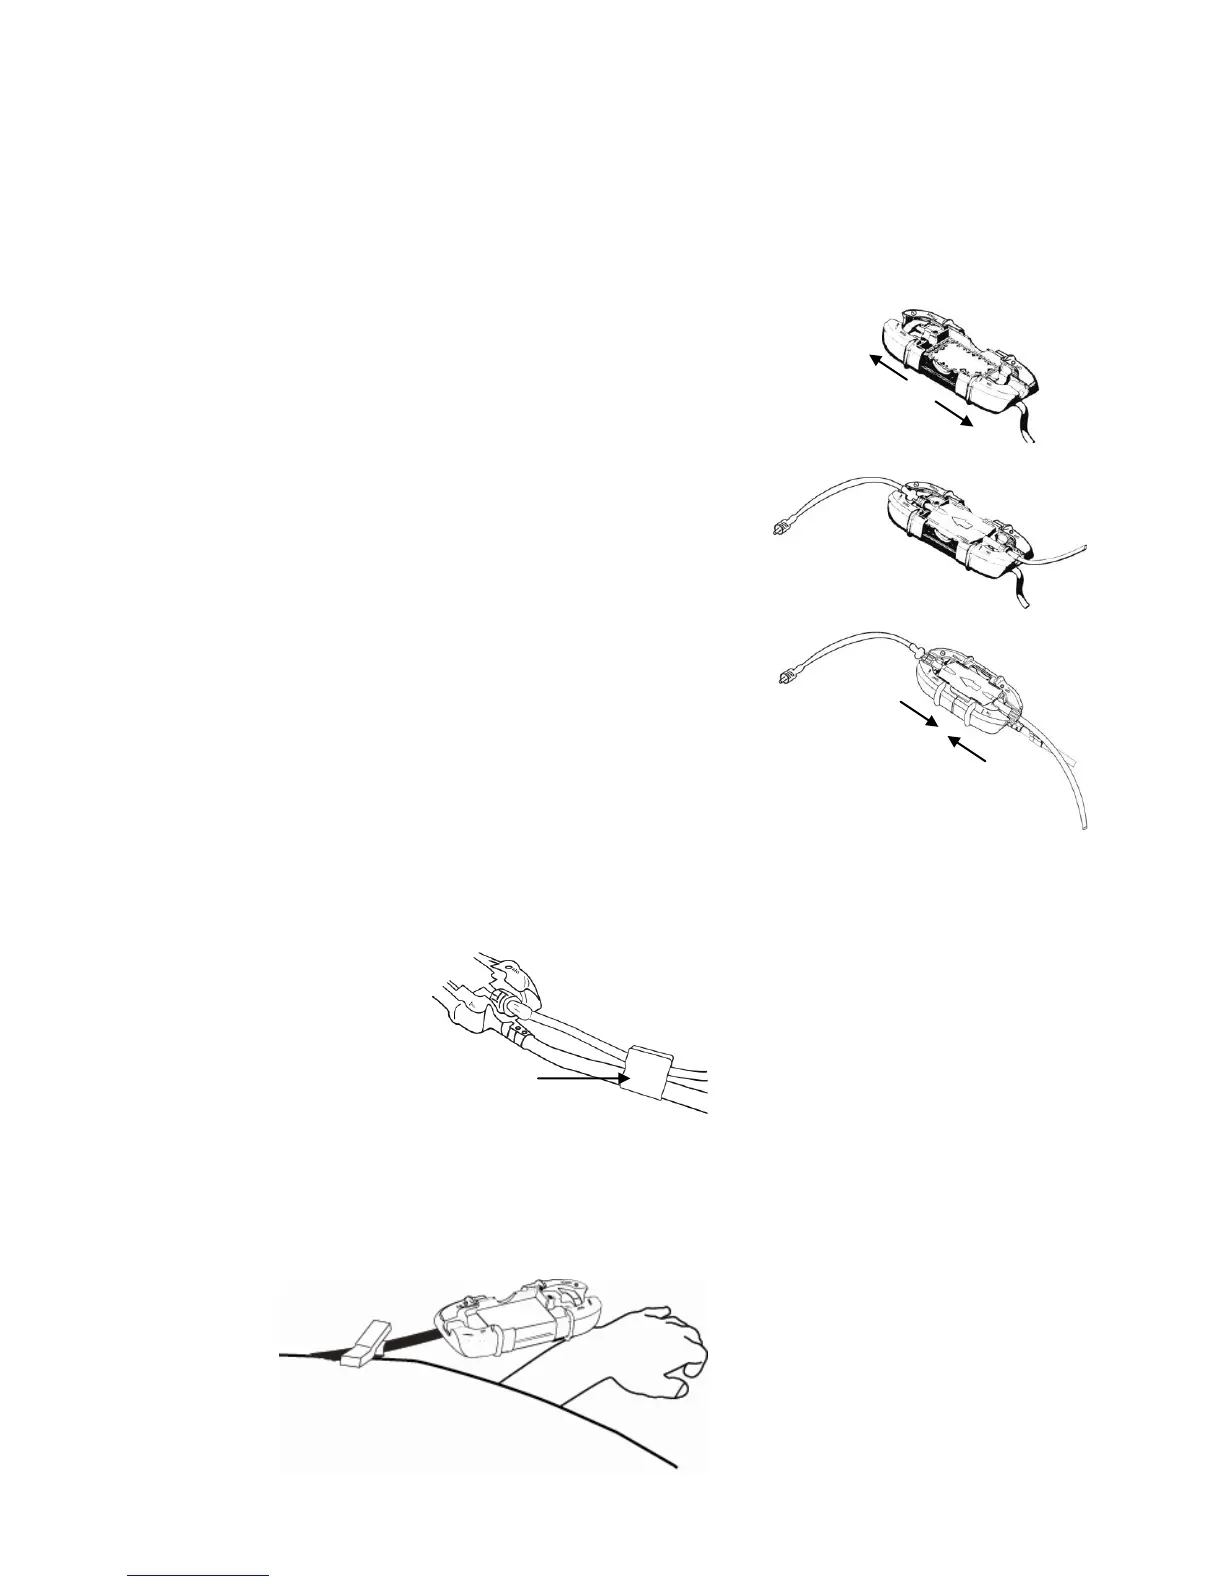
f) Open the covers on the Warmer by sliding them apart.
g) Connect the infusion set and or extension set to the
Disposable Cartridge; then prime with fluid using
standard medically approved protocols. Next, connect
the infusion set to the patient and place the Disposable
Cartridge into the Warmer.
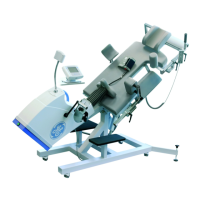
h) Completely close the covers on the Warmer by sliding
them inward toward each other until the covers meet.
Upon closing the covers, a short audible “Beep” occurs
indicating that the Warmer self-test is being performed
that confirms operation of temperature sensors and alarm
indicators. After this process is complete, regulated power
is delivered to the Warmer’s heating surface, which then
begins heating the infusate through the Disposable
Cartridge. Adjust the fluid flow to the desired rate.
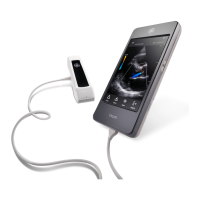
i) Place the IV line in the IV Line clip in order to prevent it from kinking.
j) The Warmer is designed to be placed on the bed and/or attached to a patient coverings in
close proximity to the site of infusion using the cord clip P/N 980309VS. Cushion the patient
from the Warmer to aid in the prevention of perioperative peripheral neuropathies