8 49-1000399 Rev. 2
Read these instructions completely and carefully.
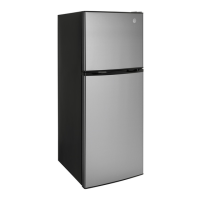
Refrigerator Location and Operating Range
Ŷ'RQRWLQVWDOOWKHUHIULJHUDWRULQDORFDWLRQH[SRVHGWRZDWHUUDLQHWFRUGLUHFW
sunlight.
ŶInstall it on a floor strong enough to support it fully loaded.
ŶThis refrigerator is designed to function properly in room temperatures ranging from
)&WR)&2SHUDWLQJWKHUHIULJHUDWRULQURRPWHPSHUDWXUHV
outside this range will cause inadequate cooling.
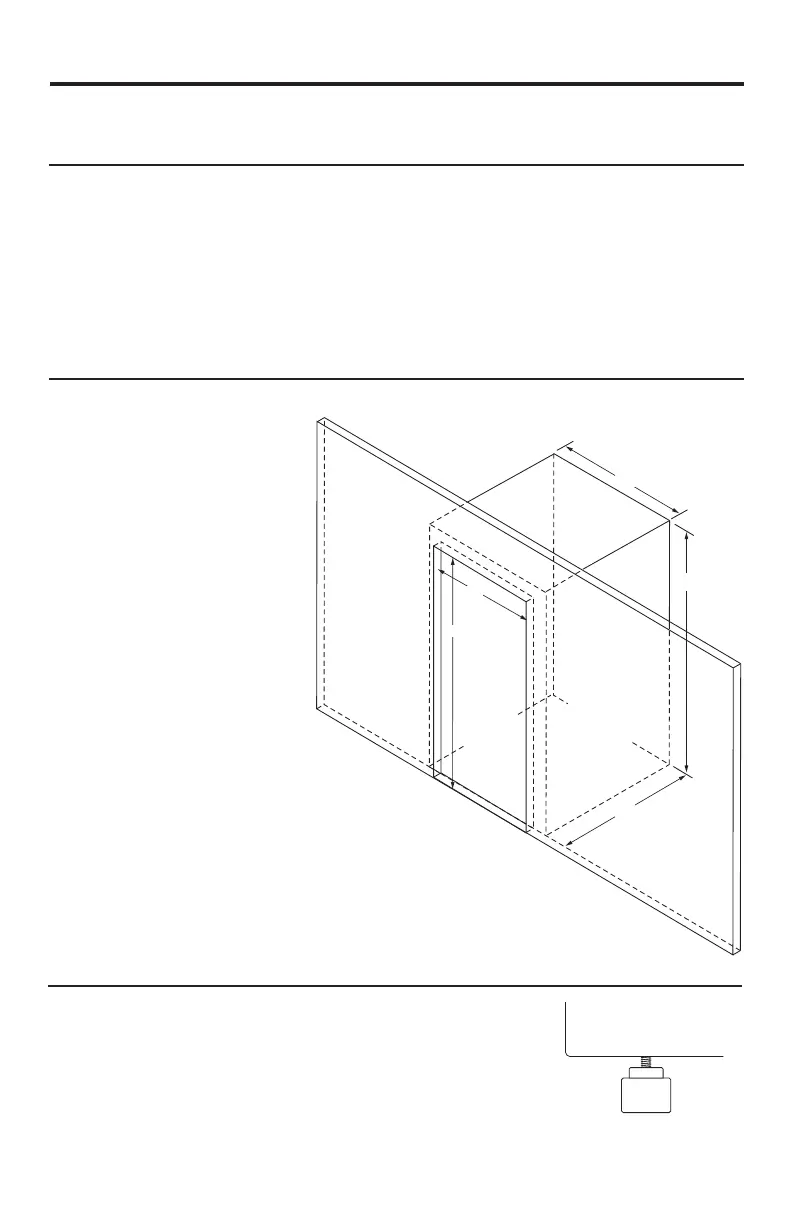
Clearances
For proper air circulation, allow the following clearances between the refrigerator and
adjacent cabinetry.
Sides ´PP
Top ´PP
Back ´PP
7KH´VLGHDQGWRSFOHDUDQFHV
are not necessary between the
refrigerator and the cabinet front
trim. The minimum opening
VL]HLQWKHFDELQHWIURQWWULPIRU
installing the refrigerator should
EH´PPZLGHE\´
PPWDOO
Leveling Legs
Adjustable legs at the front corners of the refrigerator
should be set so the refrigerator is firmly positioned on the
floor and the front is raised just enough that the door closes
easily when opened about halfway.
To adjust the leveling legs, turn the legs
counterclockwise to raise the refrigerator, clockwise to
lower it.
Installation Instructions
Turn counterclockwise to
raise, clockwise to lower.
Minimum
Cavity
Dimensions
behind
Cabinet
Front Trim:
26” W x 61” H
x 24.5”D
Minimum
Opening
Dimensions
in Cabinet
FrontTrim:
24” W x
60” H
26”
24.5”
24”
60”
Cavity
Cabinet
Front
Trim
61”