49-90550-3 7
Drying Rack (on some models)
Always follow fabric manufacturer’s care label when laundering.
As a general rule, if clothes are sorted properly for the washer, they are sorted properly for the dryer. Try also to
sort items according to size. For example, do not dry a sheet with socks or other small items.
Do not add fabric softener sheets once the load has become warm. They may cause fabric softener stains. Bounce
®
Fabric Conditioner Dryer Sheets have been approved for use in this dryer when used in accordance with the
manufacturer’s instructions. Do not overload. This wastes energy and causes wrinkling.
• Keep flammable materials and vapors, such as
gasoline, away from dryer.
• DO NOT dry anything that has ever had anything
flammable on it (even after washing).
• No washer can completely remove oil.
• DO NOT dry anything that has ever had any type of oil
on it (including cooking oils).
• Items containing foam, rubber, or plastic must be dried
on a clothesline.
• Failure to do so can result in death, explosion, or fire.
Sorting and Loading Hints
- Fire Hazard
WARNING
LOADING/VENTING
Loading/Venting
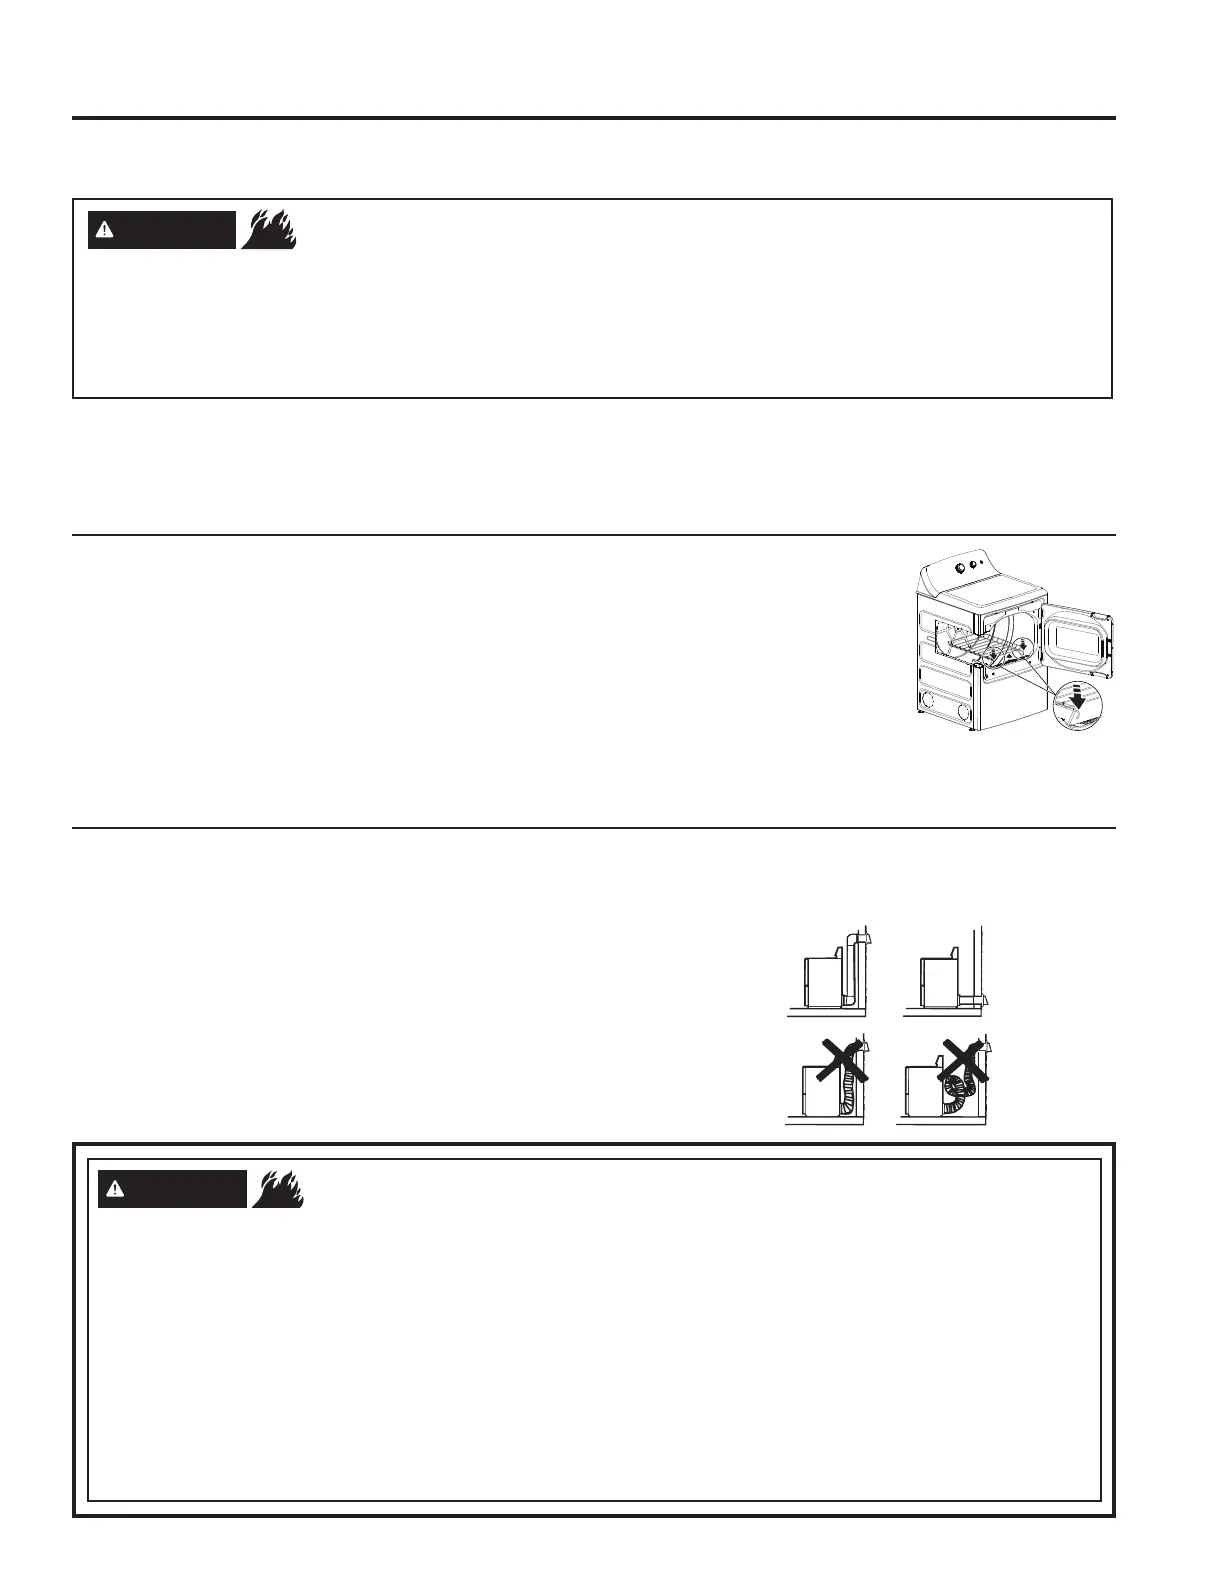
Venting the Dryer
For the best drying performance, the dryer needs to be properly vented. The dryer will use more energy and run longer if it is
not vented to the specifications below. Carefully follow the details on Exhausting in the Installation Instructions.
• Use only rigid metal 4” (10.2 cm) diameter ductwork inside the dryer
cabinet. Use only rigid metal or UL listed flexible metal 4” (10.2 cm)
diameter ductwork for exhausting to the outside.
• Do not use plastic or other combustible ductwork.
• Use the shortest length possible.
• Do not crush or collapse.
• Avoid resting the duct on sharp objects.
• Venting must conform to local building codes.
This dryer MUST be exhausted to the outdoors.
Use only 4”
(10.2 cm) rigid metal ducting for the home exhaust duct.
Use only 4” (10.2 cm) rigid metal or UL-listed dryer transition duct to connect the dryer to the home exhaust.
DO NOT use a plastic vent.
DO NOT exhaust into a chimney, kitchen exhaust, gas vent, wall, ceiling, attic, crawl space, or
concealed space of a building.
DO NOT install a screen in or over the exhaust duct.
DO NOT install a booster fan in the exhaust duct.
DO NOT use duct longer than specified in the exhaust length table.
Failure to follow these instructions can result in death or fire.
WARNING
- Fire Hazard
Correct
Venting
Incorrect
Venting
A handy drying rack may be used for drying delicate items such as washable sweaters.
To install the drying rack:
1. Lift the lint filter slightly. (Do not remove the lint filter completely).
2. Place the rack in the dryer and lower its front legs and hook them in the slots.
3. Press the rack down flat and lower the lint filter back down in position.
• The drying rack must be used with the Time Dry/Timed Dry cycle. Use with sensor cycles
may result in damp items or extended cycle times.
• Do not use this drying rack when there are other clothes in the dryer.
• If your model did not come with a drying rack, order WE01X25160 on-line at
GEApplianceparts.com, 24 hours a day or by phone at 877.959.8688 during normal business hours.
Lift filter and hook front
rack legs in slots
 Loading...